I should be in bed. I was in bed, but then the sheep heard my wife through our open bedroom window and started bawling. We had forgotten to lock the sheep and chickens up. Now I have not had a chicken killed in several months so I might have gotten off the hook there, but I still think that the one ewe is pregnant and it is going to get cold tonight. So I had to crawl out of the warm bed and go outside and lock up the sheep. One of the babies got lost on the trip to the barn and I had to go back and find her. Of course the sheep thought I should feed them also. So they were all bawling when I left because they got no hay. I did lock the chickens up on my way back to the house. I will say this the animals force you to keep a routine. They just don’t do as well if you don’t stick to it, kinda like little kids in that aspect. Good Night.
Month: March 2011
Bridge musings
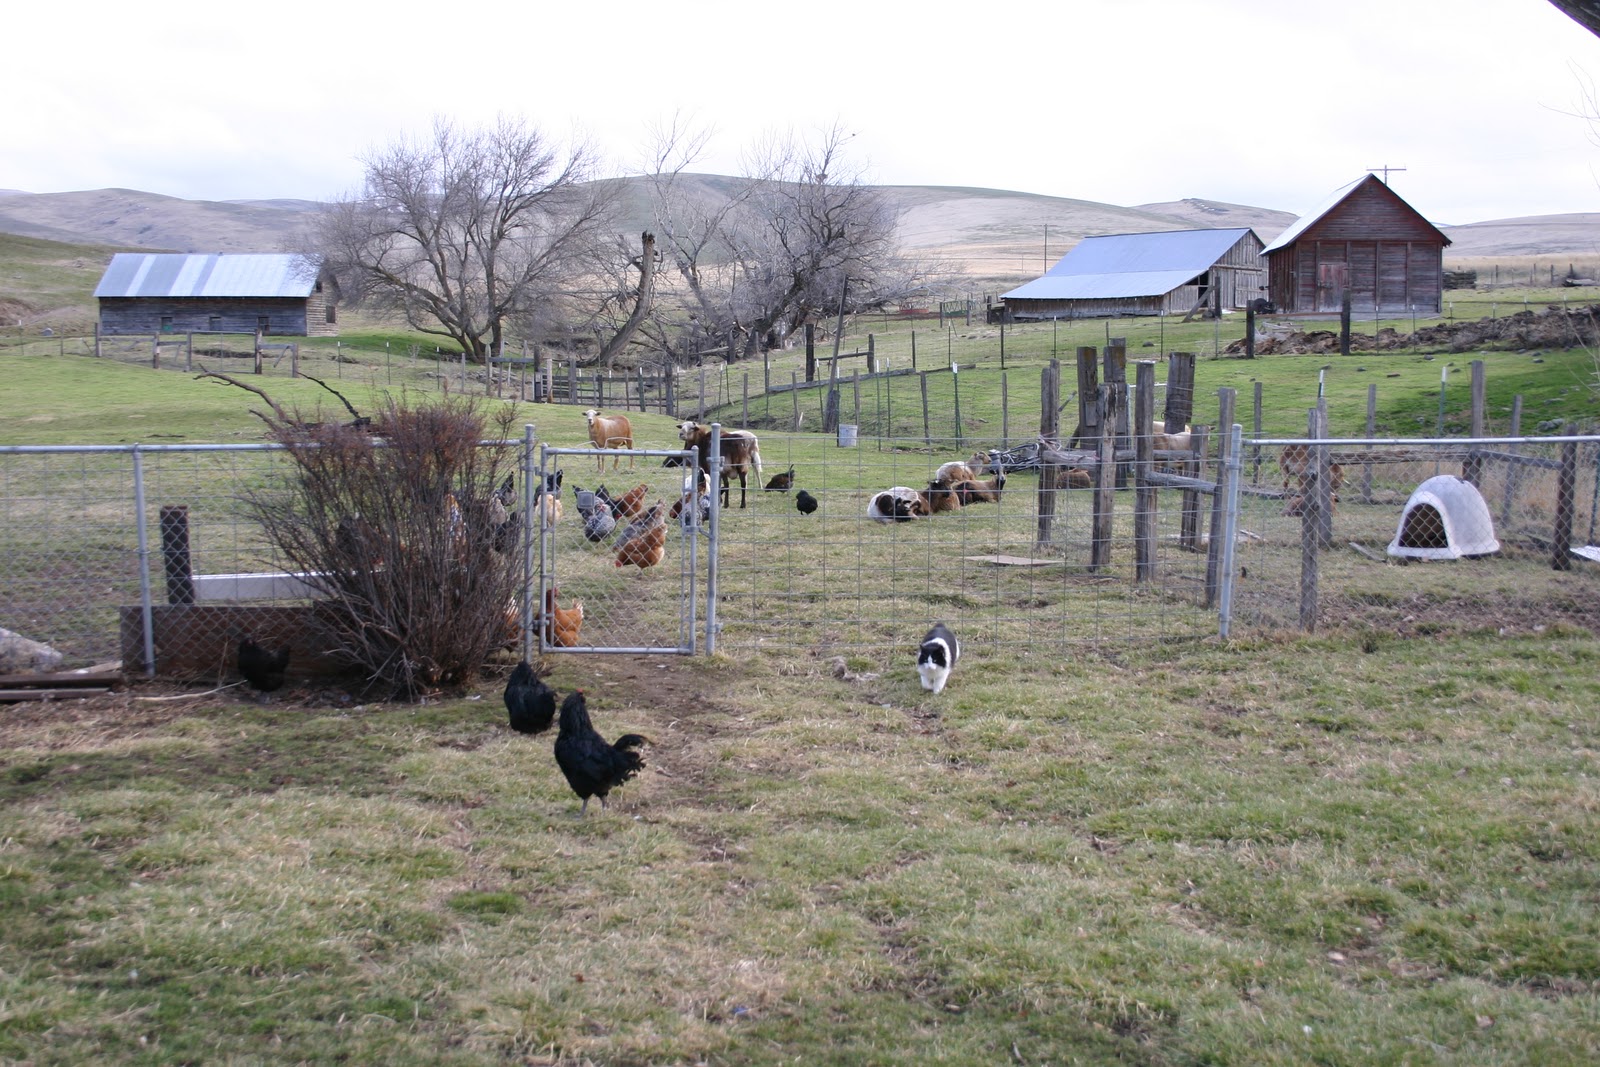 |
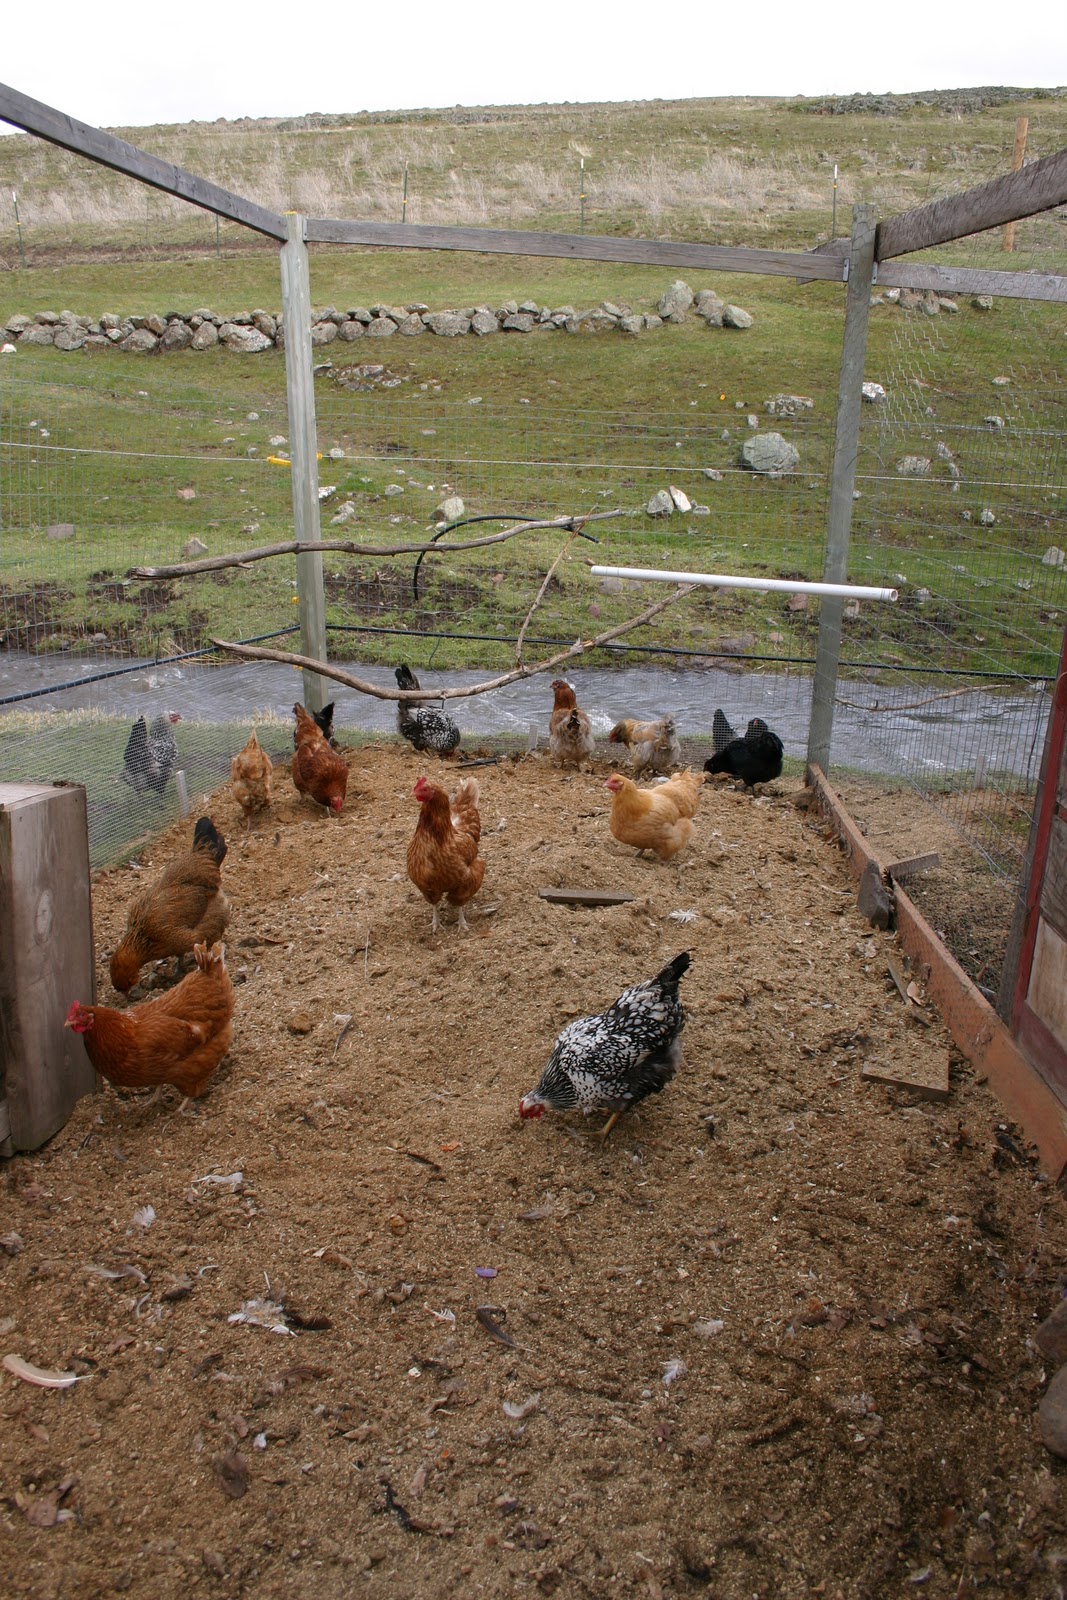
| The menagerie a couple of days ago, Spring needs to come so the grass can grow. |
Well, when the alarm went off this morning Annmarie wanted to talk about the bridge construction for the front creek. I had it all worked out in my head, a 12 foot long four foot diameter steel culvert, I would dig out the creek and drop in about a foot of 2 inch gravel then set the culvert in and then scoop in gravel and compact it every 8-10 inches all the way up to form a path. I would use large boulders on the outside to hold in the gravel and she had talked me in to putting a heavy duty rubber water barrier on the upstream side about one foot deep into the gravel, with a used brick walkway across the top and hand rails. All in all a decent plan. So this morning she asks me how I am going to keep the culvert from sinking into the mud that is the bottom of the creek. I dug a pond three years ago with a backhoe and never hit anything but mud. I finally stopped so it didn’t get too deep (then my dirt barrier washed away and the pond emptied) so she has a valid point. We had a sinkhole up the creek and it took three bucket loads of large rocks to fill it and they are starting to disappear again. I want to build something one time and then die before it needs to be redone again. So we are looking at a 45 year life span for this bridge. We discussed the need for footings again (something I was trying to avoid). Which means I will need to pour some concrete. Then we discussed whether to use a precast concrete arch or a half pipe of culvert that I bolt to the opposing footings then cover both those with the gravel and bricks as planned. I am now leaning toward a new design. I would like to pour concrete footings but have them come up high enough to hold gravel behind them. So in effect I would put them 11 feet apart and leave a ledge on them so I could span the 12 feet (the spanning timbers would be 12 feet long). I would use pressure treated wood that would be sitting on concrete. I would then use cedar planks to span the 12 feet. On each end I would still build them up with the gravel and compact it with a brick surface. This way I would not have to try and span the whole 36 feet with timbers. So now I need to look into how much I am going to have to reinforce the footings as they will stick up into the air about four feet and go down into the ground at least 3 feet. Not sure how wide they need to be, a guess would be at least 10 inches. So it is back to the drawing board. More planning and agreeing on a plan with the wife. This way would cut my gravel usage down to about 50 yards from 100 with the added cost of concrete and cedar planks. Concrete is running around $165/yard delivered as of a couple of months ago. So that is about 20 yards needed for both sides. Ouch! Gonna have to come up with a new plan. Maybe those concrete road dividers that stack? I could stack four to a side, so I would only need 8 of them. I wonder how expensive those are? Maybe I could find some used one. Gonna have to look into that.
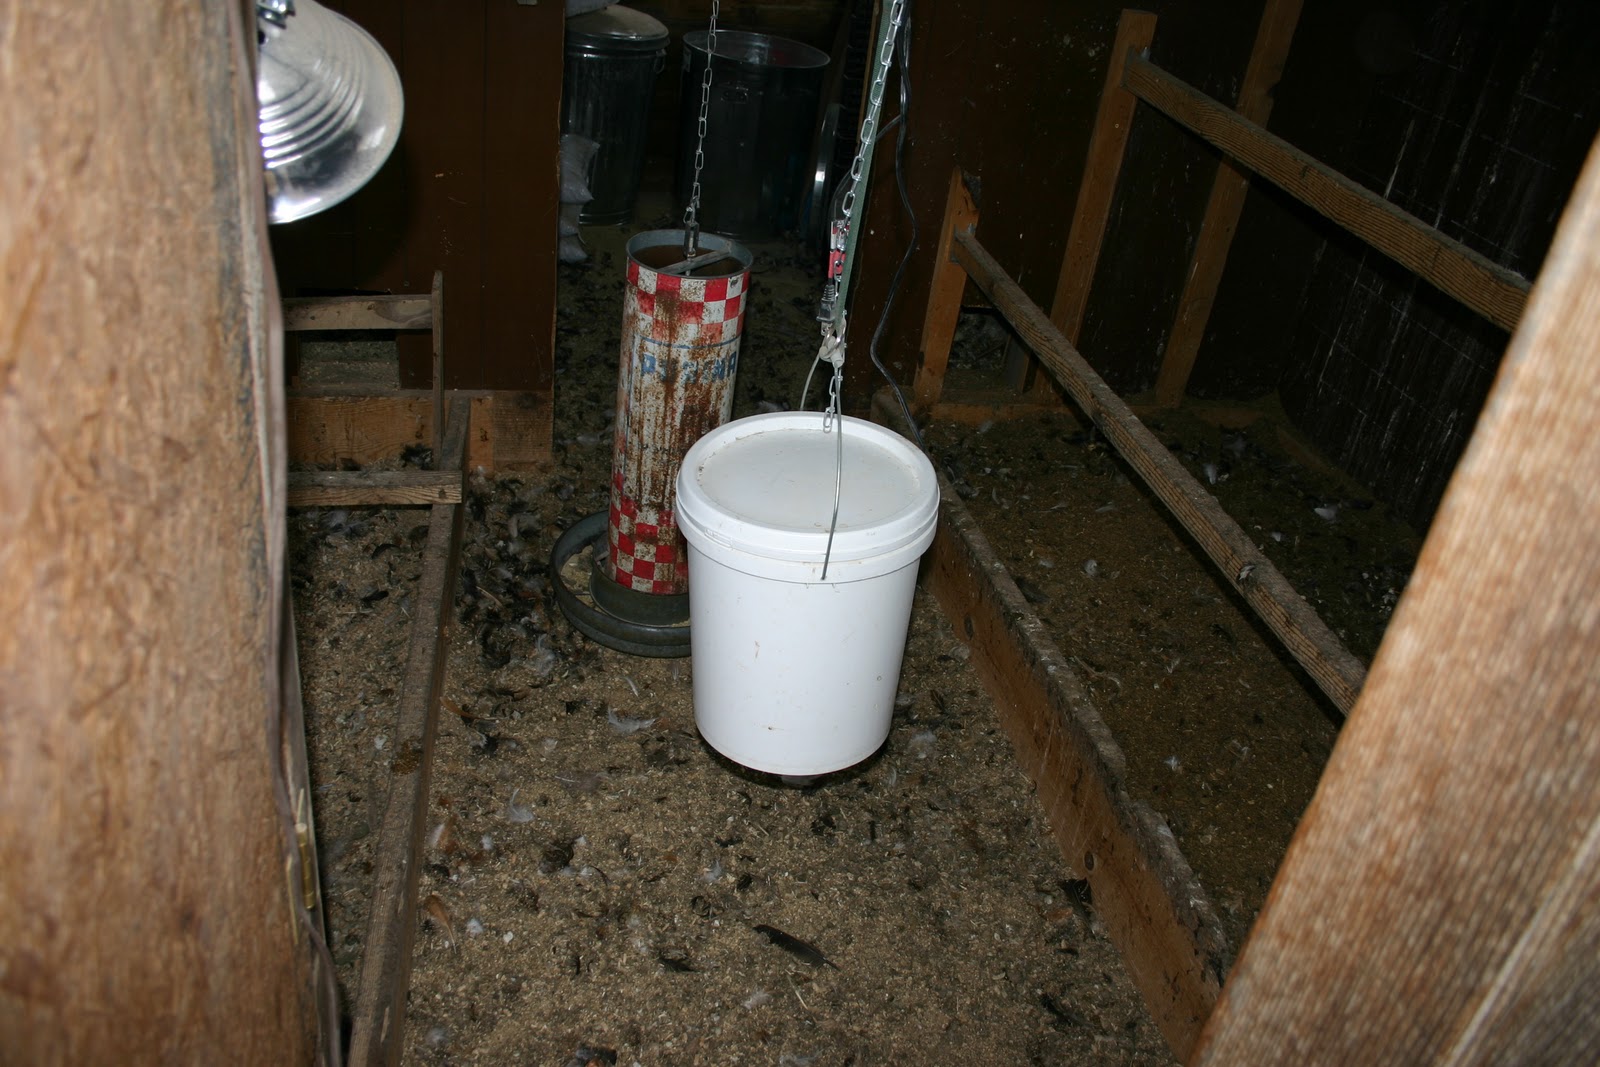
I had to build a new divider for one of my nest boxes. I had used a piece of foam insulation to separate the box. Once the chickens figured out they could pick at the foam and tear it apart they did. So now instead of two nest boxes I only had one. They kept rolling the second wooden egg over into one nest only. So I added another foam divider but used one of the wood pellet bags to cover the foam. I didn’t have a feed bag available (I had just emptied out the trash). So we will see how long this lasts.
 |
| new divider in place |
The chickens favorite nest box is the one I made out of an old Coleman cooler. They use it more than any other nest box. Go figure.
Getting ready for new chicks- the long way
Well Spring is coming. I know this because the local farm supply stores are starting to have baby chickens available. I want some baby chickens! But, I was told that until my quail have some place to live other than the baby chick area I don’t get what I want. So today I spent a few hours and started cleaning up the coop.
 |
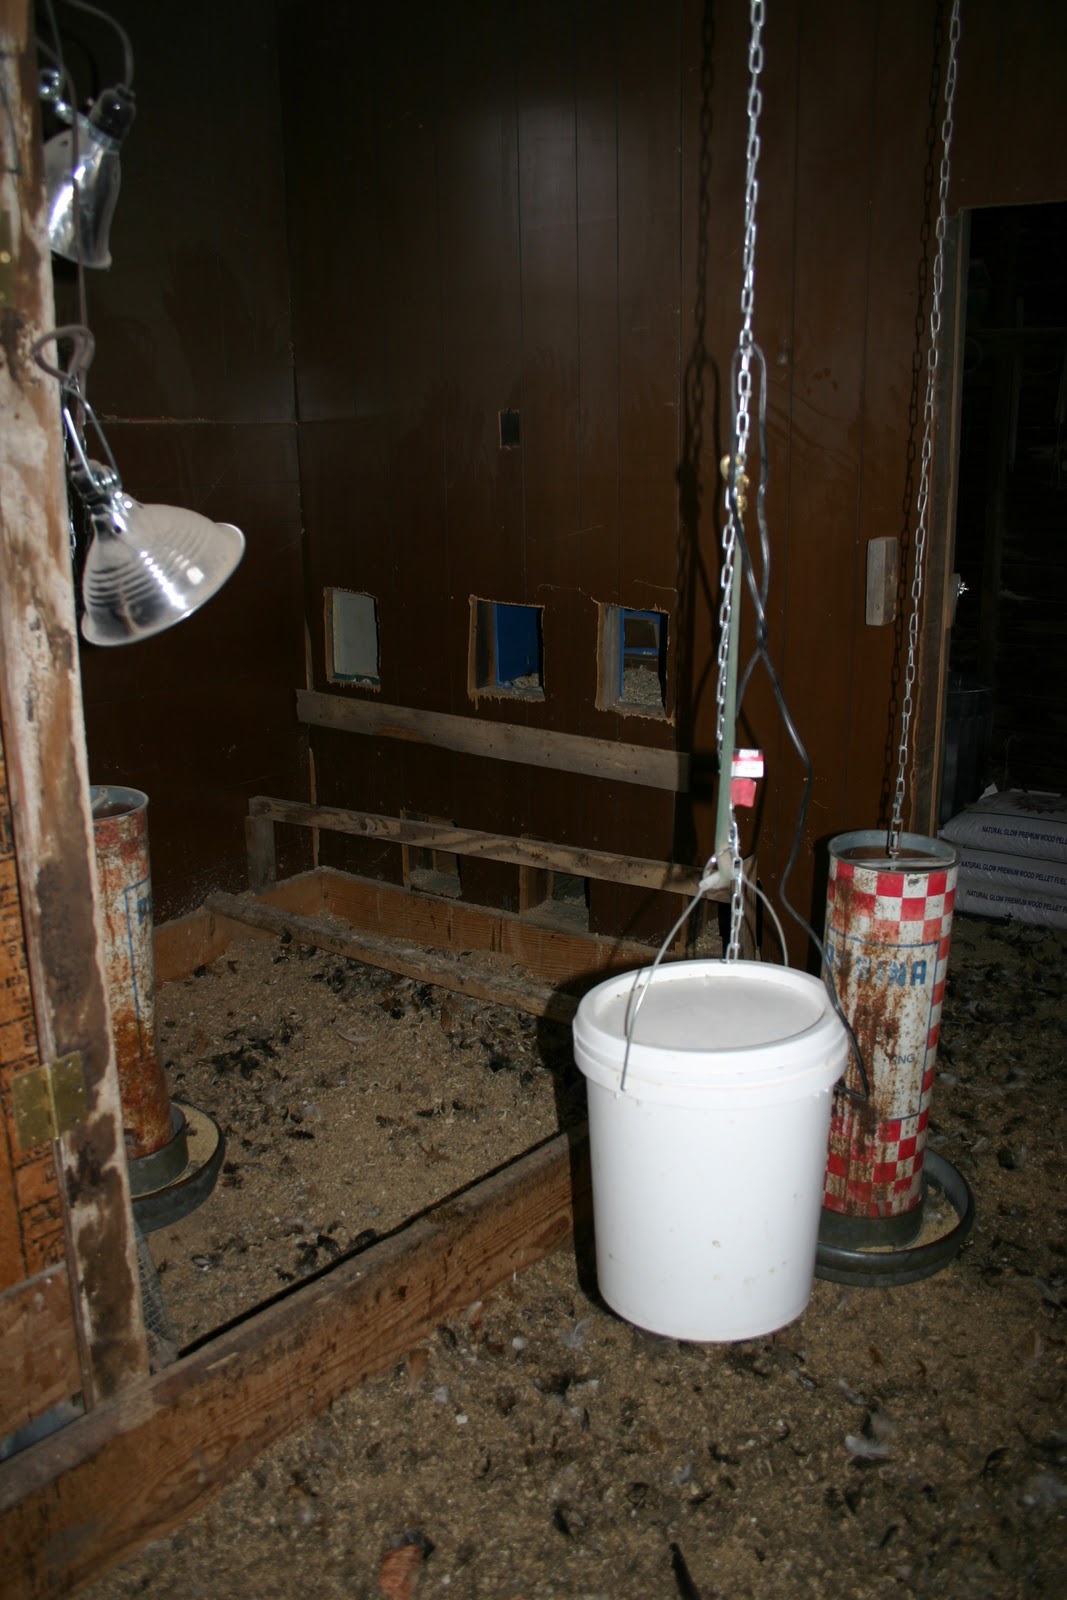
| chicken coop looking in from front door |
I started by buying more wood pellets to use as moisture absorbing material. Did that yesterday when I went to the feed supply store to get sterile syringes for the child’s drain. I figured I would get a two for one deal. It worked. So the first thing I did was take pictures!! Then I got down to business. As you can see the chickens make a mess. There were feathers all over the place. The litter on the right side of the picture is 14 inches deep. It slowly builds up over the year as the chicken poop and wood pellets are added. We rake the pellets every so often, the easiest way to mix up the pellets is to throw chicken scratch (cracked corn or wheat) on the ground and let the chickens mix up themselves. Otherwise you have to rake it weekly.
 |
| chick enclosure |
This is a view of the baby chicken enclosure. If you look real hard in the bottom left area of the pen you will see a quail. I had to run chicken wire to the ceiling to prevent the chickens from roosting on top of the enclosure. You can see our chocolate lab is inside the pen sneaking around. There is an outside entrance to the baby enclosure on the right hand side of the pen. it is covered by that piece of plywood you see on the wall. When the babies are big enough to go outside I will take that off the wall. But first I have to clean everything up. We found those feeders in the old chicken coop on the farm. There were five of them, but I was only able to salvage four of them. One needs a patch on the bottom before I can use it. I figure I can do it with a little piece of sheet metal. I had to unload chicken feed, wood pellets and oyster shell from two different cars. A total of 510# (12 bags). Not sure what I am going to do when I get old. Probably buy in bulk and have a teenager come over for a day once a month to do the heavy lifting. I could have driven around with the pickup, but at this point it is just easier to carry them over the bridge and to the coop. The sheep managed to sneak out of the yard because I forgot to latch the gate closed. I just hung the chain over the
 |
| chicken coop nest box area |
gate so it looked like the gate was latched. The head ewe pushed on the gate and it came open, so all the sheep were enjoying the untouched grass on the far side of the bridge. I had to shoo them all back into the main pasture. Once I started this I figured I might as well castrate that other baby lamb. So I grabbed the rubber band pliers and some corn and took the sheep into the barn. I caught the smaller boy, but he had a rubber band on already. So I let him go and caught the bigger boy, but he had one on also and his was starting to work. So obviously, I had already done it but forgot. Everyone thinks I write this blog for everyone else, but it also acts as a diary for me so I know when what was done and can go back and check on it if needed.
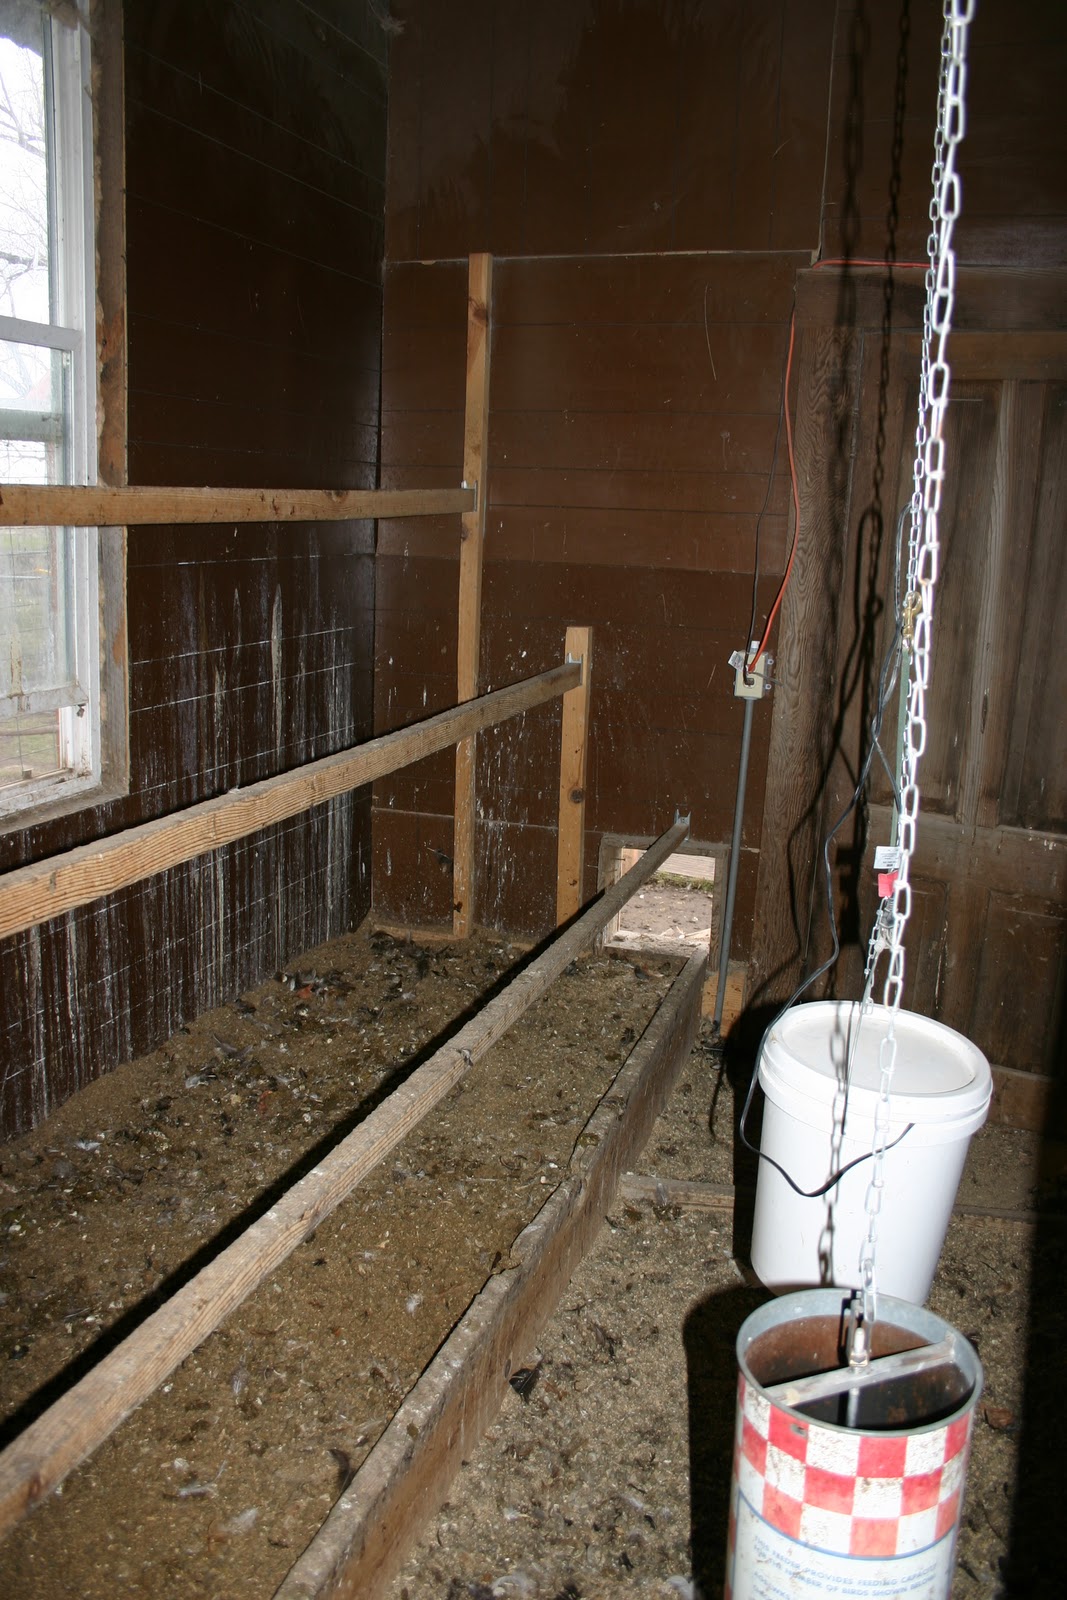 |
| chicken coop under perches |
I started shoveling and managed to finish a mere three hours later. Luckily, I am still trying to fill in the chicken yard out front. It slants toward the creek something fierce, so I have been throwing the coop manure outside in an attempt to build up that side of the yard. It is slowly working. I will have much farther to truck the compost once that is done. No more just tossing it out the door. You can see the perches are removable so that I can move around inside the area when cleaning. I actually planned that and it works.
On a financial planning issue, I charged all the wood pellets to the month of March. It will make me negative, but I will use them throughout the year. The annual expenses will be the same and it saves me having to keep track every time a bag of wood pellets is used. So after the chick purchases the only big expense left for the year is to get an automatic coop door. The problem with this is the hardware will need to go on the wall where my chicken door is now. So I am going to have to move the perch anchor elsewhere and maybe cut into the wall to fit all the hardware. That is definitely a Summer time job.
 |
| chickens spreading out the pile |
 |
| cleaned out ready for perches. |
February chicken financials
I made $8.45 for the month on an average 27 hens laying (a second month in the black!! Amazing, still going to raise the prices, I need to change out the bedding in the coop and it is going to drive me into the red. If Sarah weren’t sick we would have done this already). My net income total is $16.88 for the year . I had $44.82 in expenses for feed (200#) this month. For the year, my monthly expenses are $55.00. We collected a total of 352 usable eggs (85 less than last month) averaging 12.6 eggs/day collected (for the year the average is 13.3 eggs/day). My productivity for the month was 47% (for the year it is 49%). The chickens ate 0.57# food/egg (for the year are averaging 0.57# food/egg). In February it cost $0.13/egg or $1.56/doz for feed (my yearly average is $0.12/egg or $1.44/dozen). We collected 23 quail eggs for the month.
Soon I need to get the new quail enclosure so I can have new chicken babies. Chickens don’t like the snow. They stayed inside the coop after the snow started.
