After we sorted cows we worked on getting the 1/4 round trim installed on the porch. I made a mistake and only bought ten pieces 10” trim to cover 78’ of trim. This may sound like a lot of extra but it was going to take one piece for each end (2) and four for each long side (8) for a grand total of no extra pieces! I have never installed 1/4 round overhead before but knew there was going to be something special about it. I cut the first end piece and installed it without any difficulty and went to cut the adjoining 90 degree piece and could not get a match despite cutting it six times! I was trying to cut a 45 degree miter with another 45 degree slant. I had it all so screwed up I could not figure it out. I knew I had to quit guessing or I was going to run out of wood. So we watched a YouTube video. You have to use the wall side against the fence and then cut a 45 degree cut. Once I did this I was able to cut all of the pieces and reuse my short piece to get the trim completed. We had to use the router on the trim to get around a metal connector and on a separate piece two nails stuck in the overhead that cannot be removed. The blue color on the porch ceiling really turned out nice and the blue trim really made it snap! The only thing left is to clean off the porch, scrub it down with cleaner and get the furniture back on the deck.

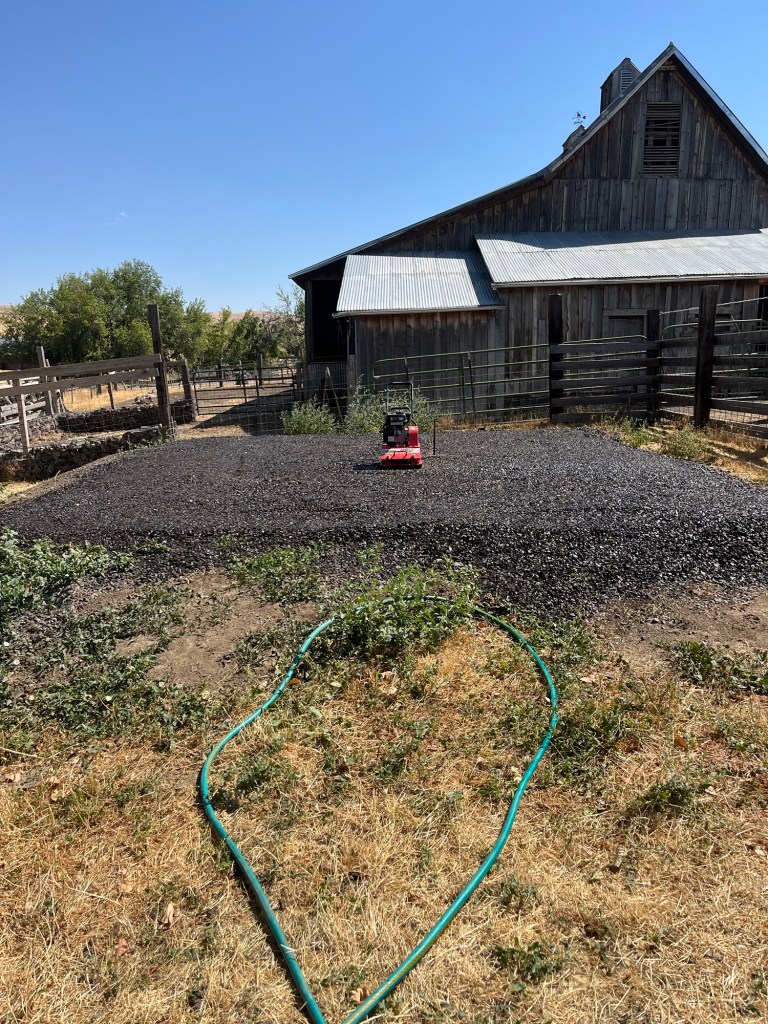
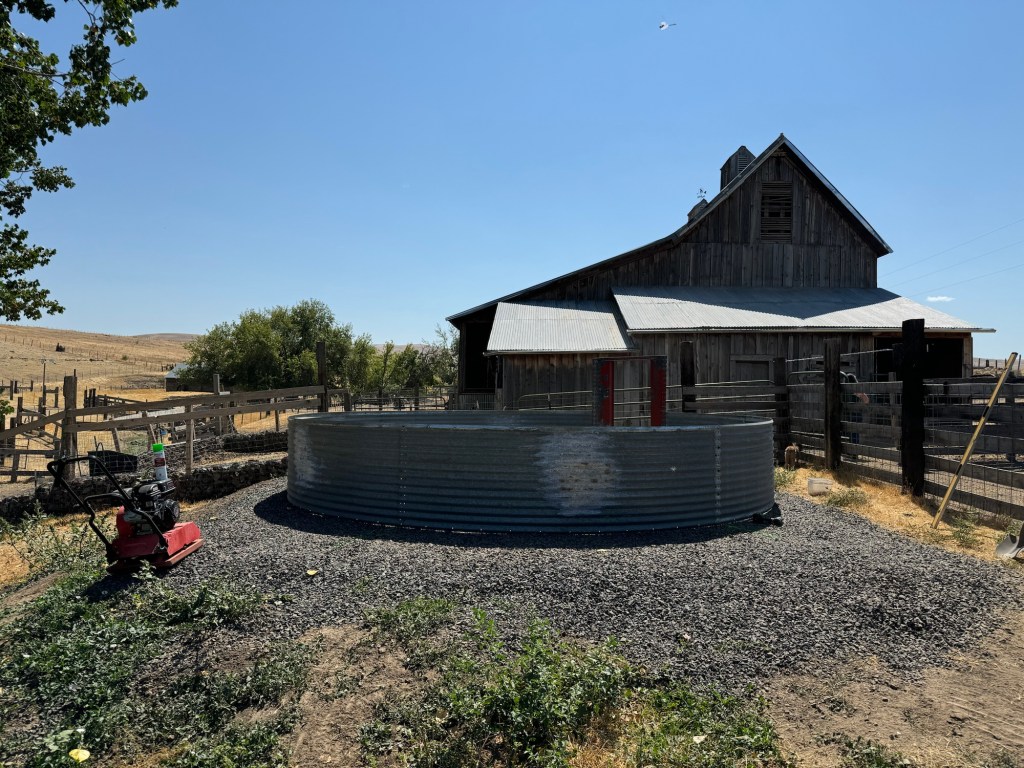
Mr Rainman was able to finally get the dirt/gravel pad all compacted down nicely so we could start figuring out where to place the grain bin/gazebo. I started setting up the first row of walls to get a decent orientation on how it was going to fit. Once I had it bolted together then Annmarie and I went out and we discussed where the support beams would be located and how much of the walls I was going to remove to create an open type building. It turns out that it takes six panels to make a full circle. We are going to take out two panels on one side to create the entrance. They only sent us enough panels to go three high but that is only eight feet high and they told us we had enough panels to go ten feet high. So to compensate we are going to take the four panels from the opening and raise up the other four panels another 32”! This will get us 10’ 8” instead but that will give us enough clearing above the posts to bolt in the ceiling.


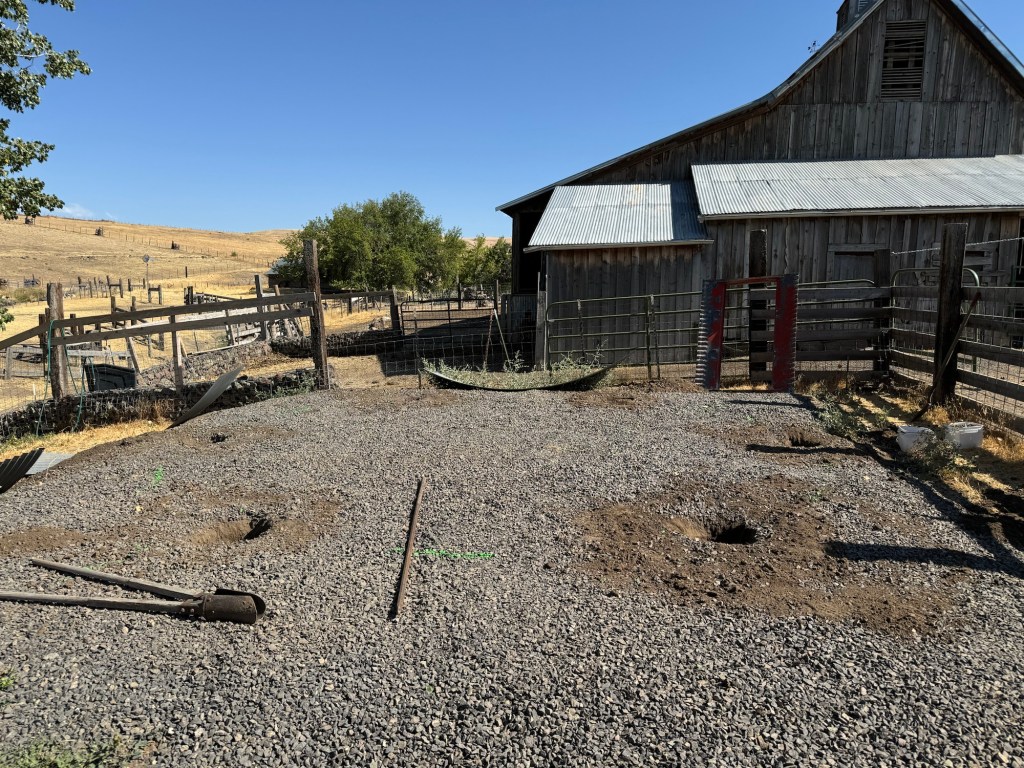
I had to order a case of 4” structural bolts so we could attach the panels to the wooden posts. We are going to install 6×6” posts on steel supports that are embedded in concrete pillars. Each post assembly costs around $100. I thought it was the wood until I looked at the receipt today, the stainless steel supports that go into the concrete are $65/each. Once I had the first ring assembled I marked the post holes and placement with some paint then we took down the walls again. I had converted the little John Deere over to a post hole auger. We drilled a 6” hole first then once all six of those were done we came back over them with the 12” auger. I managed to snap two shear bolts on the 12” auger. We kept hitting buried metal, large rocks and large tree roots.
Tomorrow, Mr Rainman will reassemble the first layer of the gazebo so he can start pouring the concrete piers. Hopefully, he can get all the piers poured but I am unsure if it can be done in a single day.

The grass is getting very high on the front hillside. We are going to let the alpaca nibble on it and see if they can make a dent.
