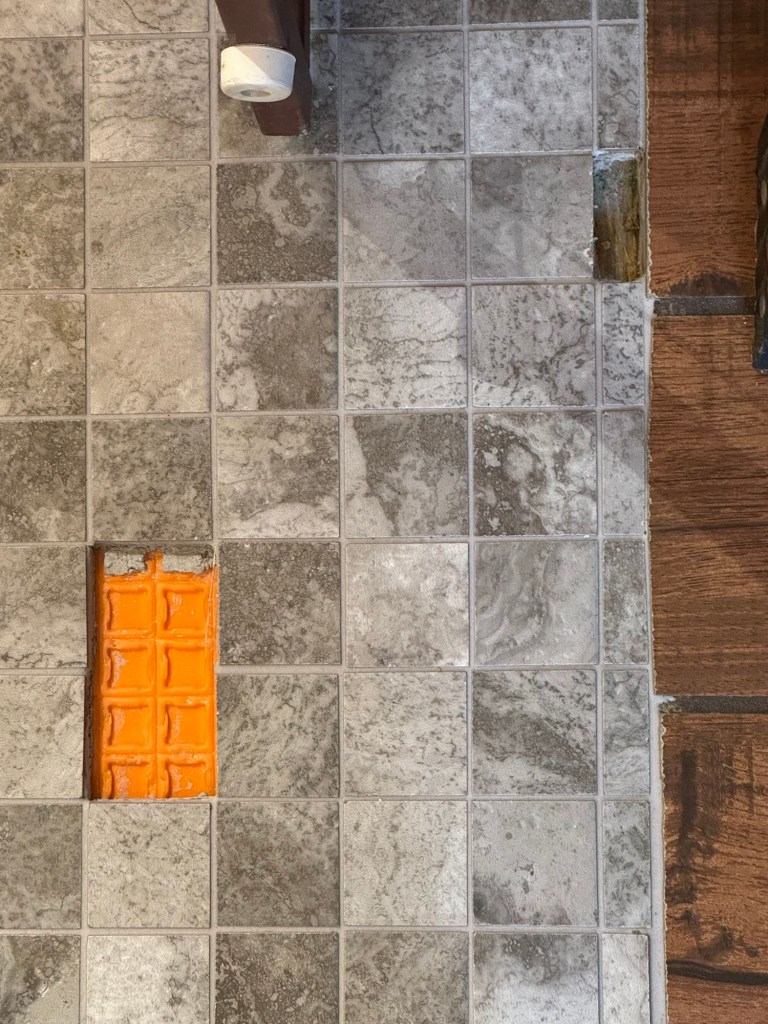
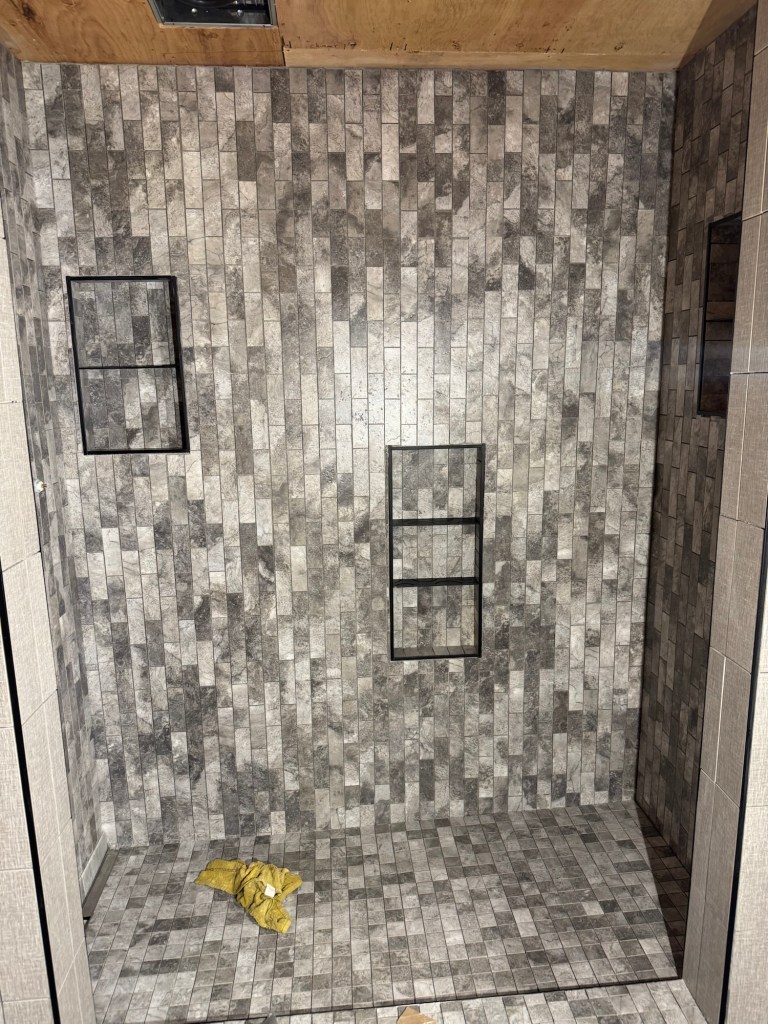
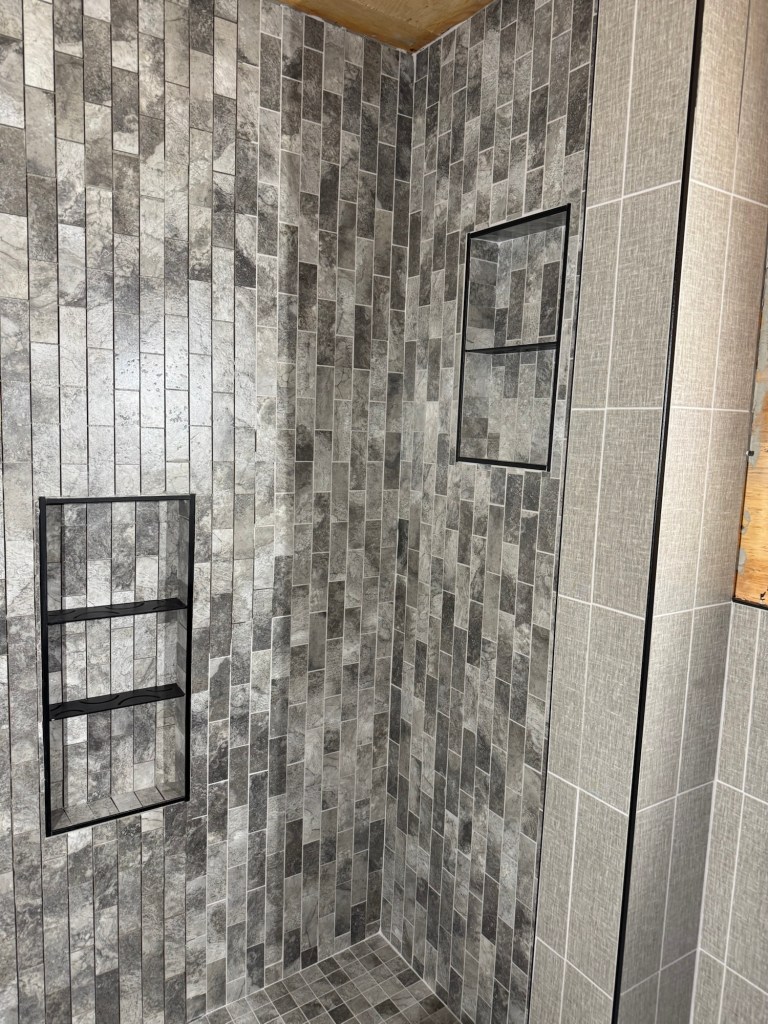
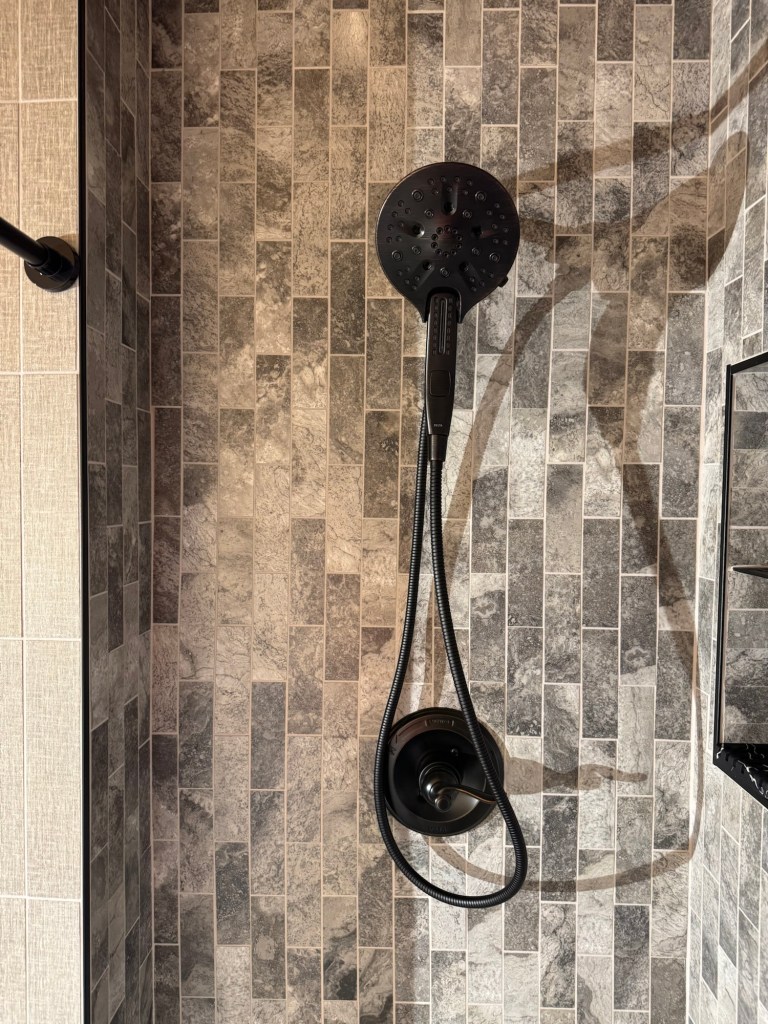
Well, I have put three more days in on the bathroom. It is going, not smoothly but it is progressing. On Friday I was able to get the plumbing parts installed. I only had to go two stores to find what I needed. Unfortunately, I discovered a couple of issues. These are what I will be referring to as endearing quirks in the future. The first issue was I could not get any hot water, only cold to come out of the shower head. I thought I had reversed the valve insert and I could simply turn it 180 degrees and solve the problem. After much consideration it dawned on me that I had plumbed the hot and cold backwards. The instructions were quite explicit on how to install the valve body such that the hot and cold would not be backwards. I read the instructions repeatedly as this is not really repairable unless I tear into the hallway wall and correct if from the back. So as a constant reminder that I did the bathroom the hot and cold water are reversed in the shower. There is also an insert that I did not raise the floor high enough so it collects water.
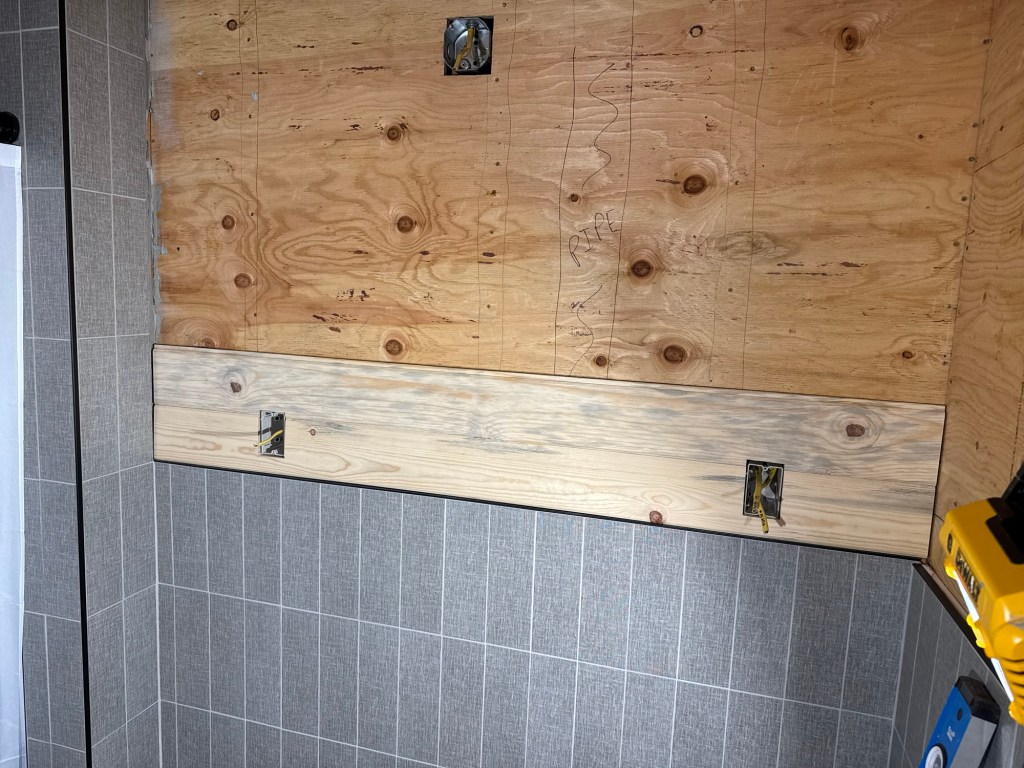
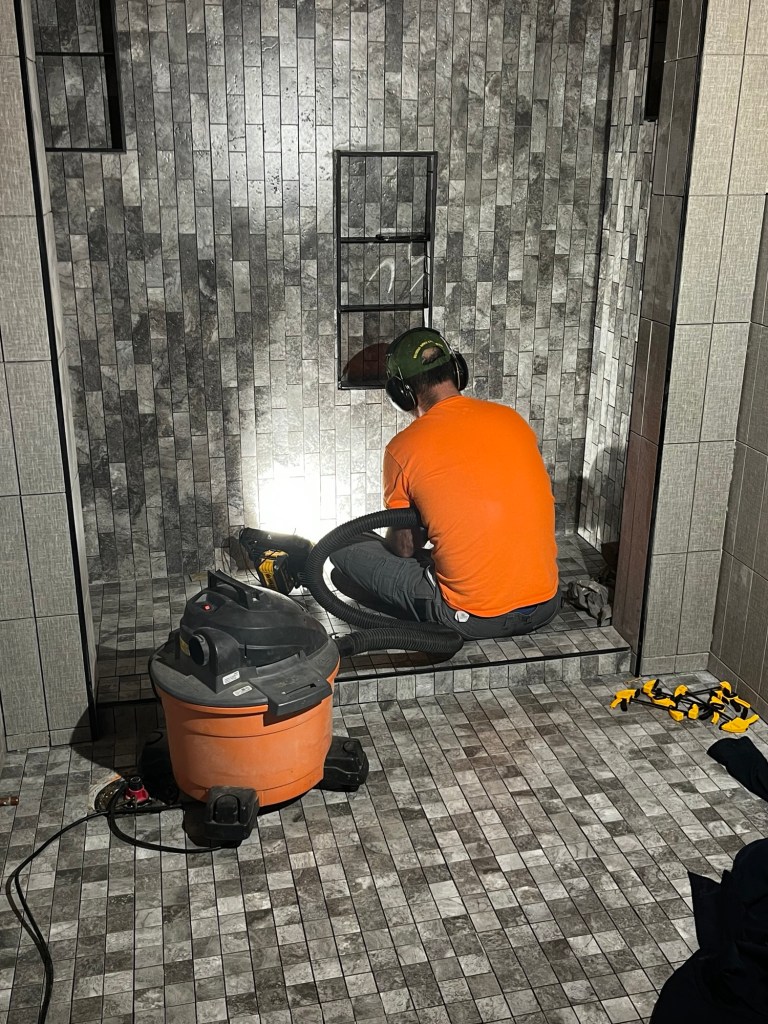
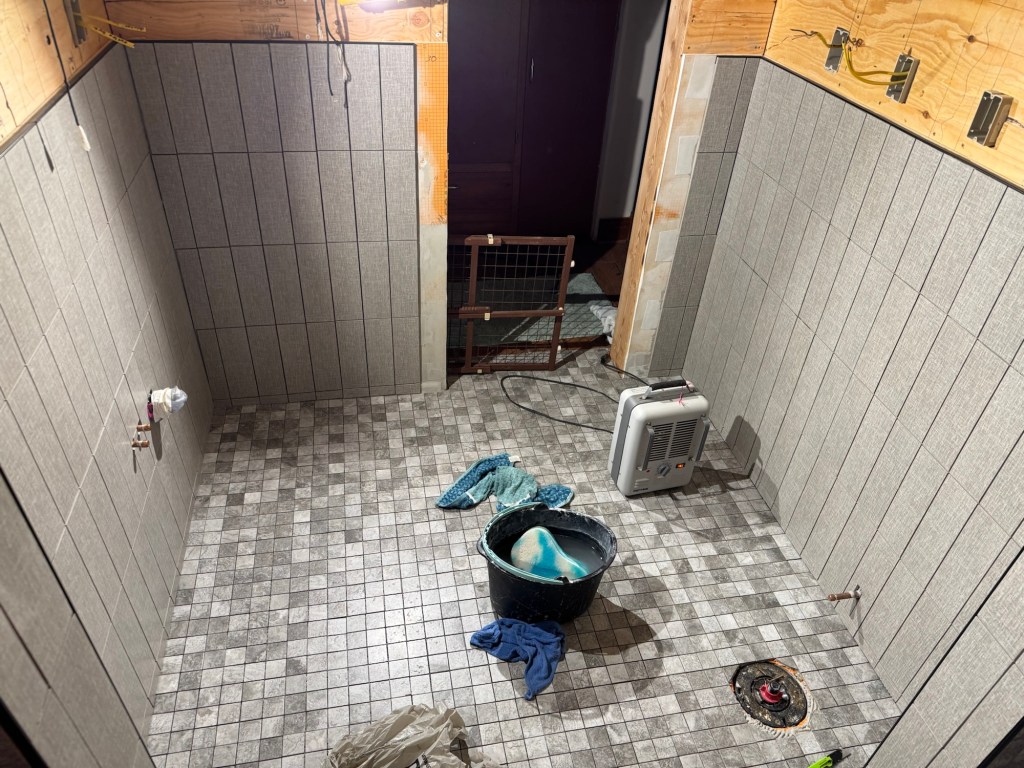
Currently, we are going to live with it for now and see how it goes. That won’t be hard as we are still not using the shower. The bathroom has no ventilation fan, lights or heater. We need to get the wood sealed and the ceiling up before using the shower. Saturday and Sunday I worked on getting the tongue and groove installed on the upper walls. What I did not realize until I was two boards deep was that for some odd reason I had two sizes of tongue and groove boards. The groove and tongue were smaller on one set. Needless to say this was not discovered until I was unable to marry two pieces with a large hammer being involved. I then had to sort out the two types and discovered that I had enough to complete each sidewall in their own type. This meant I only had pieces that did not match to do the end wall. I ended up with a trip to Home Depot to get ten tongue and groove blue pine boards. I had to look through 50 boards to find ten worth buying that did not have horrible cracks or knocked out knot holes. I would recommend waiting a month before going there to buy any.
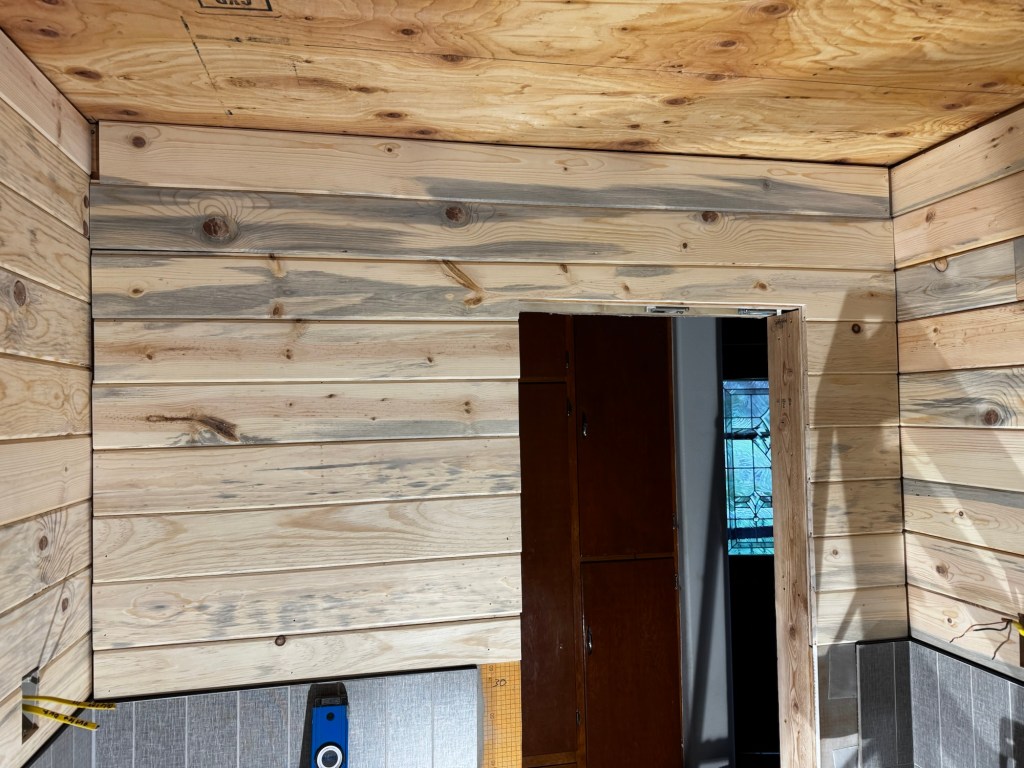

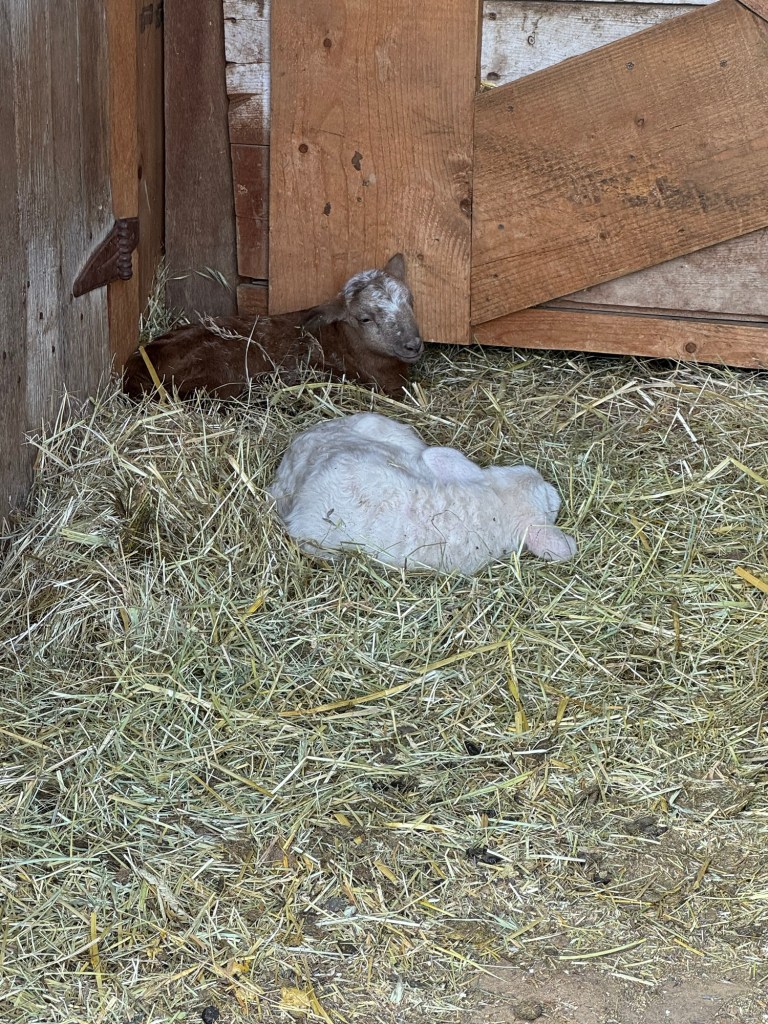
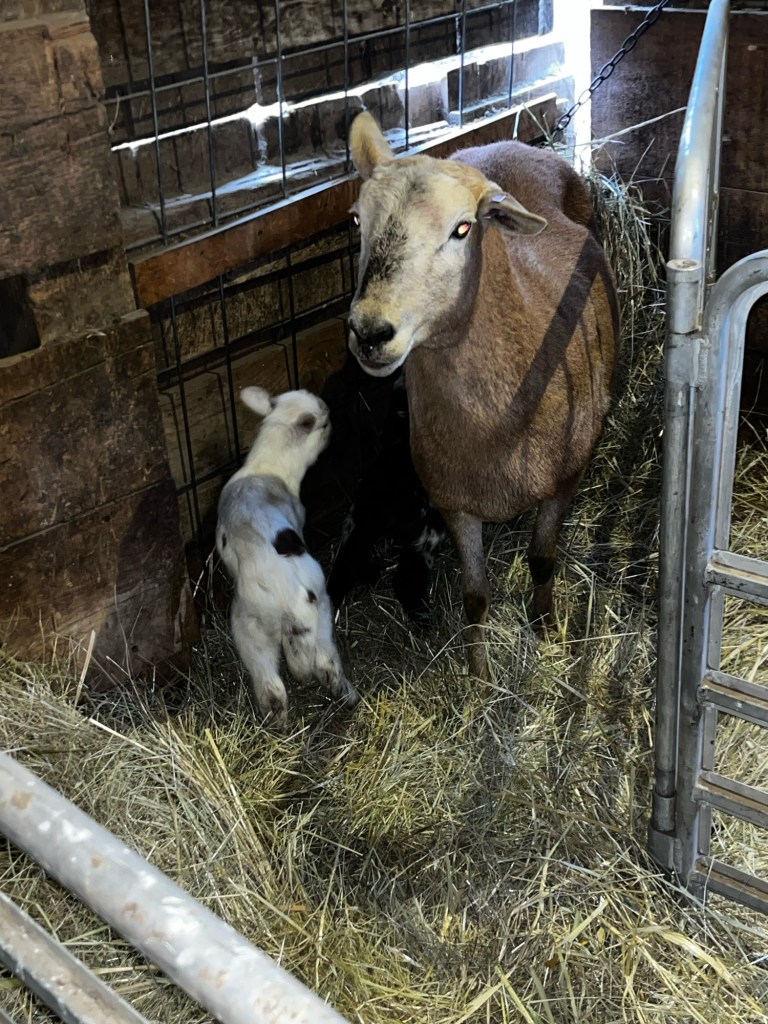
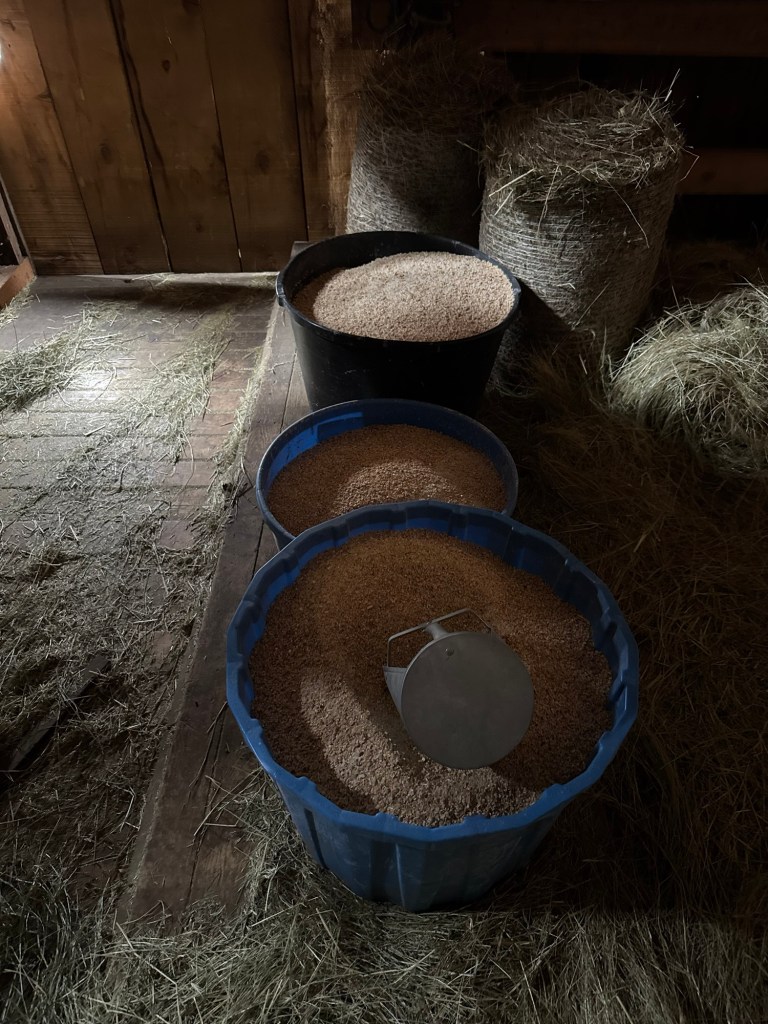
I was able to use these to finish the end wall today. It took forever to get the walls installed as each single piece of wood had to be sanded smooth. No one puts a smooth finish on wood any more, it all has to be sanded. This takes quite a while. I had hopes of getting the ceiling installed this weekend also but that did not happen. I am going to see if I cannot work on the ceiling this week. The sheep are lambing so it is taking me two hours after work out in the barn to get everyone fed and put up for the night so there is not a lot of time left for the bathroom.
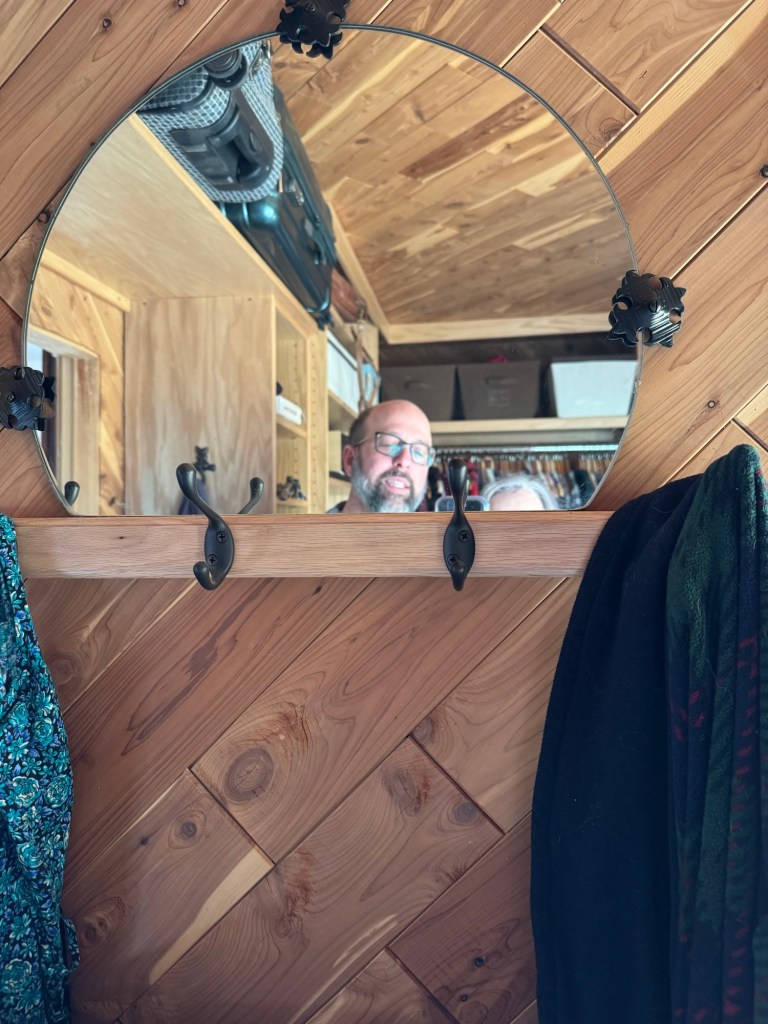
Annmarie and I found a mirror kicking around in the house when we were setting up her sewing room. It used to go on a men’s butler drawer I believe. I had this great idea to install it on the wall in our walk in closet. She told me it was fine but it was not going to do her any good. I got some metal pieces to hold it in place and installed it this weekend.