Well, today was finally the day that actual tile was applied to the bathroom remodel. I was not sure it was ever going to happen as long as it was taking to get to that step. Before Mr Rainman began tiling the floor I made us go out and measure the toilet to make sure that it would fit. I wanted to make sure it was far enough from the wall to not hit after we installed the tile. We will have about an inch to spare! If we were going to have to tackle that mess I wanted to do it before we had tile on the floor.
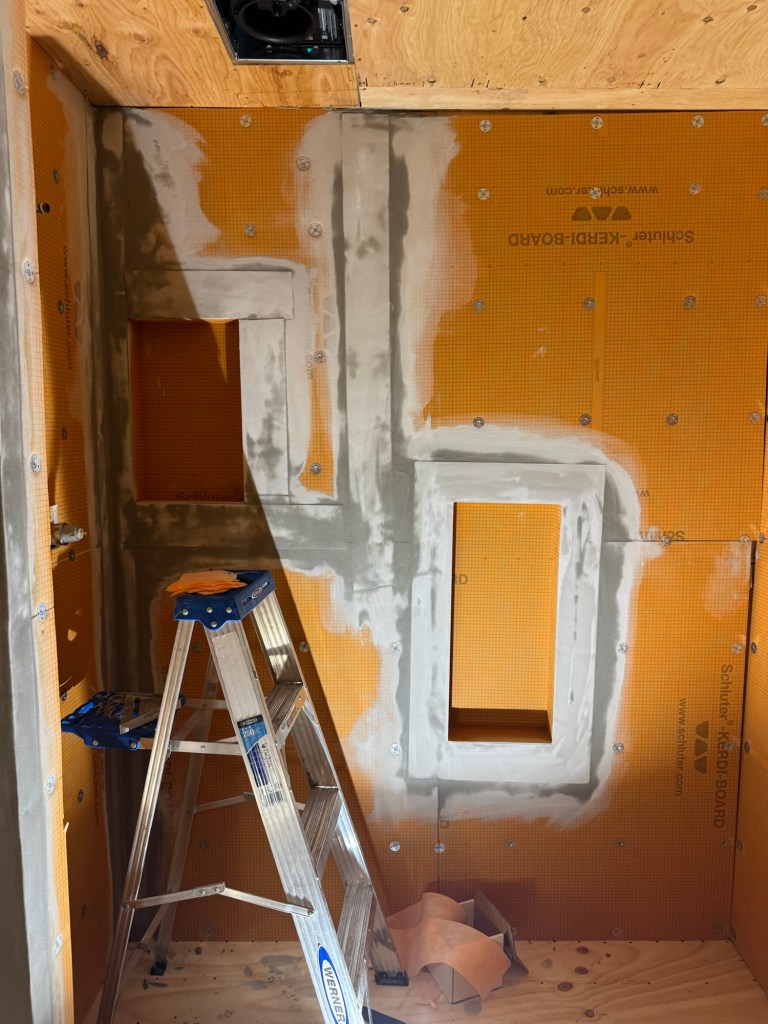
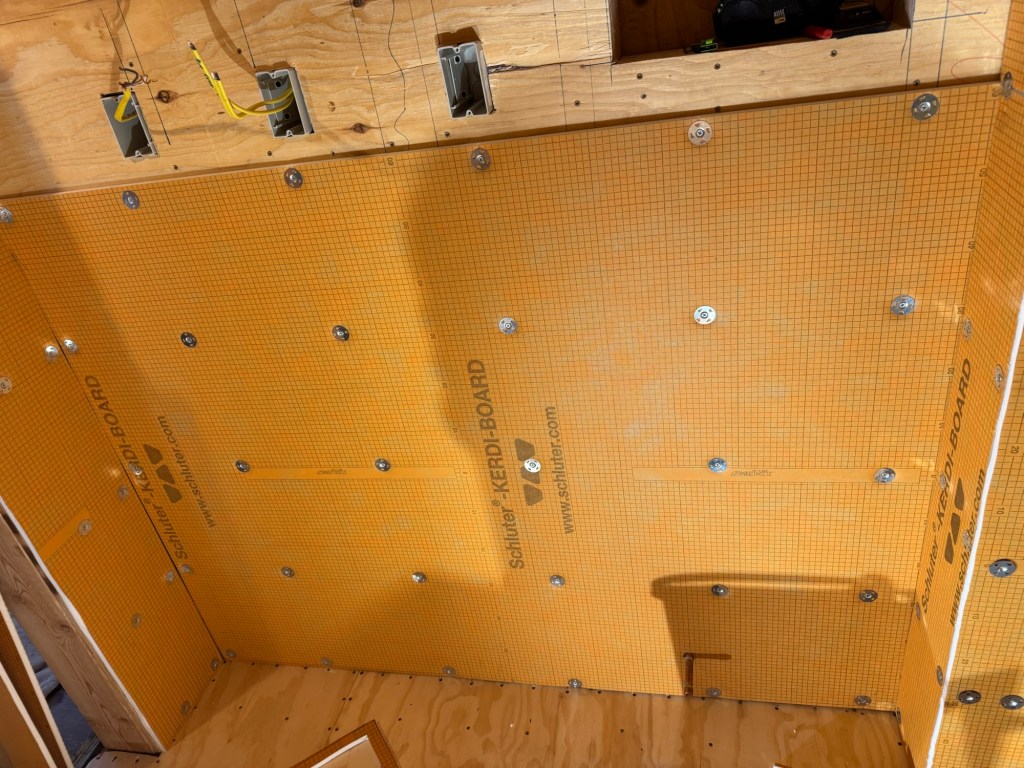
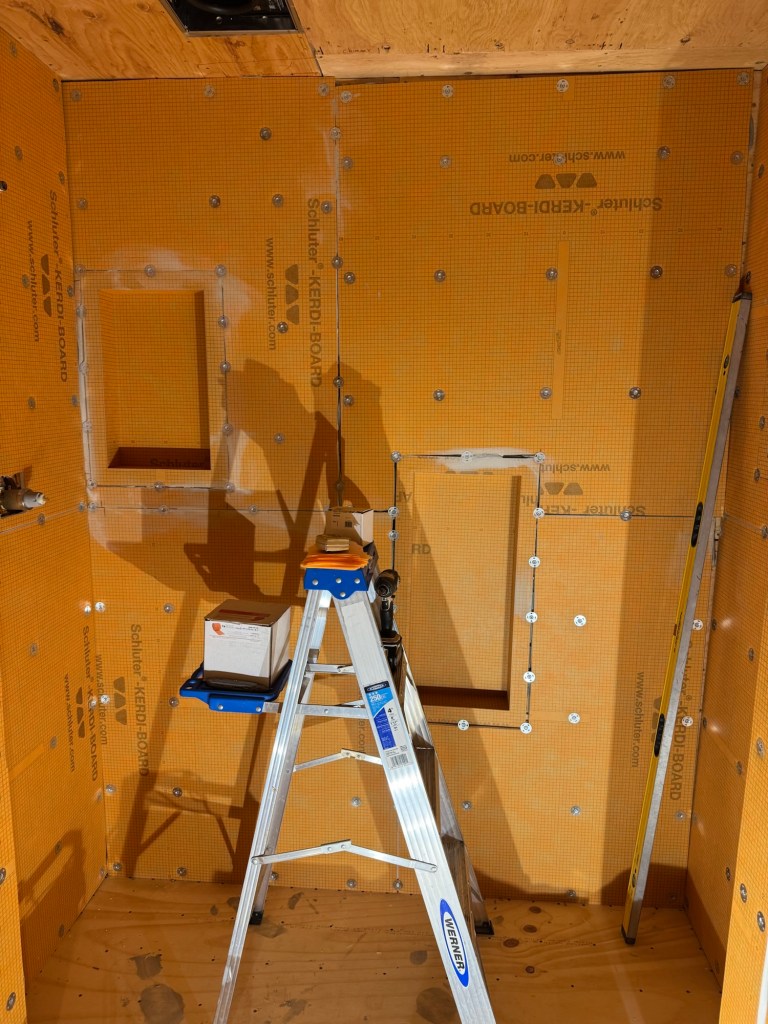
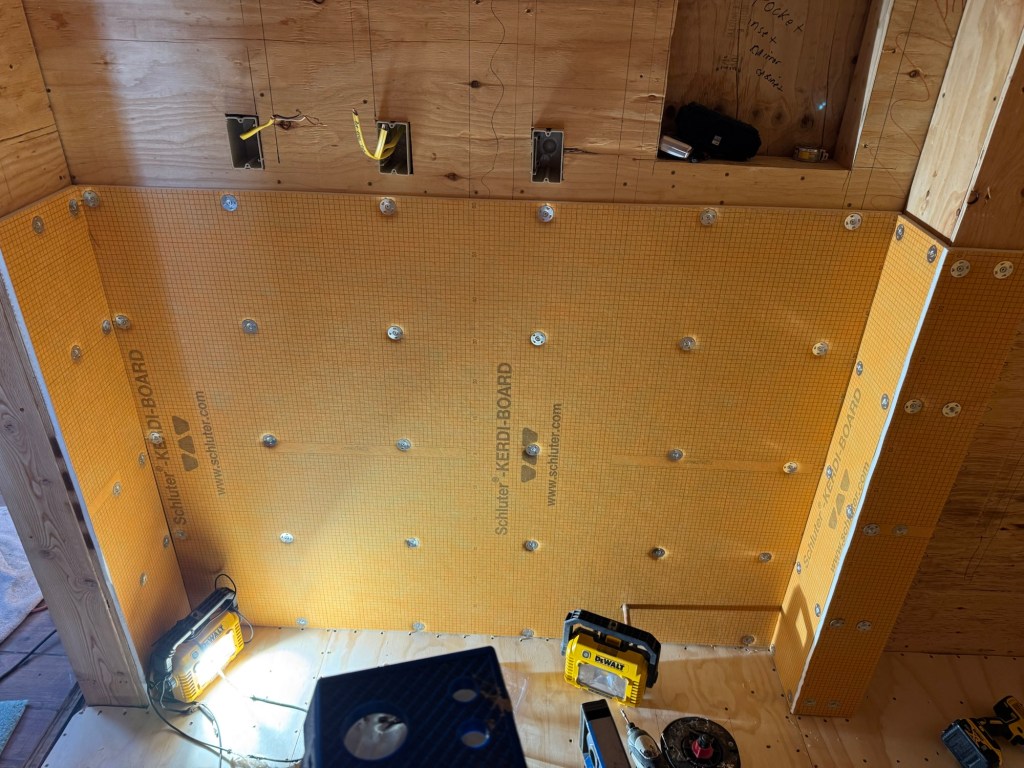
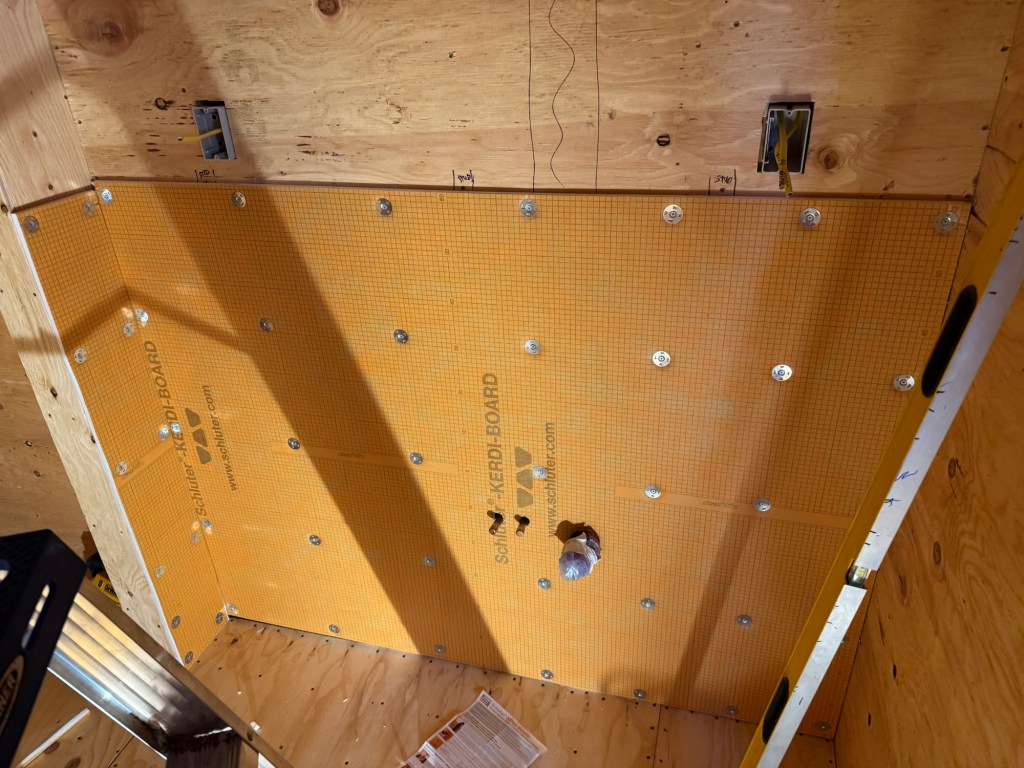
We opted to tile the main floor first as I will be setting the wall tile on the floor tile to hide the lower edges. In the shower I have to actually tile the walls first before I do the floor. It has to do with how the drain is installed. I need to watch that YouTube video again. This entire process has been internet searches and YouTube videos when it comes to the Schluter part. I am super happy with the waterproofing ability of it but man it takes a lot of time to do it correctly if you are not proficient in using it.
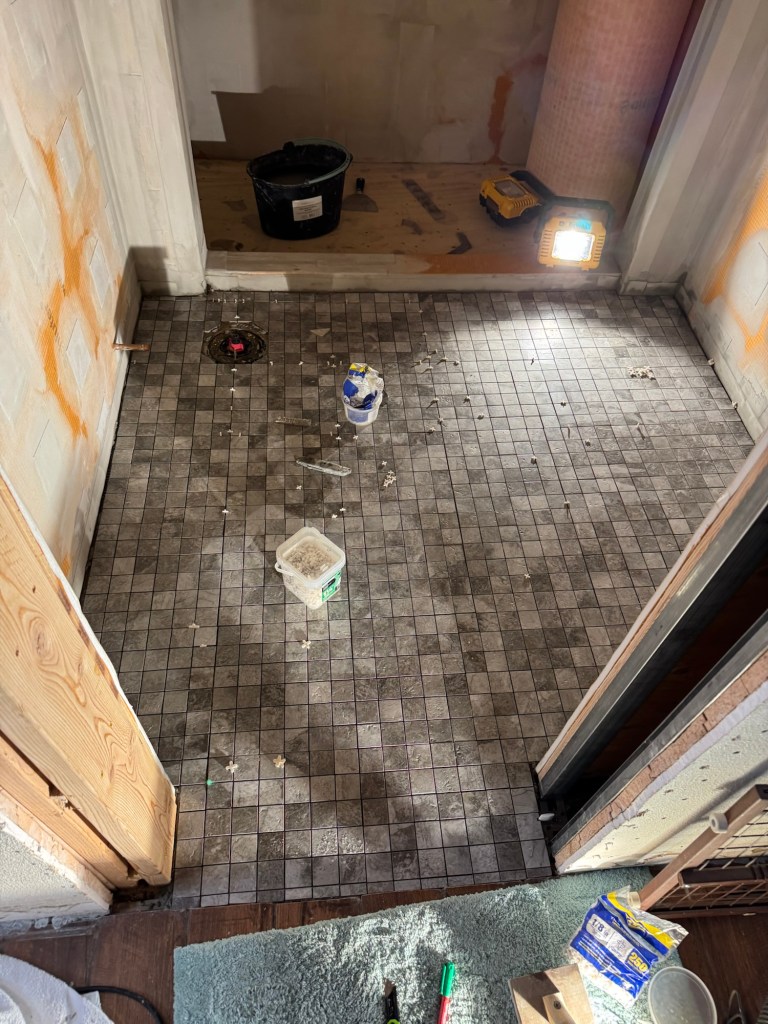
It took 3/4 of a bag of mud to get the floor installed. We are going to use two buckets tomorrow and only mix 1/4 bag at a time so the mud is fresh and not so thick. It gets very hard to use when it is thick.
I had forgotten how much I dislike using tiles that are mesh backed. Each of the 2×2 squares is attached to a 12 inch square mesh. In theory this makes it faster. It does do that but the gaps are not equal between the tiles on the mesh so placing them can be difficult. I managed it with adequate swear word usage. I need to use the do rag on my head again. I had sweat dripping off my face into my eyes halfway into the floor tiling process. It is a lot of work to get that mud down into the squares on the Detra membrane.
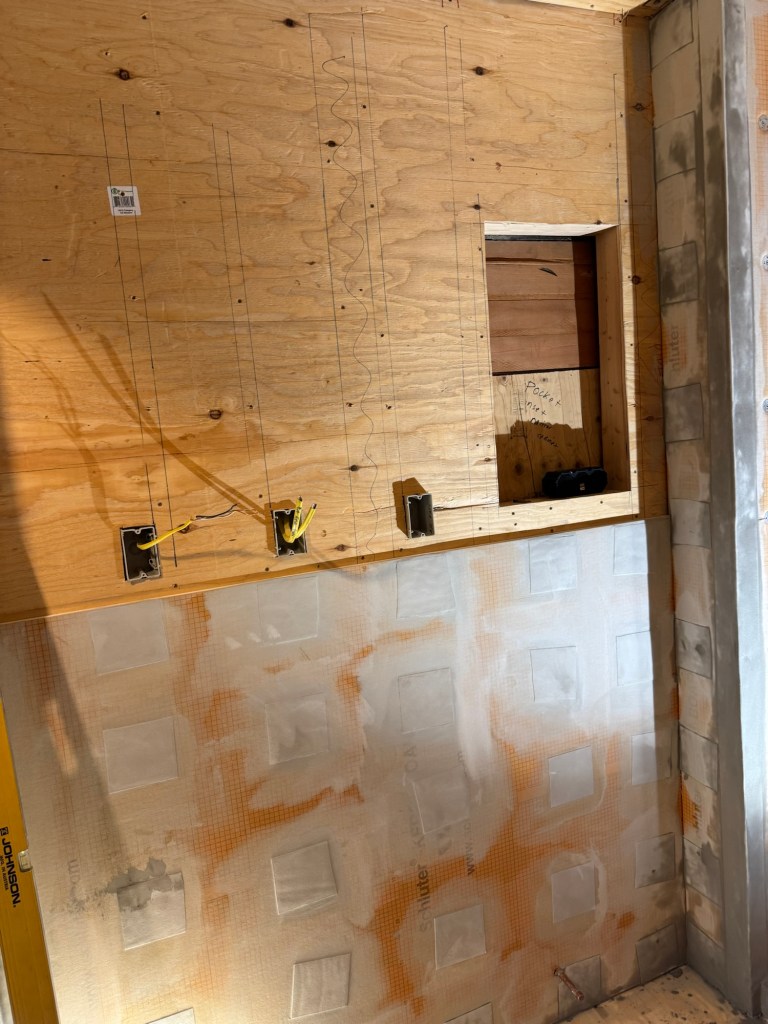
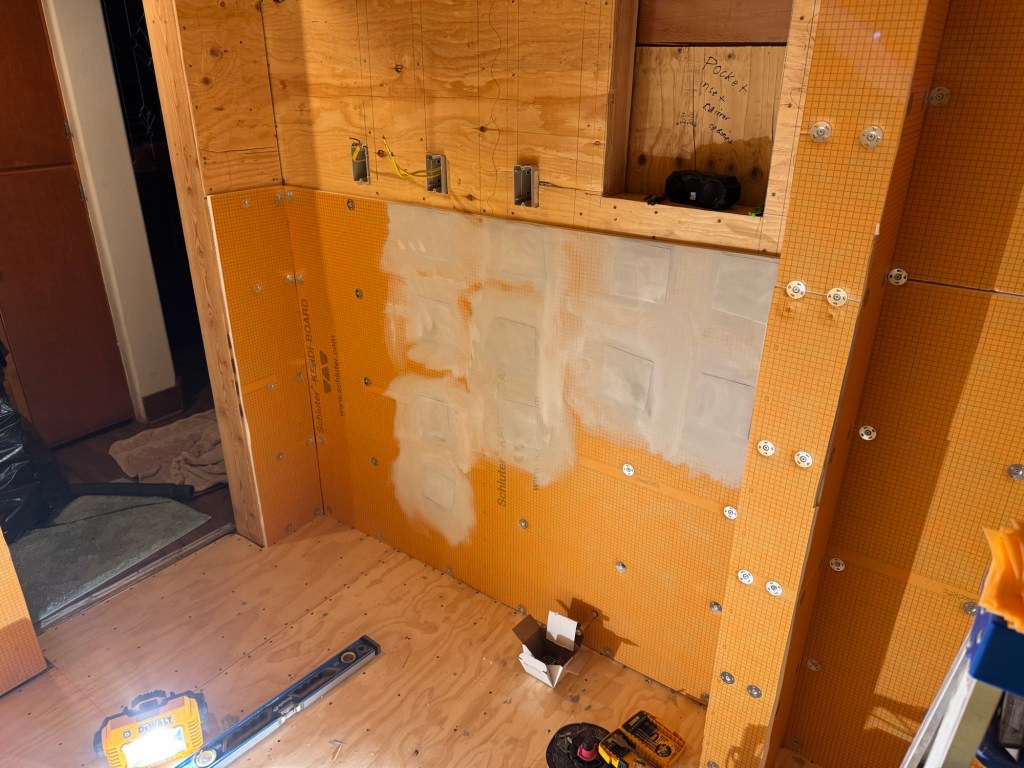
I had unfortunately set the laser up in the hallway and Mr Rainman kept bumping it. About 1/4 of the way into the floor he asks me why I did not set up the laser in the shower space out of the way. This is a great idea and one that I did not think of earlier. I think I did not do it because the ladder is there but I could have made room for the laser.
We managed to just get the last of the tile laid using the last bit of mud/mastic. Mr Rainman go to go home early.