Barn work has begun!

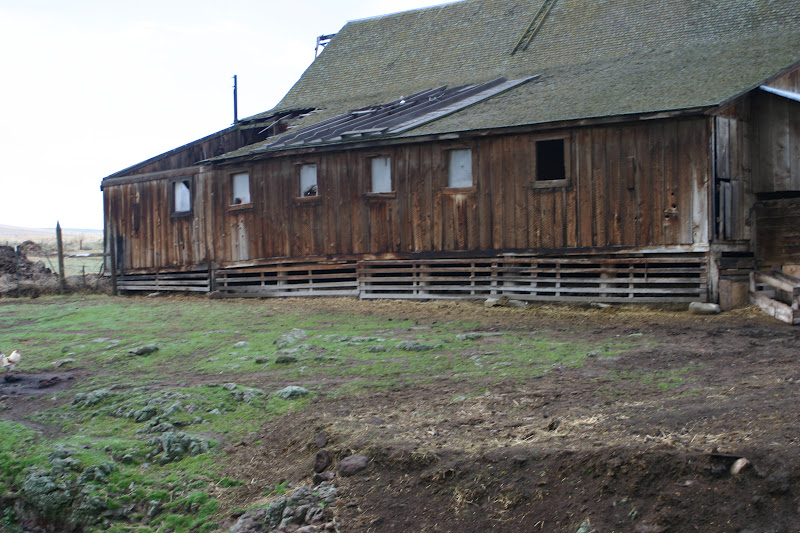
This is the backside of the barn.  You can see it is sinking on the left hand side.

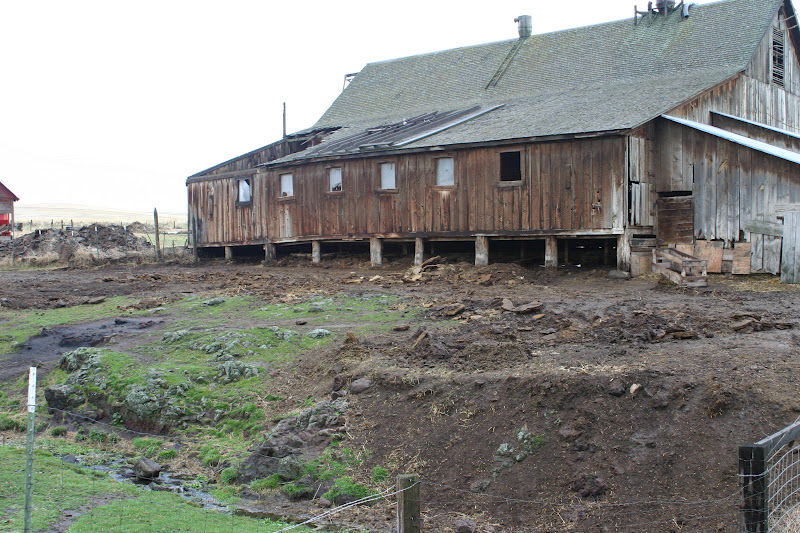
Today was the big day, I started work on the barn.  Unfortunately, not the kind of work I wanted.  After removing the panels covering up the pillars I realized that I needed to dig out under the barn.  Two feet of sheep shit!  There is nothing like sitting on your butt bent over digging under a building.  A real upper body and back workout.  I fired up the tractor and slanted the dirt so the water would run away from the building and not back under the barn.  I did manage to scoop out about two feet of dirt with the tractor but that was it.  So I started digging by hand, the old fashioned way.  My progress is measured by how many pillars are unburied.  There are 9 pillars and I managed to uncover three but only dig out two spaces between the pillars so only 25% completed.  I only dug back under the barn to the next set of supports.  I need to buttress up that beam, as it is twisted and low on the low end of the barn.  Hence having to dig it out.  
First day of digging completed.

This is going to create far more dirt so I will be attempting to spread that all out on the barn lot side to cover all the rocks and get a nice level area ready for pasture seed.  I went and purchased some dry pasture seed (doesn’t need to be irrigated) a 50# bag costs $60.  Once it is all dug out, roof repaired and windows installed I will plant the seed.  I may just leave a 10 foot section near the barn unplanted so I can get the rest of the pasture planted.

Two sections all dug out, see the row of supports back under the barn.

The wind has been howling and it ripped our wood shed door hinge screws right out of the wood.  I am going to have to purchase some 8 inch long bolts to bolt the door back in place. 

The chicken door worked!  The chickens came out this morning without any difficulties.   They ran around in the rain all day.  Digging under the barn made me immune to the rain.
All the beams are sitting on rocks under the barn.  No concrete and no precast anything, just good old fashioned flat rocks.   
Another automatic chicken door.

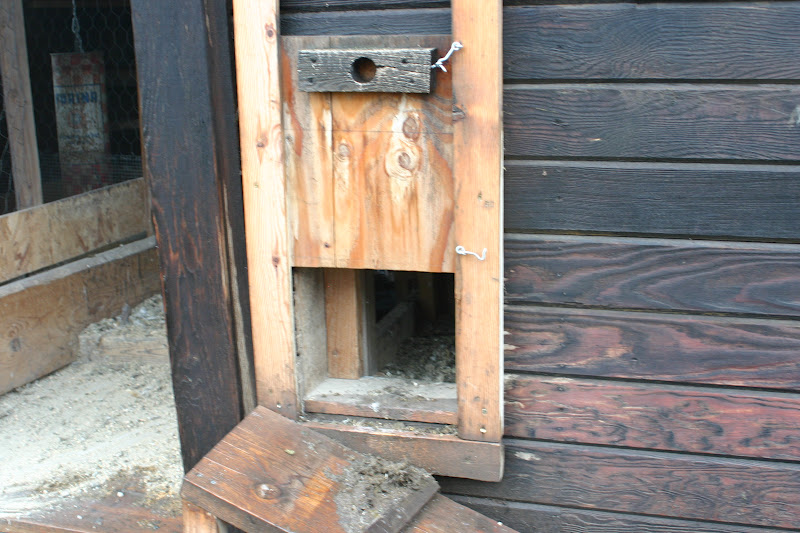
Outside of coop before installing new chicken door.
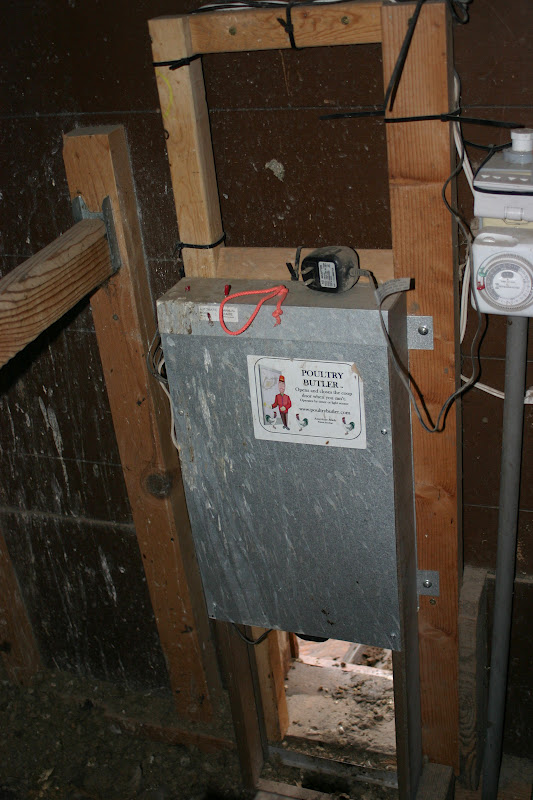
Inside of coop, old chicken butler that needs to be removed.

I just love the concept of an automatic chicken door.  I cannot imagine anyone who has lost chickens to predators not wanting one.  My first one was a bust, the chicken butler, I installed two of them and they both were too finicky and broke.  It was either the chickens, the design, the predators or my teenager daughter that caused the butler to fail so quickly.  Either way, not designed correctly.  I happened across an add in craigslist of a gentleman who builds his own in Portland.  I contacted his wife and she packaged and mailed me one.  Only cost me $110, less than 50% of what I paid for the chicken butler.  I just got it in the mail yesterday, so it was installation time.  We had fallen back into our wonton ways and were not locking up the chickens at night.  Its dark out there!  Hence the need for a new automatic door.  I had not done a head count in a month either and our egg production was slipping so I feared the worse (another predator).  Sarah and I went out to survey the requirements needed for installation.

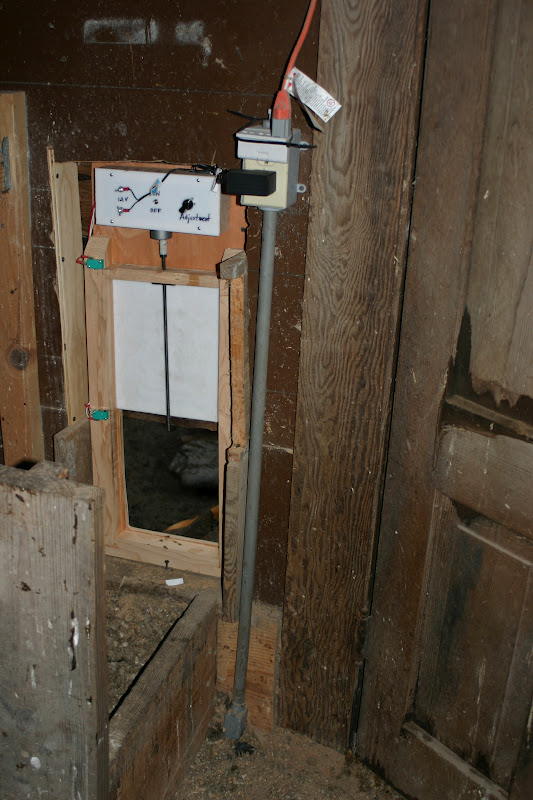
When installing our chicken butler I had to make a frame for it to be mounted against.  This needed to be torn off.  But after looking at the new door it needs to be attached directly to the outer wall.  I have insulated walls and old paneling on the walls.  Which means cutting a much larger hole to accommodate the new chicken door.  The new door doesn’t have a name.  Any good product needs a distinctive name, I have decided to name it the “POULTRY PROTECTOR”!  The Poultry Protector has a built in light sensor that needs to see the daylight.  Once I cut away everything inside the coop I will need to drill a hole to the outside so the eye can get some light.

Inside of coop with Poultry Protector installed.

I just used my zip it to cut the paneling.  It is not a precision tool, but hey, at this point it is just the coop.  It needs to work but doesn’t have to be perfect.  It took a couple of tries to get the right height.  My old opening was framed, but the Poultry Protector was a little too snug, that problem was corrected with the judicious use of a hammer.  Once the door was installed I had to adjust it so it opened.  I kept screwing with the adjusting knob to get the sensitivity right and blew the fuse (already a better product, it has a fuse!).  I changed the fuse and it worked fine.  The opening is slightly smaller.  My only improvement  for this product is to have it not touch the base plate.  I would have the base plate come up against the back of the door so if mud or poop built up it could not keep the door from closing.

Outside, hole for sensor, smaller opening.

The use of a piece of threadall means you have positive closing and opening and the rope doesn’t pinch itself and cease to function. 

We have two hens that are brooding.  I checked both of them yesterday.  One was sitting on four eggs and the other had no eggs.  So I gave the no egg hen six eggs.  We are going to let them try and hatch the eggs.  We will have to clean out the chick area in the next 25 days just in case they actually manage to hatch some babies.  I also counted hens, there are still 27 hens and one rooster.  My light had burned out in the coop so I changed the bulb.  More eggs should be coming directly.  I will do my monthly egg reports tomorrow.  I only used 100# of food last month.  If I can keep the feed usage down the chickens may actually pay for themselves this year.   I am going to start in on the barn today.  I will be sure and get some before pictures. 

Fire is supposed to be your friend

It has rained and snowed for the last three days.  I was sure it was safe to burn weeds, not only that but the back creek is starting to raise from all the moisture and the weeds are clogging it up.  So I fixed the burner and started burning.  It went great.  Cleaned out the back creek, raised both fences so the water can go under the fence and not through.  Then I went up to the spring head and burned the weeds.  When I left there I noticed a little smoke coming from one of the dead upright trees.  The tree in question stands 16 feet in the air and is three feet in diameter.  I cruised on down to the driveway to start burning weeds out of the fence line.  After two sections I look back and notice some of the fire going into the CRP.  I go down and stomp it out.  I burn three more small sections and look back.  Fire, lots of fire.  It takes me about 30 minutes to stomp it all out and I had to stop a few times to let my boots and blue jeans cool off.  I decided then that it needs to be actively raining now before I can burn.  After my shower I could still smell smoke, but attributed it to residue in my sinuses.  The dog just asked to be let out.  There is a 16 foot tree on fire!!  The whole stump is burning from the inside out.  Luckily there is nothing over there but that tree.  Fire is supposed to be my friend.  It just is not turning out that way this year.

New toilet finally.

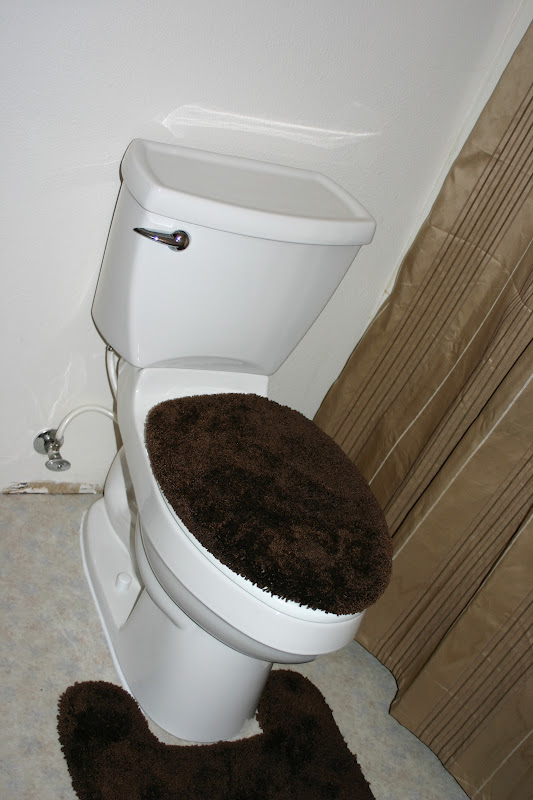
New toilet installed!  Only sat in the shed for 4 years…

I received a very angry call at work on Monday.  The old toilet was overflowing and the water float was not turning off the water so it was continuing to overflow.  Sarah shut off the supply valve and then plunged the toilet back into functioning status.  Needless to say the toilet jumped to the top of the priority list.  Actually, it was handed down that NO other job could be done until the toilet was changed out.  I managed to get it installed with only two trips to the hardware store.  One for a new hose (I had two different length ones already but both had the wrong size fitting on one end) and the other for clear and white silicone.  Which is no longer called caulk it is now silicone adhesive.  It really isn’t used for its adhesive properties, at least I don’t use it for that reason, but that is how it is being marketed.  I had to read three different labels checking to see if they added anything to the silicone.  I will finish caulking the base today.  I started it then realized I had better let the toilet get used for a day or so before finishing up the caulking job.  No leaks now, I had one at the supply valve and had to tighten the packing. This toilet is marginally taller than the old one (it had been dated 1988 on the inside of the tank lid, probably by Annmarie’s grandfather). 

I called around yesterday pricing lumber for the barn.  Found a great deal at Blue Mountain lumber in Reith, OR.  They had some 1×12 inch x 16 ft boards that had been sitting outside and had gotten weathered.  They had almost 3000 bf (a board ft, bf, is 1 inch thick lumber x12 inches wide) or in this case 3000 lf (lineal feet, actual total length of the boards).  I only wanted 2000bf, but the price was so good I opted for 2500bf.  They called back and just threw in the last 500bf to get rid of it for the same price.  The final price was $1000 for 3000bf or $0.30bf or $4.80 for a single 16 foot board.  The weathering won’t hurt the boards at all since they are going to go on the outside of the barn any ways.  I also got a great deal on some 2×6 tongue and groove rejects.  They were milled incorrectly and the visible “V” cut is chattered.  I can just turn them upside down and use the square side.  I need to measure the barn floor to see how many of these I need.  If I take random lengths the price stays low.  So of course I am going to do that.  I am only using them for flooring in the barn, they don’t need to be beautiful, just sound.  Now if I only had my trailer…

Second day of spring.

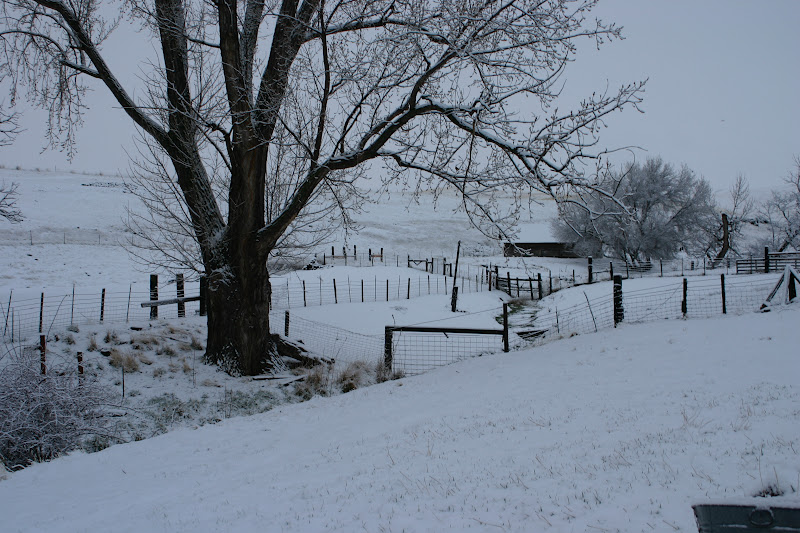
 It snowed last night.  We woke up to a white second day of spring.  School was not cancelled.  Surprisingly, some of the chickens were out wandering around in the snow.  They usually stay indoors.  Hopefully, the non scared chickens can teach the scared ones to come out of the coop next winter.

Second day of spring.

Seeds started

We did it and got all our seeds planted on the breeze porch greenhouse.  Also managed to replant all the cactus that we started from seed two years ago, about 12 plants now in their own containers.  I also started some lavender from seeds.  I started those in the peat plugs like the creeping thyme.  I have over 100 plugs with seeds in them, we shall see how many I can sprout and then subsequently keep alive.  I want to grow the lavender inside this year then plant it next year, but it will depend on how fast the stuff grows and how big it gets.  We want to stick it in clumps on our driveway side hill.  I didn’t get to plant the asparagus starts yet, the seeds have to soak for 24-48 hours before you plant them.  Next week I will try and get those in some dirt.