Back at the Gazebo

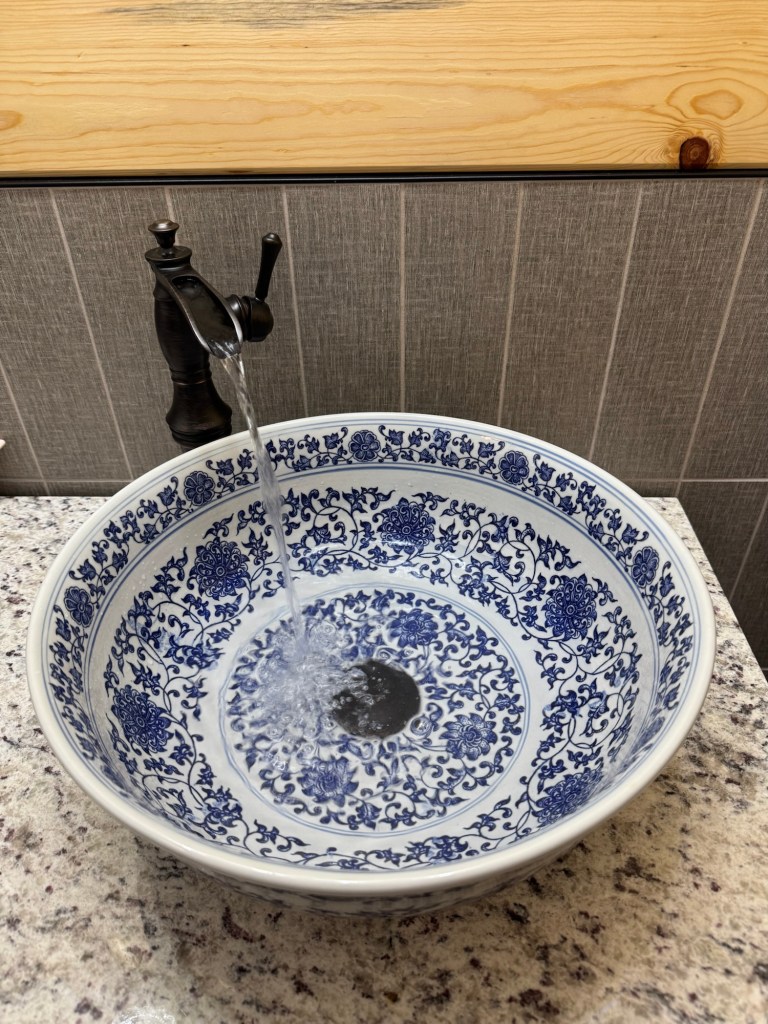
We have been processing fruit nonstop for a few weeks now. Annmarie was able to pick up 25# of #2 peaches on Friday for $22. We have been cutting them and freezing them in one cup portions for her to use in her smoothies. We almost have enough fruit to make it the entire year, the upright freezer is 2/3 full of frozen fruit. We are still getting half a flat of tame blackberries every four days. Annmarie made plum jam today and we are done with the plums. Luckily, I was able to give a large portion of them away. The sheep gobble them up as soon as I toss them over the fence.

We have a few Italian plums still ripening on the two trees and some nectarines. The nectarines have about 1-2 weeks before they are ready. I will need to keep checking them every four days to make sure they do not get away from us or else the yellow jackets will be the only ones eating nectarines. Mr Rainman had told me that they propped up their fronds from the asparagus plants. He said that the plants shot right up once they no longer had to worry about stabilizing themselves. Who knows, we propped them up with bamboo stakes and tied them onto the stakes. So time will tell if he is right. The new parts to our trumpet vine are finally taking off and we may be able to get it to grow on our new trellis around the living room window. I have been trying to get the bush to spread out that way with very little success but this may have been the year for expansion.

I went to town and got 45 bags of sand for the floor in the Gazebo. I had to empty out the gazebo first then clean up all of the organic matter and then to make sure the floor is flat. I was hoping I could just toss the sand down and spread it out then slap down the tile but I am told that I need to spread the sand out, hit it with the compactor and then work on getting it all smoothed out. This is going to necessitate repairing the drive cord on the compactor first. So I guess the best way to get started is to unload all 45 bags and spread them out on the floor. But I do not want to do this until the compactor is functional. Otherwise the cats will use the sand like a kitty litter box. I don’t really want to be chucking cat turds out of the sand as I am trying to lay bricks down. After the Gazebo floor is done the greenhouse needs to go up next. Unfortunately, I need to install a small fence to go around the greenhouse first. I don’t want the sheep or cows rubbing on the greenhouse.

Bathroom remodel day 46

I was able to leap forward this weekend on the bathroom. I managed to get the new mirror hung, the towel racks hung and I was able to shorten the one side of the middle drawer. My cutout measurements were accurate but I needed to shorten the middle right side drawer. It needed to be shrunk by 50% to accommodate the new drain pipe. My guesses for the other drawers worked out and it was fairly simple to make the alteration. I have even started to put some of my belongings down in the bathroom. Annmarie has the upstairs bathroom so I use the one downstairs and I plan on thinning out all of the items before I bring them back into the bathroom.

The only thing I can do now is to cut the three corner trim pieces. I have not done it yet as the Gingerman has my finish nailer so he can finish the baby nursery. I will need to at least get them cut, stained and fit tested so they are ready to be installed. It looks like I really need to work on getting the custom cabinet built. I plan on storing all of my electronics in one compartment, cleaning supplies on the bottom section and towels near the top. By the time I get the towels, hand towels and wash cloths in the cabinet it will fill the entire thing. I think I can get the cabinet built in a weekend but it will take both days to get it done. I realize that this sounds optimistic but I still think it can be done. But honestly that might just be the body of the cabinet and the front face and cabinet doors may take another day all by themselves. They seem like they should take no time at all but I realize that is never the case. I have the plans all drawn up with measurements for all pieces and a sketch to use to assemble them. I was even able to find the plans two weeks ago. They were buried in between some tile boxes in the old house.

I did dig around today looking for some rifle brass and a die set. I found one box in our closet, four boxes in the attic and two boxes in the old chicken coop. I am still missing two boxes at least. I am pretty sure they are in the attic but we did a huge clean on the attic this year and I think I moved them into a different stack up there. I will need to move every single box in 2/3 of the attic. Gingerman and I moved all of the boxes in one corner today without finding those missing boxes. I know they are missing because I could not find the die sets that I know are there. This is just a case for me to get the old house “man room” completed so I can set all of this stuff up and get a better handle on what I have available. I want to get a jewelry table set up also. I am going to take one corner of the room for this, I want a lot of light and an overhead exhaust fan installed so I can use a small torch.

Bathroom day 45

It has only been 45 days on the bathroom project over the course of 26 weeks now. Mind you I told the wife it would only take four weeks. I may have been a little off on my estimate. Normally, you can take my estimate and multiply by three and be spot on. That is not the case this time.

I only needed to install the sink plumbing and I would be done with all water in the bathroom. To do this I needed to change out the wall supply valves so they were 3/8” outlets. I figured this was going to be fairly easy as the nut and crush washer were going to stay on the copper pipe and I just needed to change out the valve body.

I should know better by now. I am cursed when it comes to plumbing. I changed out the first valve without incident. I then did the second valve, again fairly easy. I figured that I should check both valves before I hooked up the sink in case I had a slow leak around my swap. I went back to the main water shut off in the laundry room and opened it up. I got distracted by something and was in the kitchen when I thought I heard a weird noise coming from the bathroom. I went into the bathroom to a fountain. I had both valves pointed to the ceiling and the second valve I had not closed. I was spraying water all over the wall, the light and ceiling. Luckily, the floor slants towards the toilet so the water was just pooling on the floor. I had about 1/2” of water on the floor. It took me another hour to get the bathroom cleaned up and dried. I did not get electrocuted when I cleaned all of the water off of the light. Neither valve leaked once I actually shut the valve.

I hooked up the sink without any further incident. I even cut the Pex pipe and used the parts Delta sent me to get a seal on the Pex. I wanted to run the water but the drain was not yet installed. So I tried to install the drain from the parts I had on hand. Nope, it was not going to happen. Sixty dollars later and two trips to the local store and I had purchased enough parts to be able to plum the drain. I then did turn the water on and it did indeed work and drain perfectly. This entire endeavor took me a whole day. I just do not get along with plumbing, we are enemies.

Bathroom Day 44

Well it is week 14 of the bathroom remodel. I spent most of Friday working on it. I was able to get the leg adjusters installed on the vanity and spent about an hour getting it level. Every time I scooted the vanity right or left I had to readjust the entire vanity. I was able to get it level finally.

I managed able to carry in the granite top myself. I did have to set it down three times on the way from the old house. It was not very light, the real reason I was able to do it alone was the sink hole gave me a great place to hold onto that would not slip. I glued the top onto the vanity and then placed the sink onto it. It fits perfectly! I did not seal the sink in place yet as I wanted to get the faucet hooked up first then I can battle the sink and drain. I then set the faucet and then tried to hook it up to the wall valves. Nope! The pipe coming from the faucet is 3/8” Pex with 3/8” compression fitting for the supply valve. The only problem is they did not put the nut on first on one of the supply lines! So I cannot hook it up. On top of that the valves I installed are for 1/2” line. I can swap those out for another $25 to 3/8” but that one supply line is not going to work. I went to multiple stores in Pendleton and could not find 1/4” Pex let alone with a compression fittings. I tried to order it online and finally I have given up. On Monday I will be calling the Delta parts hotline number and figuring out what to do. Needless to say this has put me behind another week, or should I say it’s just par for the course on this project.

I was able to drill bigger holes in the door and reinstall the hold open latch. There was enough overlap to hide the previous holes so the only one that knows they are there is me. Latching the door open after a shower is making a huge difference in the amount of moisture the room retains.

I have the vanity drawers pulled out and am definitely going to have to alter three drawers once I get the drain plumbed. There is no way around it.

Annmarie pointed out that the vanity is fairly tall and with the elevated sink the bathroom is definitely not for short people. The Gingerman and myself are going to love it. I really do want to get the sink functional so I can do my morning grooming downstairs. Once I get the sink functional then I will move onto building the custom cabinet. Once that is done then I will work on the inside trim around the door and doing the dreaded sheet rock on the hallway side.

Bathroom remodel day 43

It is starting to get there! We are only on week 13! I did not work on the bathroom Friday other than to move the vanity into the bathroom to see how it fit. Annmarie and I needed time to see it in place and time for our brains to percolate on how it was going to fit.

Today was the big bathroom push, I really wanted to go outside and mow tall grass down with the tractor but it rained off and on most of the day. Nothing really strong as evidenced by our 1/100” on the rain gauge. I do really think we got more rain than that. So going outside was not going to be a great thing so I opted to do the responsible thing and stay inside to work on the bathroom.

I did manage to run around the house, picking up, roasting coffee, cleaning up floor and doing laundry before I got started in on the bathroom. I opted to work on the vanity first. The crown molding is incredibly tedious and I just was not looking forward to it. Annmarie and I played with the vanity until we found the level spot but the vanity was not sitting right. I realized that I knew it only had three supports on the four legs. So I opted to move one of them from the front leg and put it on the missing back leg. Nope, it was a weird all in one piece that was hammered into the bottom of the leg. It was hollow and had a metal cap on it. Once I started prying on it I had to break it all apart. There were holes drilled in the bottom of each foot for these steel sliders. I had to get the drill out and drill out the hollow metal tubing from all of the holes, even the hole that was missing the top. This means I need something to go inside the bottom legs. I found an adjustable set of furniture elevators that will work. I had to special order them, they should be here next week. Now my excuse for not working on the crown molding was gone. I cannot put the granite top on the vanity until the feet are repaired as I had to tip the vanity up onto its side to get to them.

I am definitely going to have to do some reworking on the vanity drawers. The pipes are not in the planned spot. The top drawer is fine but the next two down will need to be reworked. I will just remove the drawers and get the countertop, sink and all plumbing installed then I will worry about fixing the drawers so they will fit.

It took me over three hours to do the other half of the crown molding. I am officially done with the crown molding for now. When I go to put the custom cabinet in, I will have to cut the top of the molding in the corner where the cabinet will slide in. This way I can wrap the crown molding around the top of the cabinet incorporating it into the room seamlessly. I only managed to cut my fingers once today with the tin snips. Working metal is best done with gloves but when doing finish work like this I find myself not wearing any gloves. I cut the pad of my fingers with the nippers! They are appropriately sharp enough.

The decorative hook we had ordered to hold open the bathroom door came on Friday so I decided to try and install it. I will have to remove it and put it back on once the final trim is installed. I had the wall hook installed and was tightening the last screw on the door piece when the screw head twisted off! This is a ridiculous problem, I should not have been able to twist off the screw top. Now there is the bottom half of the screw stuck in the door. I could spend an hour and gouge out a huge hole attempting to get that broken part out of the 115 year old door. I am just going to move the piece over 1/8” and drill out a bigger hole so I can easily insert the two screws. This is a stupid problem.