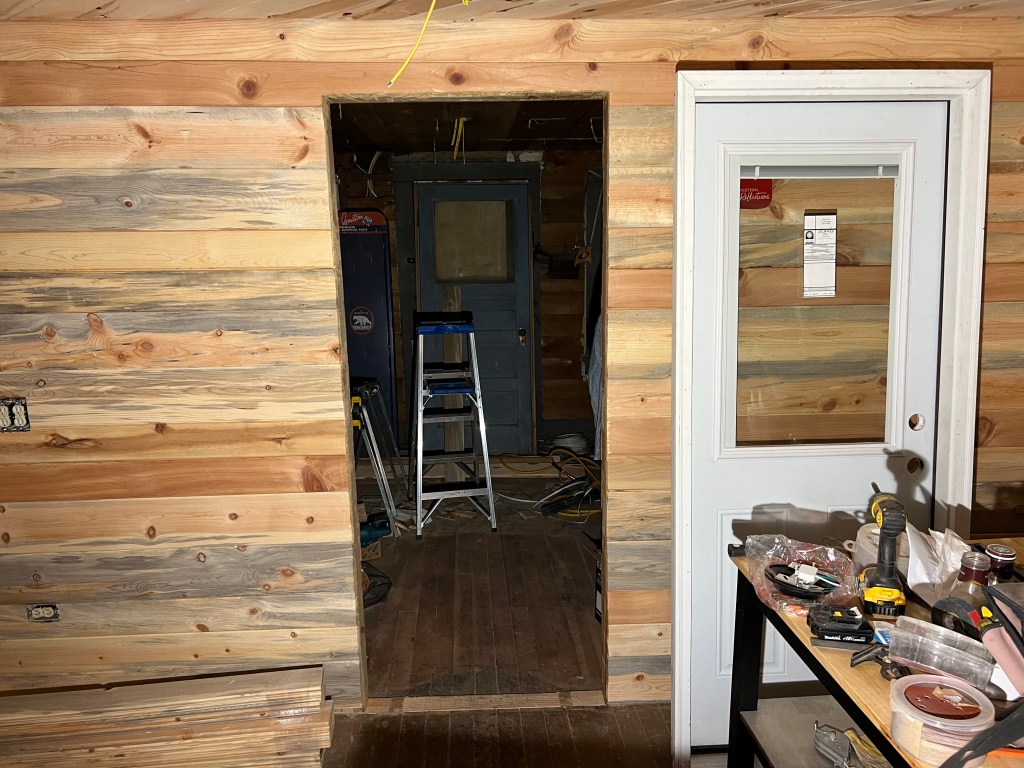
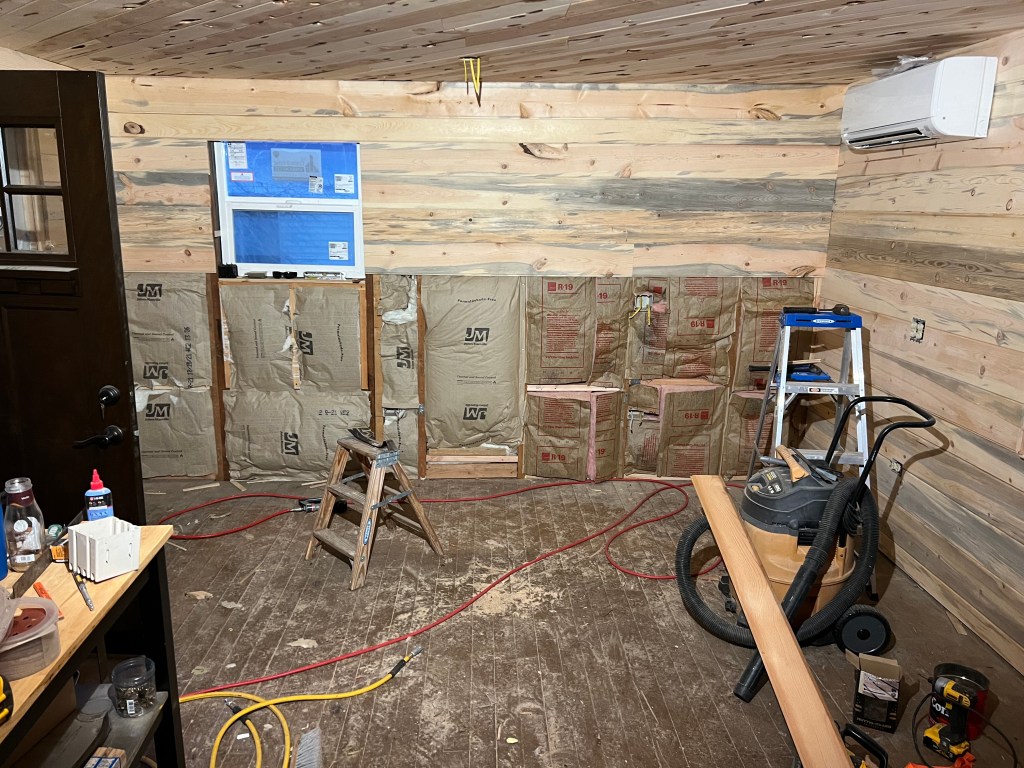
New Years resolution, finish the office

We are trying to get ready for lambing season, it should start this month. We sorted off four weathers into Alcatraz and sorted the ram off of the ewes. He was starting to get fat and pushy. He wanted to sneak up on you and try and ram you. I had come to an understanding with him but the few times Annmarie went out in the evening to feed he kept trying to sneak up on her and head butt her. This is both annoying and dangerous. If he knocks you to the ground you can get stepped on if the sheep panic and start to bolt. They do not care what is in their way, they just jump over or on it as they run away. So we are hoping that a few months isolated in Alcatraz with a few like minded folks will mellow him out. We still have all the rest of the feeder lambs down with the three bulls. They all share the alfalfa bales.

The weather is all screwy, on Saturday the temperature got to 50F. Since it was a holiday weekend I ran to town to get more insulation and a belt sander. They did not have the precut insulation so I got two full rolls. We can cut our own sections. While I was there I priced CDX 1/2” plywood, it was $30/sheet, not cheap but the second room only needs 20 sheets to redo all the walls. This will be the fastest way to finish off the room and economical. This room is going to be a reloading and jewelry making room for me. I am going to use the old outer door from the new office to be my inner door to the old freezer room. I will still need a new back door but I want one with a window in it to let in more natural light. I still need to stiffen the outer wall in that room before a new door gets installed. I did buy a new 18” belt sander, it was cheap! I was amazed at the price on corded power tools, most were under $100. Everyone wants battery operated tools nowadays. I know I do but after looking at the prices I went with a corded belt sander as I am only doing one room.
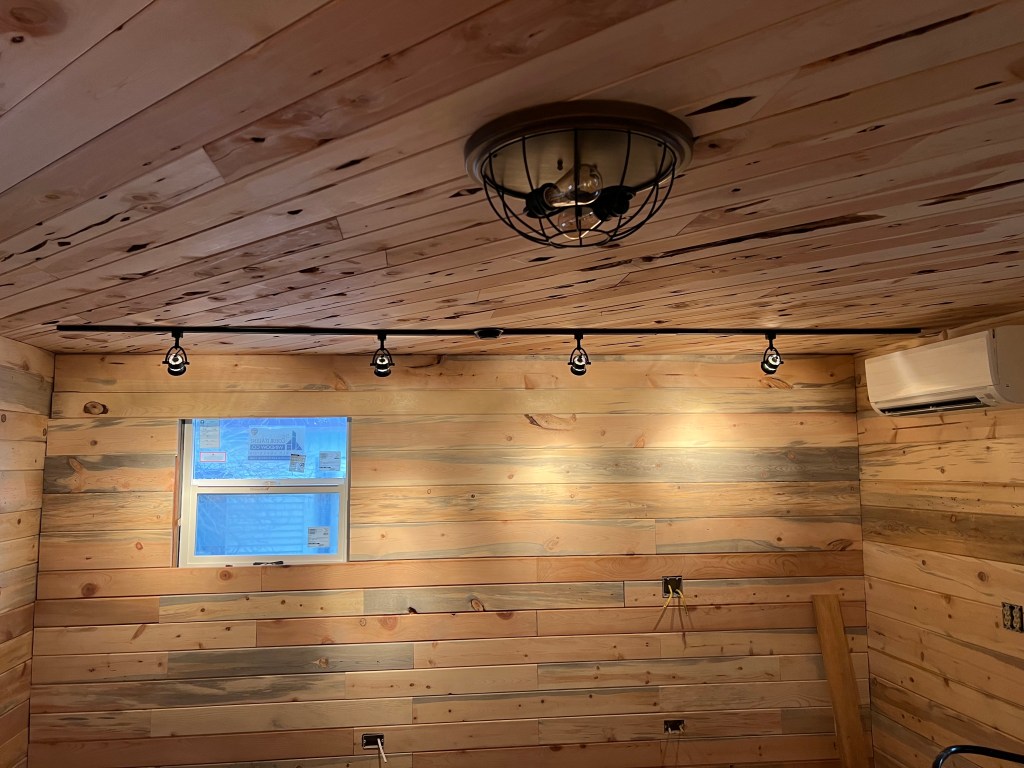
I came home and started working on installing the overhead lights, this did not go well for me. I want to preface this discussion by saying I have never installed track lighting before. There are definitely a few learning curve points. I had to tear off the decorative cover three times and keep adjusting the power supply connector to the track. It was off center and this was stopping the decorative cover from sitting flush. I also installed 12 feet of track. Holding up an eight foot section while on a ladder from one end is not a realistic prospect. Luckily, the track comes in a cardboard tube. I cut it shorter and then jammed it under the track at one end and the floor and used it as a third hand to hold the track up while I adjusted and screwed in the opposite end. After many tries I got the track installed and lights on the track. One of the lights is missing a bulb so I ordered spares on Amazon. I then went to the center light. This also did not go smoothly. The light is heavy, the box is retracted about a half an inch up into the ceiling. I was trying to wire the light and hold it up at the same time. I finally just wired in the ground wire and hung the light from the ground while I tried to get the other wires together. This was not easy and in the end I ripped out the grounding wire. I fought with it some more, and gave up. Today I added extenders to make the holder sit lower and got the light installed. Now that I had two lights installed I went out and flipped the breaker to see how the lights looked! Nope, I forgot that I had daisy chained the power to all three lights and the beginning of the chain was the light I had not yet installed. So I flipped the breaker back off and went and installed the last section of track lighting. This time I only had to remove the cover one time to get everything in alignment. I went and flipped the breaker to see if the lights work and viola, two of three work! Big surprise the main one in the middle of the room does not work. I also had to adjust two of the track lights to get them to fit into the track correctly. The track lighting is dimmer than I expected. So Annmarie ordered a new light and I will get it installed this week.

Saturday, Annmarie wanted me to burn the boxes and Christmas wrapping paper, she was tired of it living in the hallway. This was valid and the wind was no longer blowing so I moved it all out onto the front porch and grabbed the only fire stick I could find. Mind you, I only needed to make two trips out of the yard to take all the boxes out to burn. The smart move was to latch the gate as soon as I went through but that would require me to unlatch the gate again. I thought I could just fake it and make the gate appear to be closed therefore fooling the puppy, Chance to not run out and play with the animals. She ran along the fence away from the gate, I kept trying to light the damn fire stick! It would not make a flame, after about 75 tries I hear chickens squawking. I look up from my failed task and the border collie puppy is running after chickens! She is having a great time and feathers are flying everywhere. I run over screaming and throw the failed fire stick in her direction, it misses and she then spots the lone sheep in the field and makes a bee line for it. I have now given up on screaming or running after her and just start heading toward the barn. She has the sheep all balled up outside the barn then pushes them all into the barn before I can get up to the barn. When I enter the barn she has them all balled up against one wall and is laying in the hay trying to decide if she should move them some more. I chased the sheep out of the barn and shut the door. Eventually, I manage to catch the puppy, there was a lead rope on the wall so I attach that to her and we go out and actually work the sheep for five minutes on the run. She did manage to realize that “easy” did not mean hit the end of the lead rope at a dead run. It took a bit but she is teachable. She was glad to go back in the yard and did not look abashed at all.
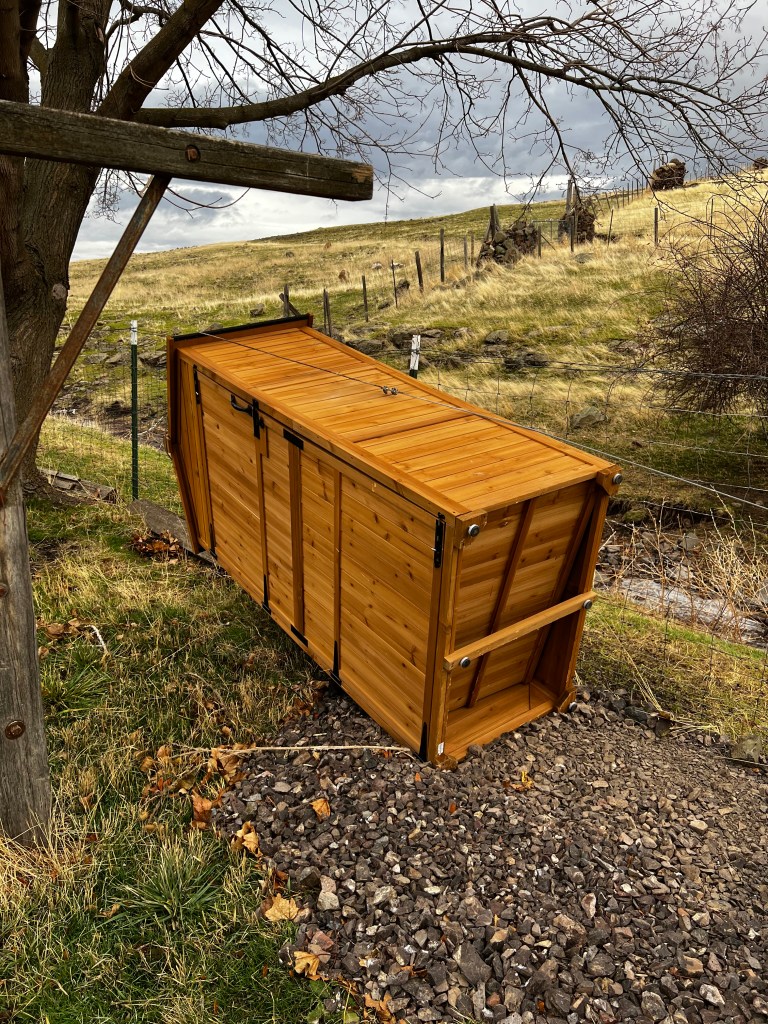
Windstorm

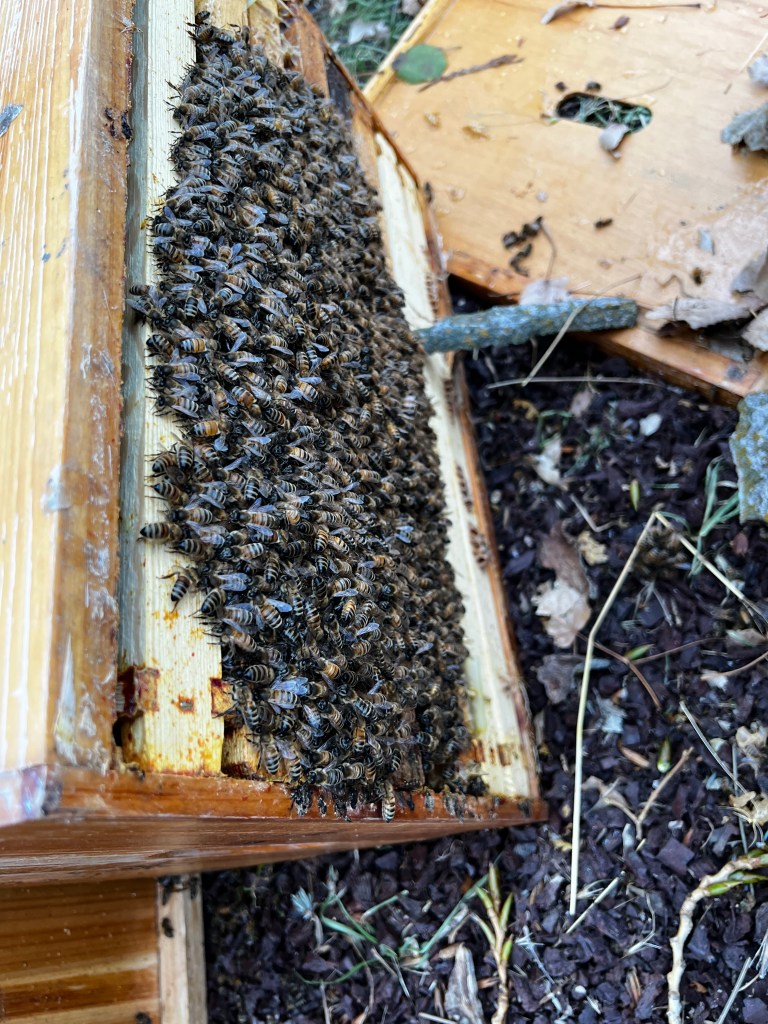
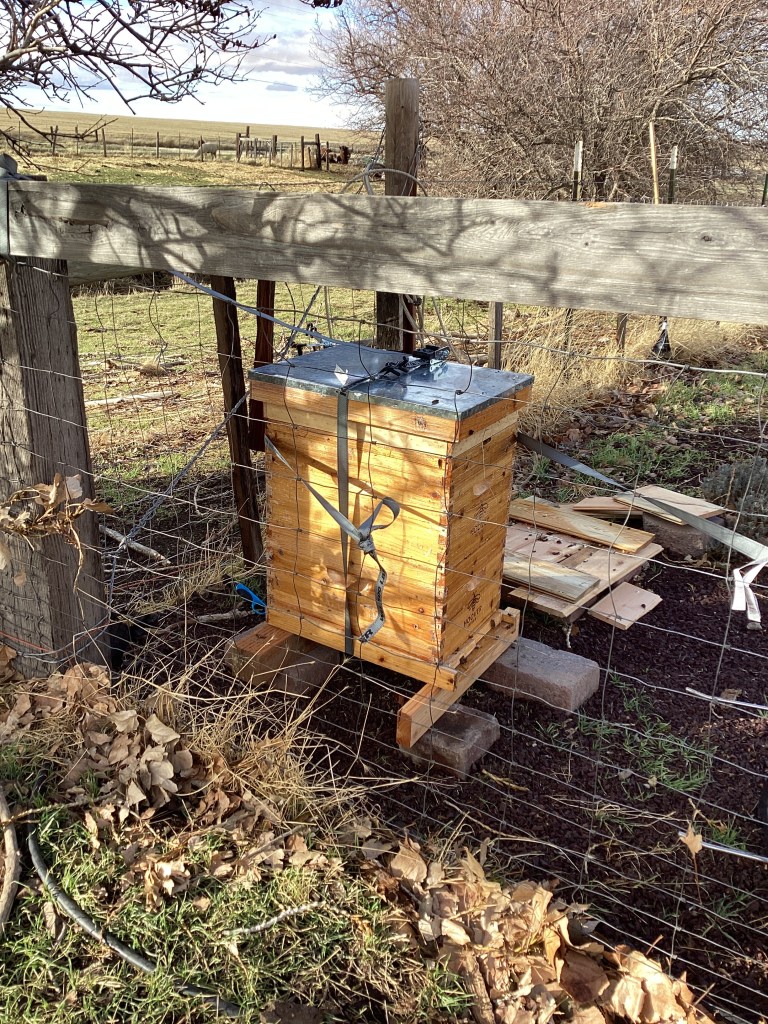
Crazy winters seem to be the new normal. We had the temperature in single digits and this week we got a warm chinook wind that hurdled in and pounded us. The wind gusts got over 50 mph and ended up blowing branches out of trees, blowing the she shed over and the bee hive got blown over! The stuff on the front porch also piled up in front of the door and I could not get out one morning.

Annmarie went out to see if the bees survived. They were all still alive but very mad. She had to put the two halves on separate boards and let them sit for 24 hours then went back out to put the hive back together. The sugar water we had given them had crystallized so she diluted it out a bit and put the feeder back on top. I strapped them all together and added a second strap. So now the hive is attached to the fence at three spots and should not blow over again. I think I can fix this in the spring by pounding in three pecker poles around the hive so it cannot blow over. I need to leave about two inches clearance on each side and make space for a second hive to be installed. She ended up getting stung three times over the course of 24 hours getting them upright and fed even with bee suit on.

The she shed will need to be moved and attached to the old clothesline pole. I need to bring over some more gravel and then attach it to the crossbar.

We have been getting virtually no eggs, I collect one egg a day if we are lucky. There are no more raccoons but there is a possum wandering around. The light keeps going out in their coop and that will make a difference. I have fixed the light twice this winter already and on Friday I spotted what I think is the main culprit for stealing the eggs. One of our outside cats was coming out of the nest box when I went in to put away the new feed bags. I think she is the egg thief! So I will go back to collecting eggs every day and I will get rid of the old rooster and let the young one take over. This will hopefully bring the two different groups together.

Friday I managed to get out to the new office and got Mr Professional came out. We crawled up into the attic and started to install insulation. We used all that I had and we still need a single bat to finish it up. It’s about 3/4 complete now. He worked on finishing the wall while I worked on getting the door secured some more and getting the door handle and deadbolt installed. Once I had the handle on the door I moved on to wiring in the overhead lights. I am still on the first light and have never installed trac lighting before. I recognize the need for the trac to be parallel to the wall. We will see how it turns out but some light would be nice.

Door install in office got done eventually

I had plans to go out and install the door in the office but it was cold outside, like 1 F when we woke up this morning. I kept thinking it would warm up so I kept delaying going outside. Finally when it got to 5 F I decided that it was good enough. My thought process was I could plug in the little electric heater that is out there and I even went up into the attic and got another one to take out with me.

The plan was simple, cut out the old 2×4 on one side and the top and just install a new one on the inside of them to widen the hole. I attempted this but the first battery gave up after 10 minutes and the second lasted 10 minutes and when I went to get the first one off the charger I realized that the first one was not charging. The battery was too cold and the charger would not send electricity into it. I ended up putting both chargers on the ground in front of the heaters and then going out to feed the animals. I started the tractor, it was a little rough but it started, then left it an an idle to go feed the sheep and horse. I needed the tractor to feed a big bale to the upper cows and the alpaca need another big bale. The tractor needs to warm up a lot before I change out the snow blade and go move big bales. I let it run for about 40 minutes before I took it out. It ran like a champ and I didn’t kill it trying to power into the bale pile to get one out. The alpaca were happy.

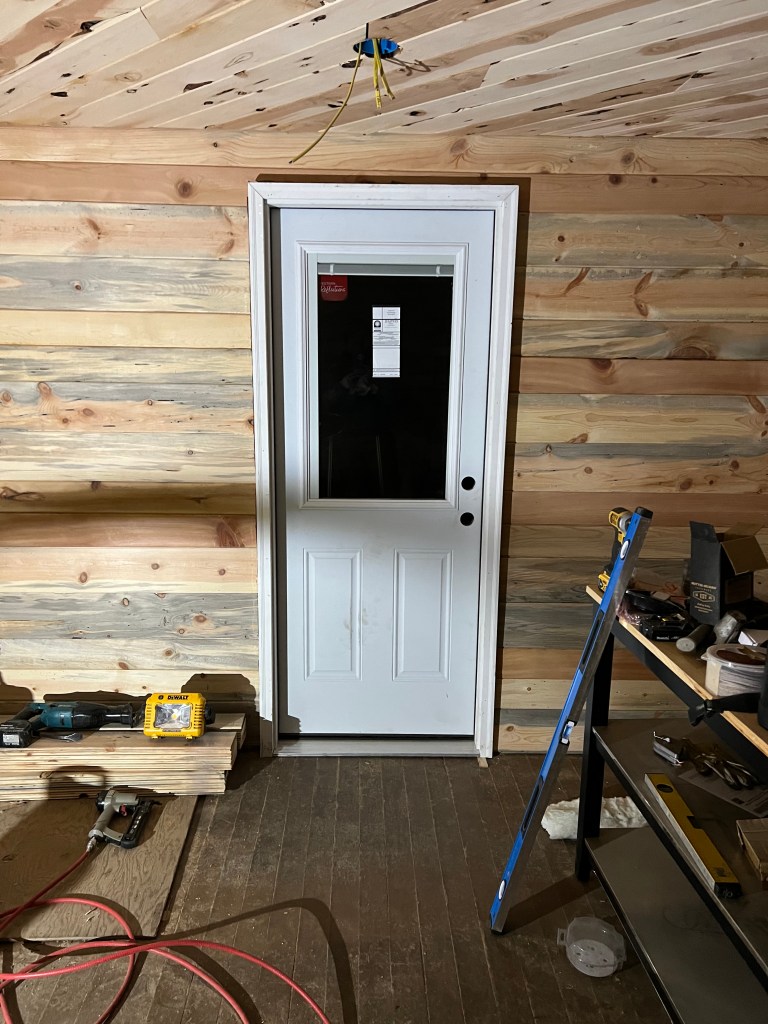
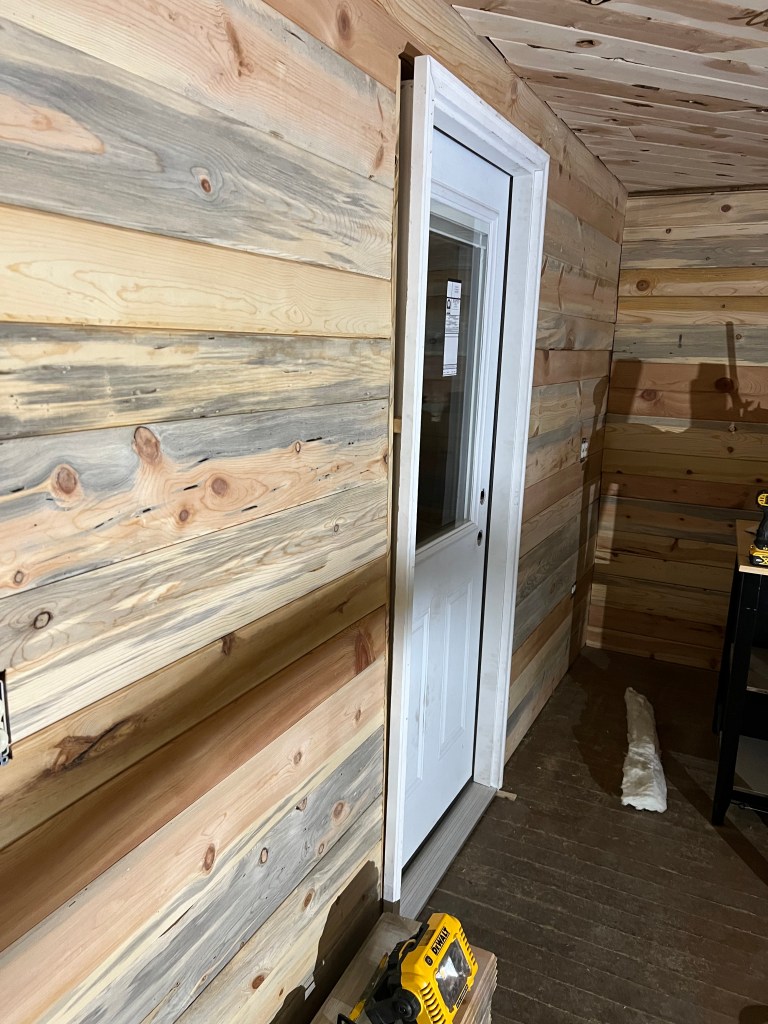
I went back out to the office and both batteries were now charged! I cut out the rest of the 2×4 and installed the new boards. Well, I tried to install the door and realized that the opening is no longer too small, it is too big. Sometimes you just cannot win. I ended up cutting two four inch boards on the table saw that were 3/4” thick and installing them on each side of the door frame. I tried only one board but the opening was still too large. After much fussing around I was able to get the door level and square and the door opens and closes relatively easily. I got four screws into it to hold it up and then shut the door. I left both electric heaters running but did turn down their temperatures. When it is this cold the heat pump was only able to keep it 20 degrees warmer than the outside temperature. By the time I got inside after installing the door the temperature was already 48 F. Two hours later the temperature in the office is now 63 degrees! I cannot wait to see what happens when I get the attic insulated.

The only real problem was I never bothered to put a level on the wall. It never occurred to me that the wall would have that much lean to it. To get the door level I had to mess with the door quite a bit and lean out the top pretty severely. This is going to necessitate another custom trim job to cover up the difference from the floor to the top of the door. Hopefully, tomorrow I can get the door anchored the rest of the way and insulation stuffed in around the door. Maybe even some insulation in the attic? I don’t want to be too ambitious.

Gonna close up office plan

I had grand plans this last weekend to get the office walls completed and the interior door installed. I was on my own but I figured I could get it done. This was unfortunately an unrealistic goal. I should know that by now, every time I get to the finish parts it takes forever to finish.

I only have 48-52” pieces of wall tongue and groove left. I have enough pieces I was sure I could just slap them up and get it done. I failed to account for the fact that every new piece needs to be on a vertical stud. This means cutting every board at least twice if not three times. Mind you at least I can get the boards installed, they are short enough to handle alone but to get the edges correct I have to install the entire row and then go back and nail it in place. It was a lot more cutting and tape measure work and remeasuring and recutting than I expected and I failed to get the wall completed in the five hours I allotted to completing the wall. I now only have 20” of vertical height left but I have to still do cutouts for two outlets. I contemplated finishing the wall on Sunday but the heater is now installed and the interior door really needs to be installed to help trap the heat in the office.

Sunday I decided to install the door, I did get a late morning start as I usually spend a few hours cleaning the house on Sunday. I like to do it when no one is around. I can turn the music up and just do it. Now that we have speakers all over the house I can just hook my phone up and play the music throughout the house so even as I run around I never loose noise. It is the best! No one else in the family truly appreciates Disco music.

I had measured the door opening eons ago and was certain all I needed to do was cut the overlapping facia boards and install the door. I nailed in the boards all around the frame and got out my trusty Makita battery sawzall. Most of my tools are now DeWalt but I was a Makita fan due to the size of their tools, they made the handles smaller than any other company, which made them easier for me to hold onto. The entire house and barn remodel was done with cordless Makita tools. I keep thinking about going out and getting a DeWalt sawzall but the Makita still works and I have lots of batteries! So I keep the drill, driver and sawzall until the batteries go bad and then I will be all DeWalt.

Once I had the opening cut I unwrapped the door and got it over and ready to slide in place. This is where it started to go sideways. I wanted to not do anything with the opening. It was framed eons ago when the old house was built, most likely prior to 1900. It was built as a one room building over a root cellar, which acted as a foundation. Over time, two more rooms were added along with enclosing two parts of the wrap around porch. There was not an interior door there just a finished frame which I tore out moons ago. Still, who would not make the opening a standard size? The opening is a standard size, the exact size of the roughed frame size of the new door. I cut the door opening three separate times trying to shave just enough off to get the door to slide in. I did check to see how square the opening was and it was good. I figured if I could pound the door into place it would work. Nope and nope, it was not going to go into that opening. The overhead 2×4 was canted slightly and I was just going to have to cut into the 2×4 to make the door fit and I did not want to weaken the door frame. The simple solution is to just give up and go buy a new door that is one inch smaller. How hard could that be?

Annmarie wanted to go to Home Depot with me so we went over, me in grubbies with a tape measure and her looking like she was allowed out in public. Who knew they only make two sizes of outer door? I did not, so then we looked at interior doors, but we wanted a window in the door to let light into the room from the other room. My trouble door has a large window with a built in blind. I was going to have to create a window and cut it into the interior door and then frame it out. After much tape measure use, some choice words, I resigned to the obvious suggestion, I was going to have to install a 2×4 on top and to one side of the opening and then cut out the original support structures gaining myself one inch on both sides of the door and two inches above the door. Once we decided that, we still managed to spend $200 on stuff. We did get a remote thermometer for the office so we could track the internal room temperature and see how well the heat pump was working. I will have to implement the door opening adjustment at a later date.

Office now heated!

Well it was a productive week. I managed to get Mr Professional out on Sunday so we could work on the last wall. The tongue and groove is warped so it is near impossible to install alone as you cannot beat it into submission alone. The wall got sealed again around the window and the rest of the insulation installed around the window. While he did the insulation I crawled up into the attic and installed three junction boxes. I cut the power to the old junction box and then pulled those three lines up into the new attic boxes. I then pulled the feeder lines from the old box, reglued some new turns onto the pipe and rerouted the line to the new junction box. I only had the power off for about an hour. Once the new box was online I had to verify three times that the freezers really had power! That was my greatest fear with switching out the main boxes. I was even able to use a spare piece of the main feeder line to connect both grounding strips together.

We worked on cleaning up the office. It was hard to move around in there with all the trash and tools. We took out one industrial size trash bag out of that single room. The last eight pieces of long tongue and groove we had to just cut in half and cut some bad ends off. It was just too warped to be able to beat into submission. After a few hours we called it done. About half the outlets work in the office now so I should be able to plug in most of the tools and chargers so that I can work in a heated room.

I can work in a heated room now because the heat guys came out during the week and installed the heat pump to the outside of the old house! Since I had turned the power on they were able to complete the install and turn the heat pump on! Annmarie said that it was fairly toasty in the room. I have not even gotten the attic over the room insulated or the inside door installed. Once those two things are done the room should be perfect, not completed yet though. I will still need to sand the floor. I am not going to finish the walls until after I get the floor sanded and sealed. Then I can use air pressure to blow the walls clean and finish them last. I can see the end zone!