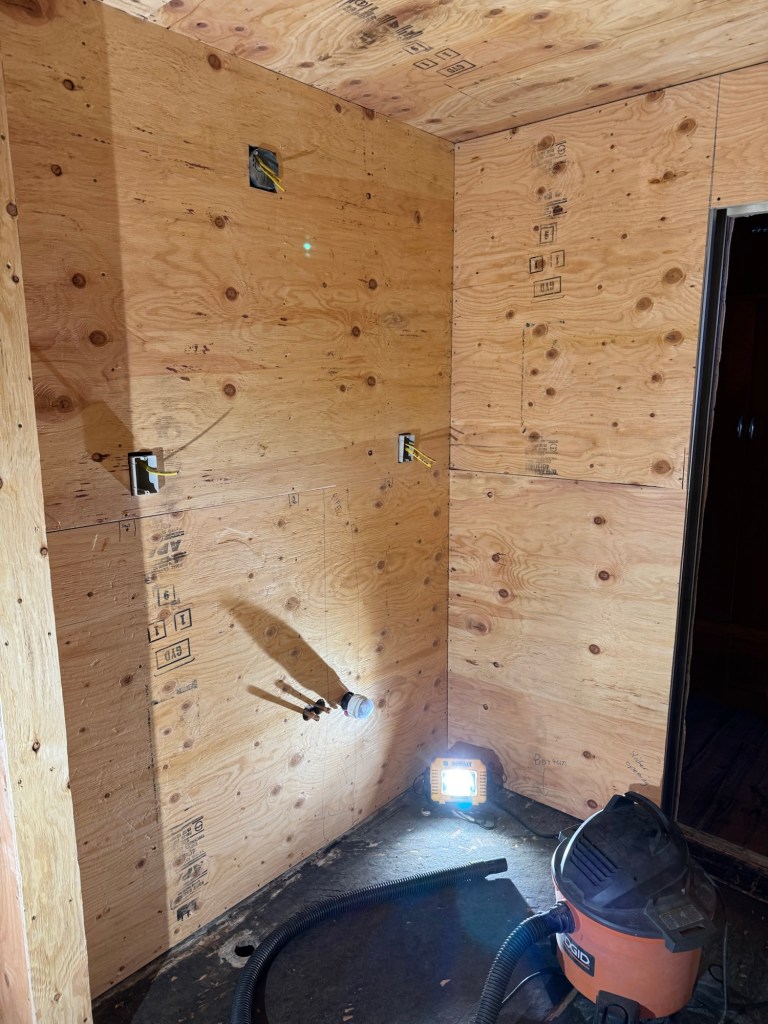
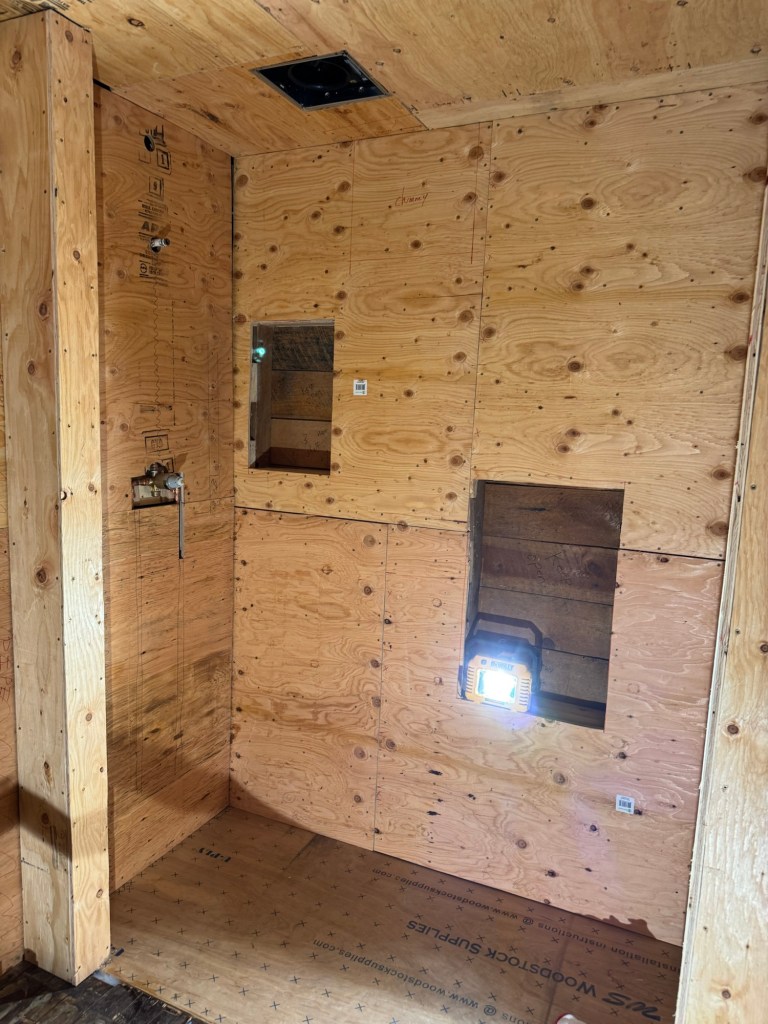
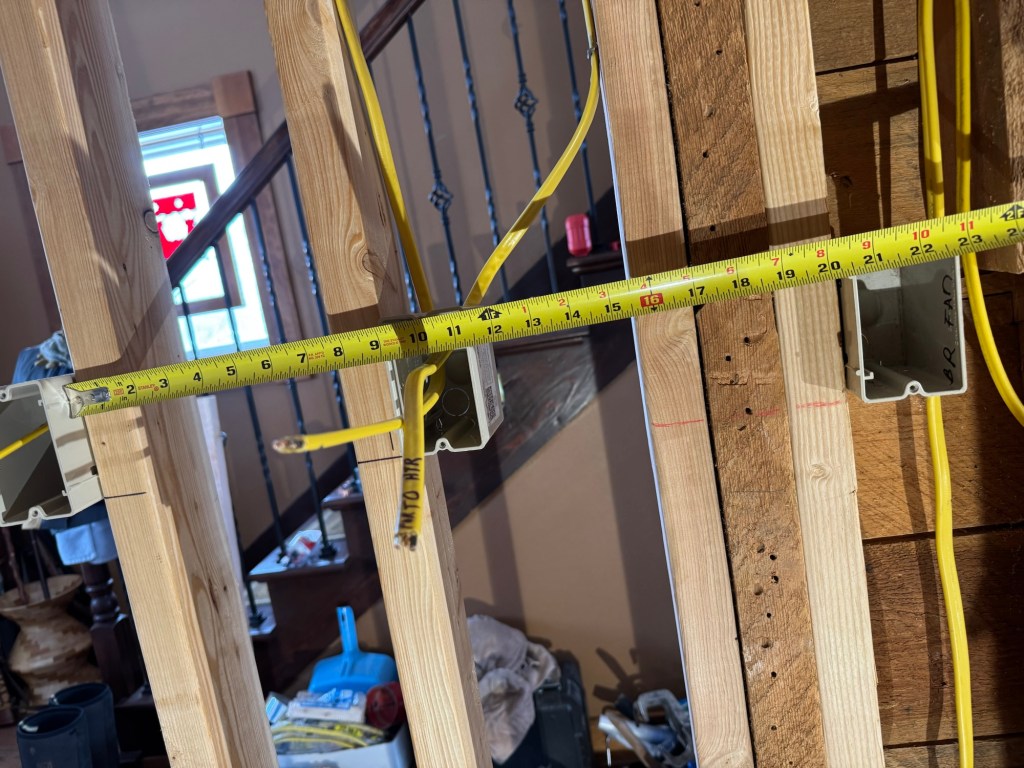
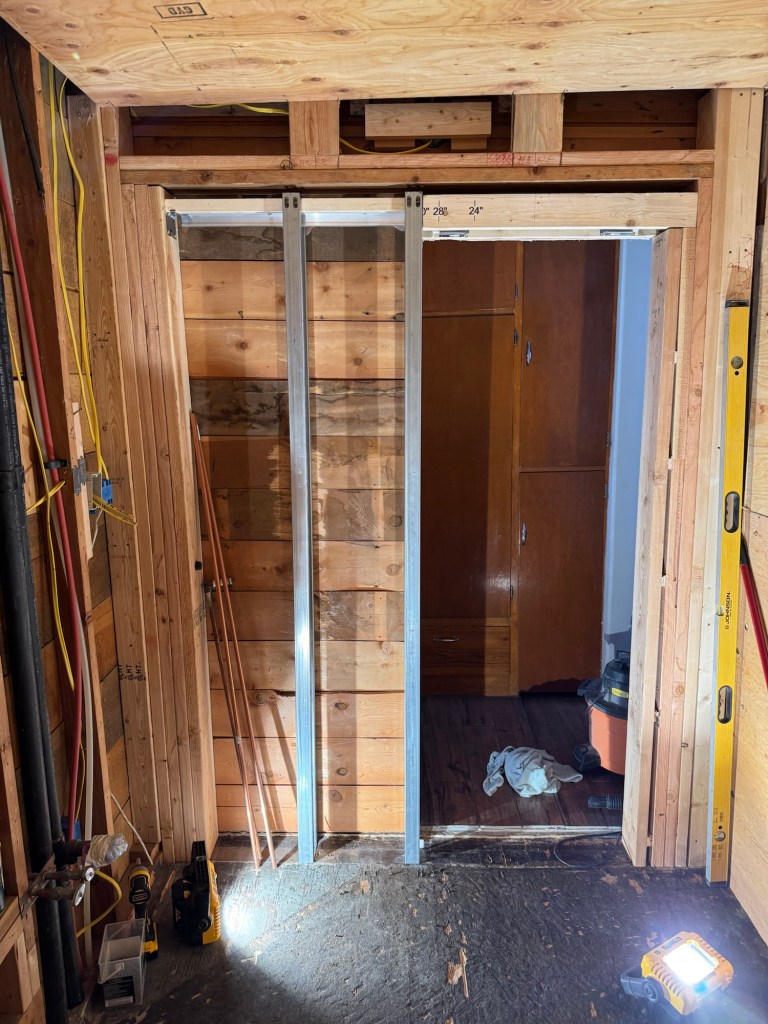
I was flying solo yesterday as Mr Rainman had a birthday to celebrate. I was staring at the walls and deciding where to start with the Kerdi-board install when it dawned on me that so far nothing has really worked out easily for me. So maybe I better check the niche rough openings just for shits and giggles. The box says that they are 12×20” niches. So we made the rough openings 12.25×20.25”, so there was a little adjustment room. The box lied. They are more like 12.75×20.75”! I started looking at the plywood hard to see how much I would have to remove to get to the internal cross pieces I had installed to stiffen the niche area. I recognize that Schluter said I did not have to do this, but with all the other reinforcement I had to do on the bathroom walls I just tossed this in as a bonus. I ended up needing to cut out a small section through the edge of a 2×4. The oscillating saw was the only tool I have that would go deep enough and not tear up the back wall also.


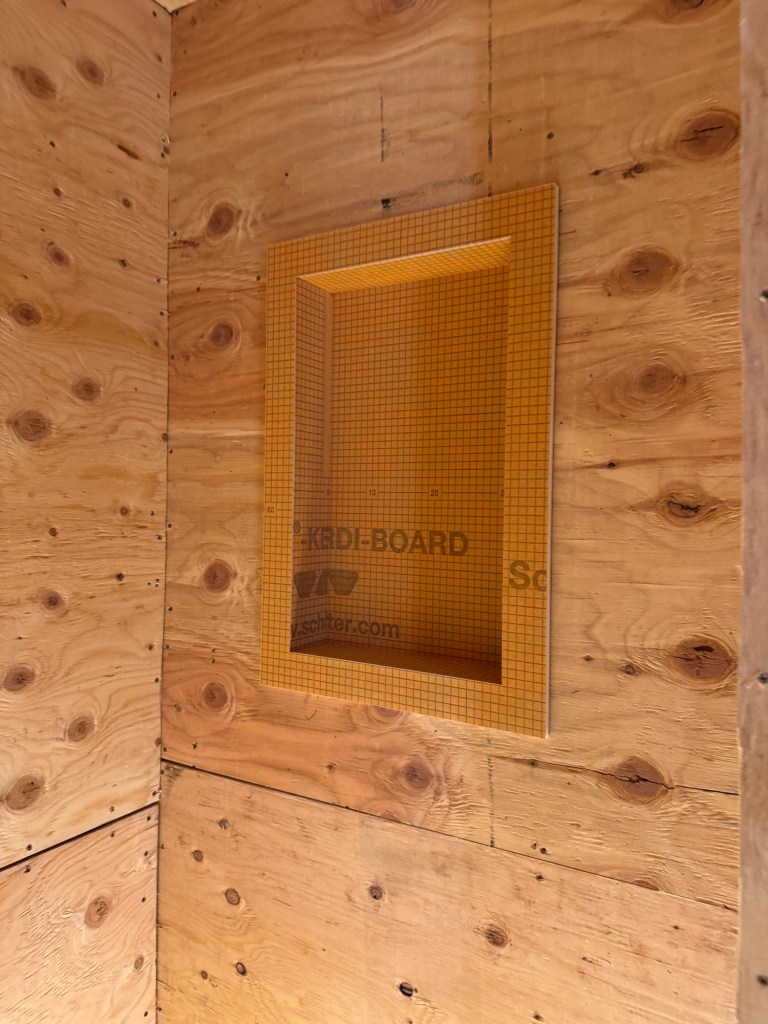
The trouble with this is I don’t have enough batteries for the Makita saw. I was chewing through a battery every five minutes. Plus I needed more blades. So I ended up using the Makita and the new DeWalt until one got so warm that my gloves hands were hot then I switched out to the other brand. I will say that the quick blade switch ability on the DeWalt is very nice. I kept alternating between wood only and a blade that could cut through the screws. It took almost four hours to fix this “mistake”. It would have taken a day plus if I had managed to get the Kerdi-board installed before I caught it. I made sure to dry fit the niches before calling it a success.
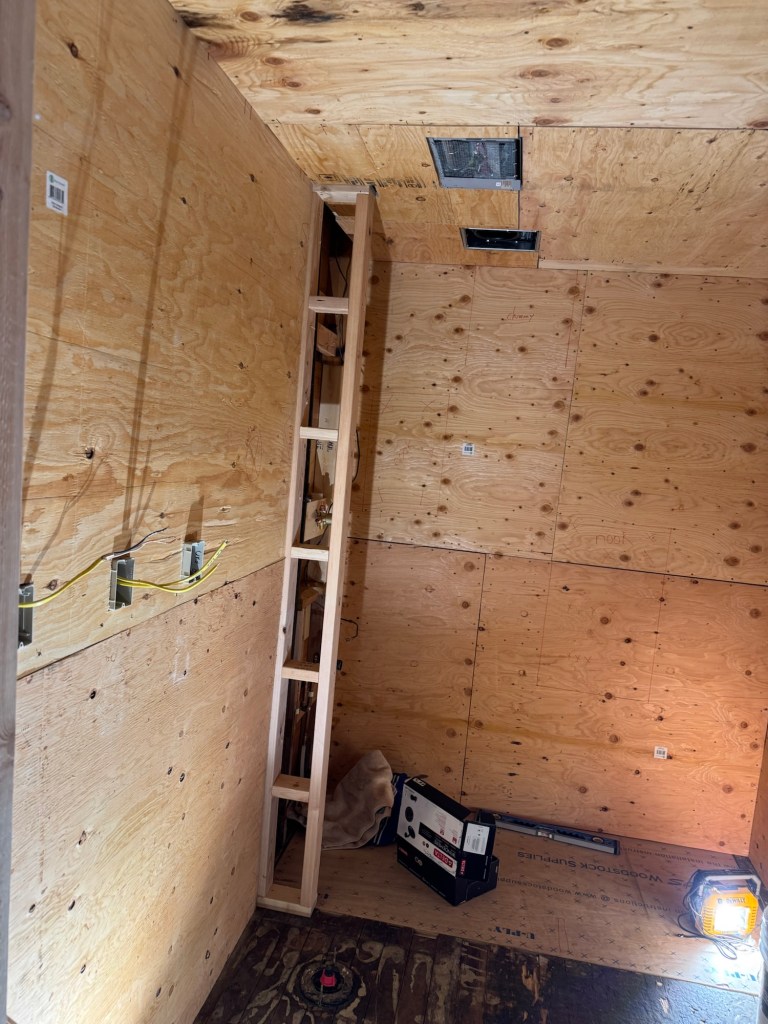
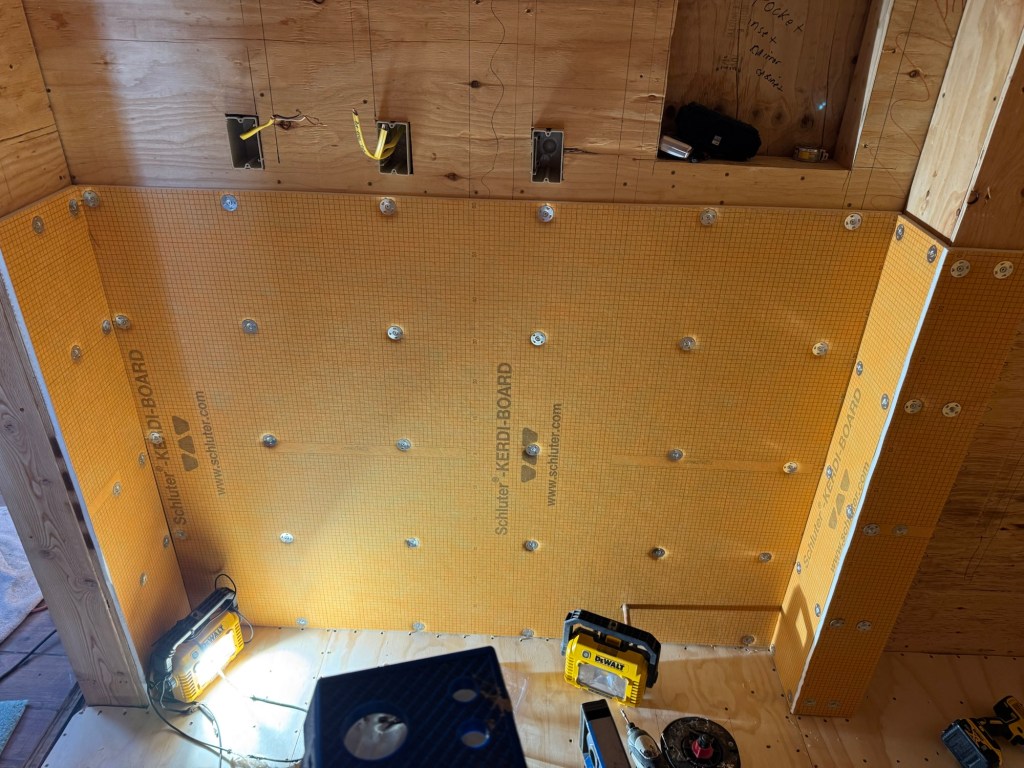
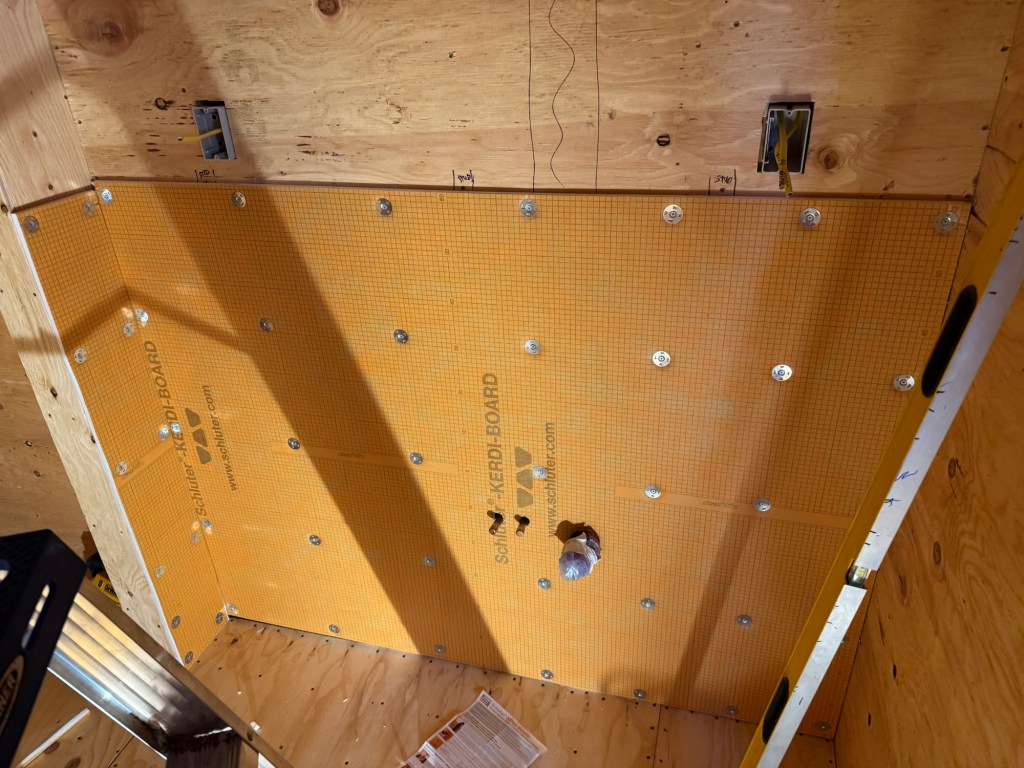
The Kerdi-board is very easy to install. I have been super impressed so far. I started on the easy section of the bathroom. It is really easy to cut with just a razor knife and the lines painted on it make it easy to freehand the cut. As I was installing the special washers it dawned on me that I did not have enough washers and screws. They did the calculations for a washer every twelve inches but when doing small sections you still need two washers.
The weekend is coming up so I had to stop and make a trip to Hermiston to get more washers and screws! Another two hours of drive time. My timeline is fluid at this point. I am making day to day predictions and at the end of the day refining them. My current prediction is that we will be laying tile by Saturday. I am going to stick with it!

We wanted the bathroom vanity to look like an antique wash basin. The granite I picked out had a lot of purple in it and I wanted to see what the sink would look like on it so I pulled it out of the box and just set it on the granite top. I like it, most of the room will be grey so this color is central to our decorating scheme.