Last week we did actually get some needed items checked off the winter list. Mr Rainman came out and tackled the orchard. He trimmed all of the fruit trees. Not only did he trim them, he cut them way back so they can gain some limb strength. This was a much needed thing as the limbs were having a hard time carrying a full load of fruit. He also tackled the ancient apple trees and raised the limbs enough that we can drive the tractor underneath the tree!

Mr Rainman is also building up a second pile of limbs near the irrigation ditch for the quail. The quail use the limb piles as cover to protect themselves from predators. This will be the fifth pile we have created on the farm for them. We have two coveys this winter of about 80 birds each. They are healthy and fly around the houses at least once a day. Even if I cannot see them they can be heard as they are quite noisy. This took both days to get completed. The raspberries and blackberries are the last thing that needs to get trimmed this winter.
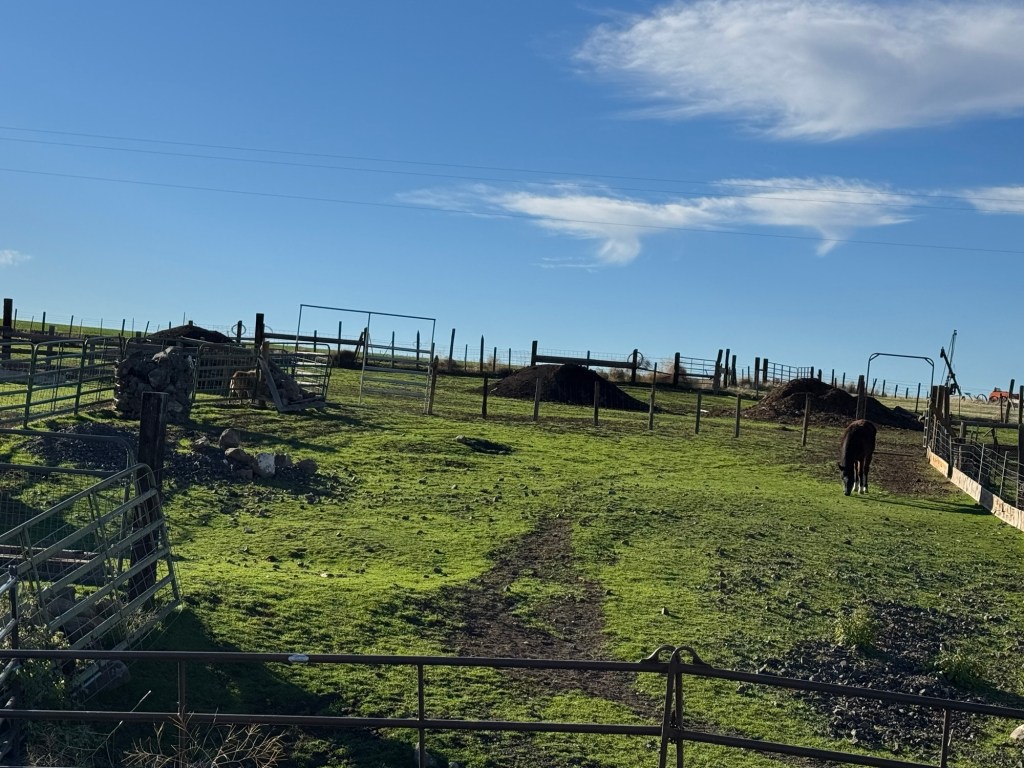
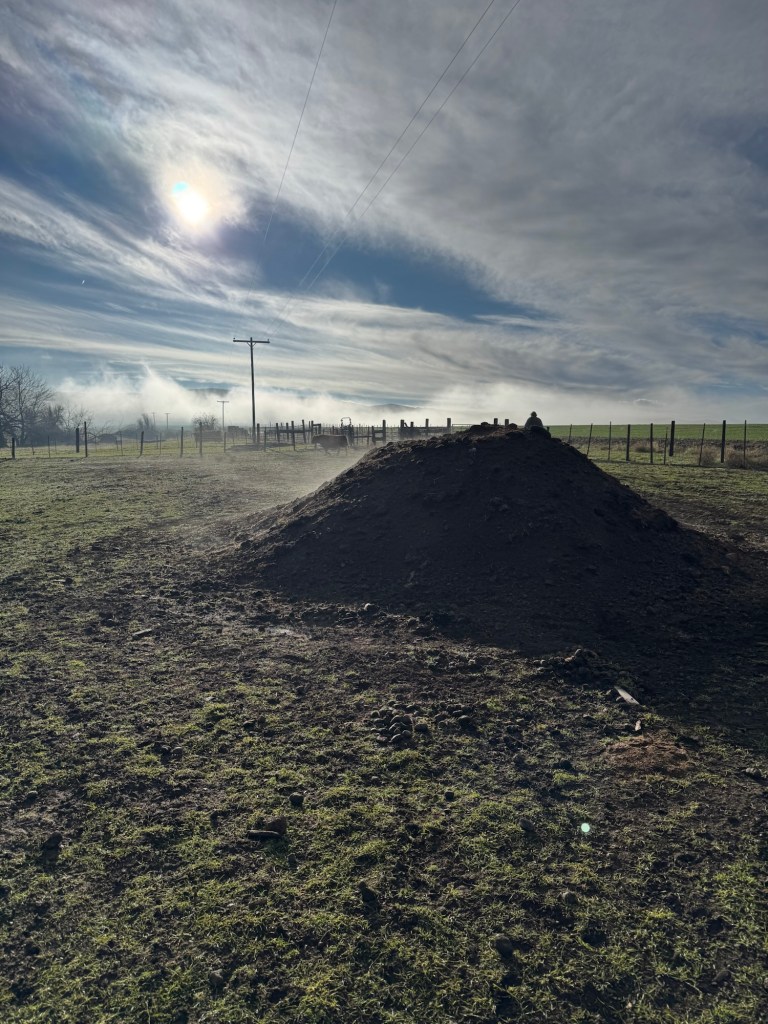
Gingerman and I went out first thing in the morning last Saturday to sort the cows. We needed to get the bull into Alcatraz and the three weanling calves off the female cows they are 6-7 months old now. It was fairly cold and I could see steam coming off the pile of manure from two years ago.
I drove the tractor and the Gingerman cycled gates. The cows associate the tractor with food so they always come running when they hear it. I opened a gate into the pasture around the old chicken coop and the cows proceeded to rush the fence into the ram pasture. This led them to spot the open gate onto the hillside so they ran up the hillside looking for a way out. I had to get down off the tractor and the Gingerman and I herded them back into the ram pasture and back out towards the gate over by Alcatraz. The horse was locked into the old lamb barn and we had both gates down to the spring closed so it was a straight shot toward the corral. The new gate/fence in the barn lot worked incredibly well and we got the cows into the front barn lot without much hassle. Once we got them into the lot it was not very hard to push them into the corral area. We managed to sort off three heifers and then the bull got stuck out by himself so we pushed him back into the horse area to wait. He needed to go to Alcatraz but with the heifers already getting sorted we need to move them first. The calves all bunched up in the area near the barn and the Gingerman was walking up behind them to get them moving when the pretty brown calf smashed his hind leg backwards to state his displeasure at being handled. The problem with this is the Gingerman was too close and caught the hoof in the left testicle. He did not hit the ground himself but it was a close call. He ended up leaning on the gate while I casually sorted the rest of the cows.

We ran the calves through the yard into the orchard. The heifers just got pushed out into field #4 to continue eating and growing their pregnant bellies.

The bull just sauntered over towards the fence to get to the heifers. The fence and the Gingerman were in his way. He kept trying to get around the Gingerman and he would just wave his head and push forward against the Gingerman. We finally got him turned, then just chased him into Alcatraz so he did not have time to think about what he was doing.
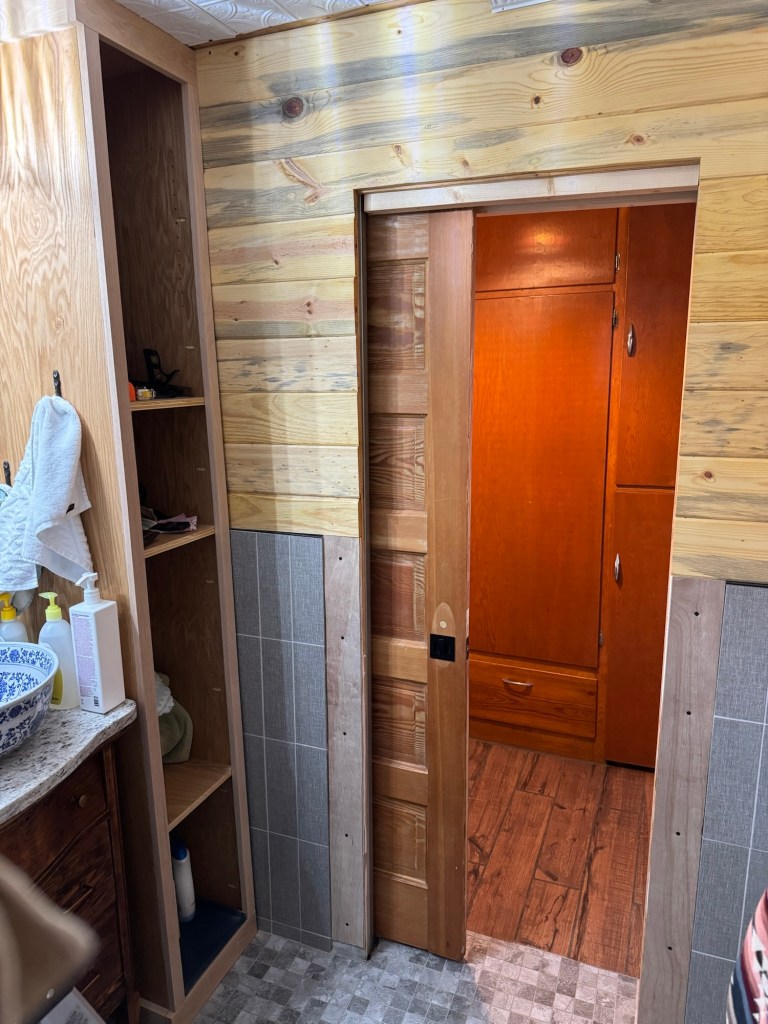
I ended up sanding all of the pine pieces for the inside trim of the bathroom. I would have rather spent the day outside. It was a sunny and clear day, absolutely beautiful. But the bathroom must progress.