Sickness cannot halt progress

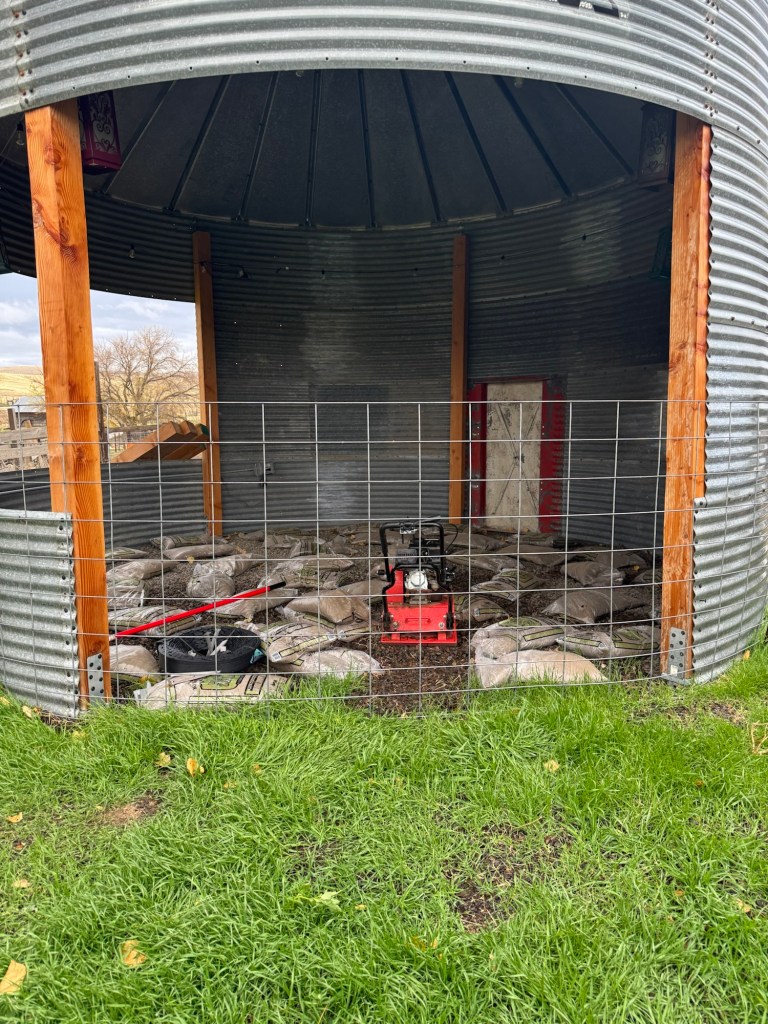
Sickness cannot halt production on the farm, it can merely sideline it! I was very ill last week and ended up catching pneumonia. Ever since that first bought of Covid my lungs have not snapped back and I get pneumonia pretty easily now. Of course I got it and finally had to reach out to my PCP when my oxygen saturations started to drop into the mid 80% range. This caused several days of missed work but Mr. Rainman was coming out for the weekend last week and I needed to take advantage of the help. The plan was to get the sand down and compacted in the Gazebo so that we could lay the pavers. There are about 1200 pavers that have to go down to fill up the space. This does seem like a lot but they just have to lay down then we can put special grout down and seal them all in place.

The real problem was we had still not managed to get the compactor to function correctly. We have done multiple things to get it going. We ended up having to change the oil as this model somehow gets fuel into the oil which then causes the motor to kill itself when it gets up to speed. Once we did that it worked but the throttle cable was still not working correctly and Mr Rainman ended up touching the hot exhaust plat and burning a couple of bolt patterns into his palm. We decided that this project was going to have to wait until the spring. We need to fix the throttle cable again and we need some water available to water down the sand as we compact it. I managed to find a throttle cable that is used on a concrete cutter that allows you to set it at various locations and the cable will not retract with vibrations. I have ordered said cable and it should be here this week. I am sure I will have to fabricate some type of holder to hold it in place but if the throttle cable stays in place it will be worth it. I just need to get a tarp and cover up the compactor for the winter. This chewed up five hours trying to get things up and going before we finally just called uncle and gave up. There is a plan in place and we will pick it up in the spring.

I have several other items that need to get done before the ground freezes so I have to pivot my to do list to get these items knocked out soon. If I were not sick they would have been done now but I have been having to rest. Rest is a four word cuss word when you are talking to a farmer/rancher. It is fairly derogatory and tends to get in the way of all progress. It is not one I like to hear in regard to my work output. I have been hearing it a lot lately from a lot of different directions. Ultimately, despite my will I have been forced to rest and recuperate.

Bathroom remodel day 49

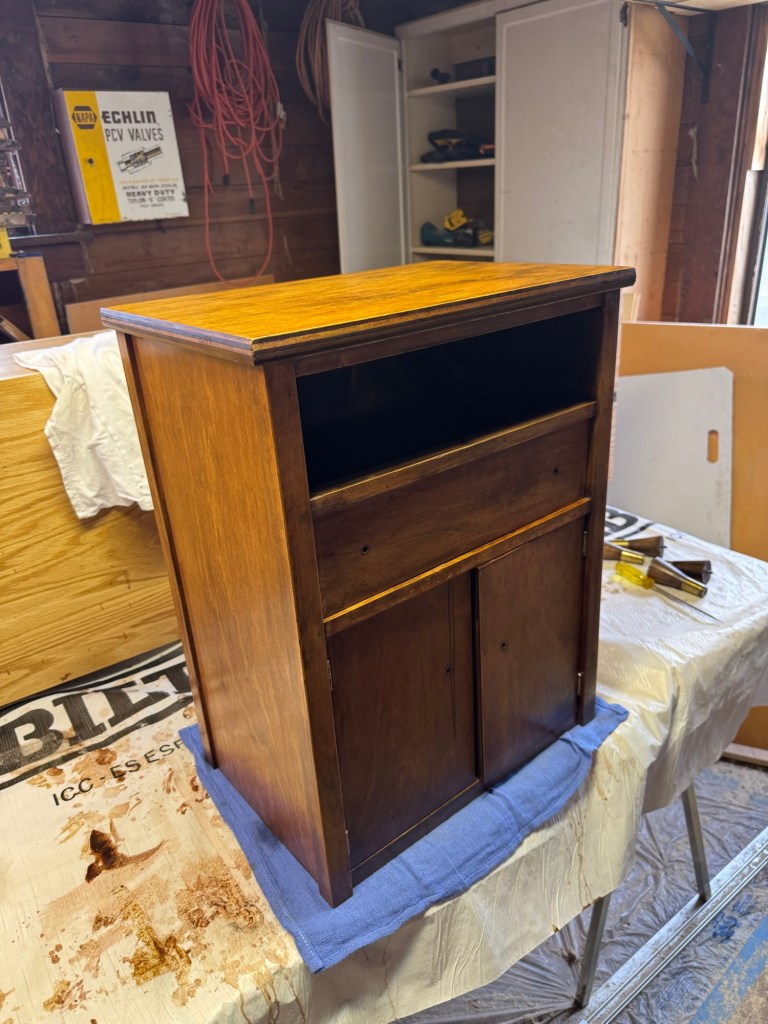
Saturday was incredible, the temperature got up to 78.8 F! It is November 1 and it should not be that warm, to compensate the wind gusted up to 38 MPH. It was the perfect day to get the finish on the bathroom cabinet. I rolled on the Tried & True finish then after it sat for 30 minutes I rubbed it all off with a dry lint free rag. Luckily, I was able to run inside and steal three old T-shirts from my drawer as I could not find the lint free rags. I found them about half way through cleaning up the cabinet and they were no longer needed. I want to get the bathroom cabinet installed in the bathroom tomorrow so I can start working on the custom trim. I am going to have to trim it in place to account for the slanted floor and ceiling and walls!

Annmarie had me pick up a sewing end table a few weeks ago. The finish was in very rough shape. I opted to get some Formbsy’s product to help me fix it. So I spent a few hours rubbing the old finish off and getting the new one on. It turned out very nice. I still need to add a second coat of Tung Oil finish tomorrow before I bring it inside the house. I am not sure where it is going to go but that is not my wheelhouse.

The gazebo needs to get done but I am told for the bricks to actually stay in place and me not have to constantly fix it we need to use the compactor on the sand before the bricks are placed. This sounds reasonable as we do own a compactor but it needs to actually run for it to be really effective. Otherwise it is a very heavy obstacle. I tried to get the old O-ring gasket back on and simply could not make it stay in place. Over a decade ago my mother got me a small box of 402 ring gaskets. At the time I was unsure when I would use that, but over the years it has proven to be a lifesaver. It came through again and I went with a slightly larger gasket and was able to stop the fuel leak.

I tried to start it for about 15 minutes before I pulled the spark plug and cleaned it all up. I tried starting it for another 10 minutes. At some point I looked on the front of the machine away from the fuel tank, choke, and spark plug and spotted an off/on switch. I turned it on and was able to get the compactor started 5 minutes later. It died three more times before I could get it to the gazebo but in reality it just needed to warm up. It was running great when I ran it dry in the gazebo. We have been super careful to make sure that no fuel stays in the compactor to prevent any issues with the fuel system. Mr Rainman is coming out next weekend and we are going to try and get the entire gazebo brick floor installed! It is going to be a steep climb but I think it’s possible.

Bathroom remodel day 48

Well it is only day 48 of the main bathroom remodel, but it is week 36! Annmarie tells me I have to have it done before the wedding. It is gonna be close. I need to get the Sheetrock installed and start the mudding process. I am not very good at it and it takes me some time to get it right. Yesterday I really wanted to get the sand spread out in the Gazebo and then compacted down so we could lay bricks. Rainman and I could not get the compactor started and it had a pretty serious fuel leak. I need to get a new float gasket and try again. We ended up moving furniture for the Mother-in-law and then went and got a new sewing cabinet for the wife from MiltonFreewater. It was cheap at $80 but they said it was heavy. They were not kidding, the thing is solid wood and very heavy. We will get rid of the cheap one now.

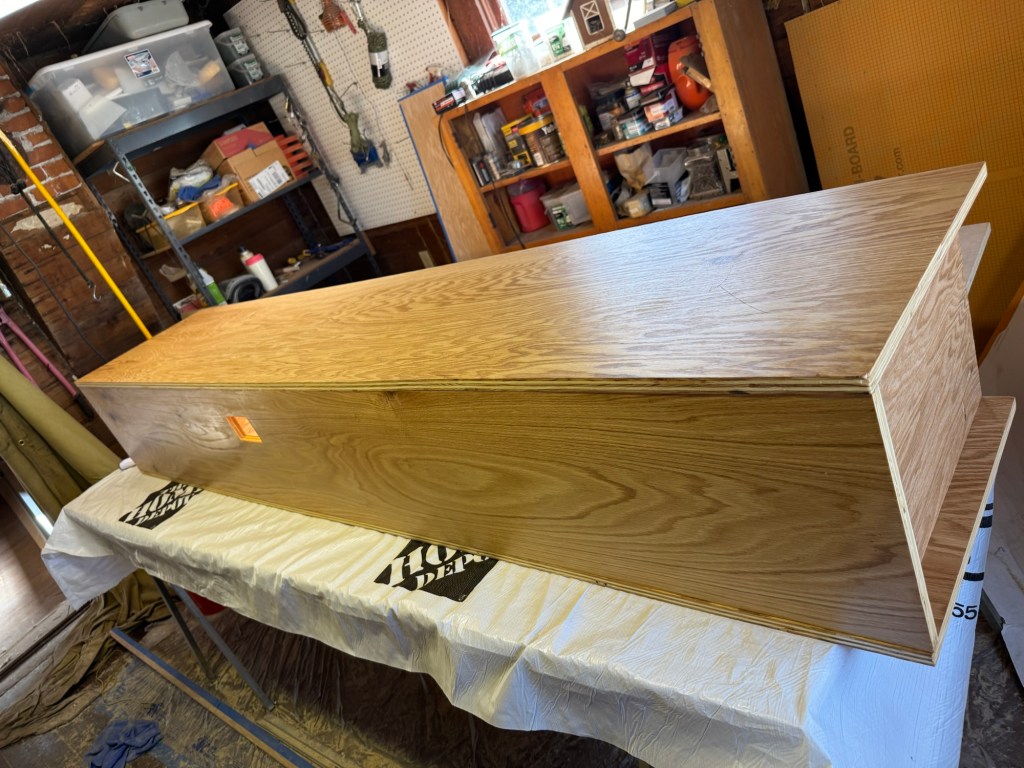
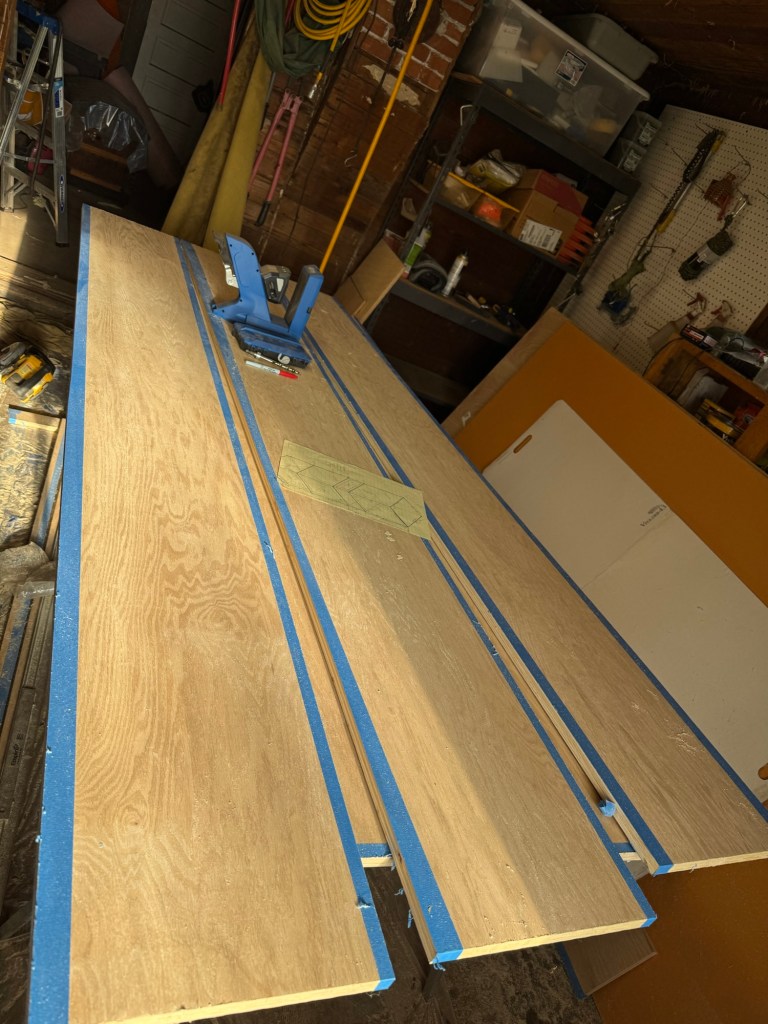
I started working on cutting shelves for the bathroom cabinet. Unbeknownst to me, I was failing to account for 3/4” from the back piece in my measurements. We had to recut every one of them today so they would fit. At least they were not too short! I used the Kreg tool to install peg holes for two adjustable shelves and another Kreg jig to put in screw holes to attach the boards together. I was going to leave the holes but I found some wooden plugs you can glue in place to make it all neat so I will be doing that. The plugs are ordered. Mr Rainman helped me get it all assembled then we tried to dry fit it into the bathroom. I had to rip out the corner crown molding as the cabinet is about one inch from the ceiling. It is very tall and a ladder will be needed for the top shelf. We were barely able to stand the cabinet upright once we got it into the bathroom. If we had made it 1/2” taller it would not have stood upright. As it was we had to get it square to the wall and ceiling and turn it on the long side to minimize the arch height. Once it was in place we took a level and worked on getting it moved around and level. It will need to have some trim added at the bottom to keep it level. Mr Rainman reminded me we could just screw the cabinet into the wall above the tile once we had it level. This way I could then work on getting the custom trim job in place to cover all of the weirdness. This is a great plan!

I was supposed to get some wider oak today when I went to Home Depot and I forgot it. I did get some stuff to put on the finish and picked up a single chunk of gutter to put over the office/old house porch steps. They had ice build up on them last winter and I don’t want that this year. That will also require another trip to the hardware store as I grabbed a gutter end from the right end box and one from left end box. When I got home and tried to set up all of the gutter I realized that I had two left end pieces.

I was going to stand up the cabinet in the old house and seal all of the surfaces but the ceiling in the old house is too low to stand the cabinet upright. So I will be doing all of the visible sides then turning it over and doing the back. I want to seal all of the surfaces as it will be in the bathroom.

I did drive by and check on the sheep. They look good and are doing well, no issues.

Gazebo moving along

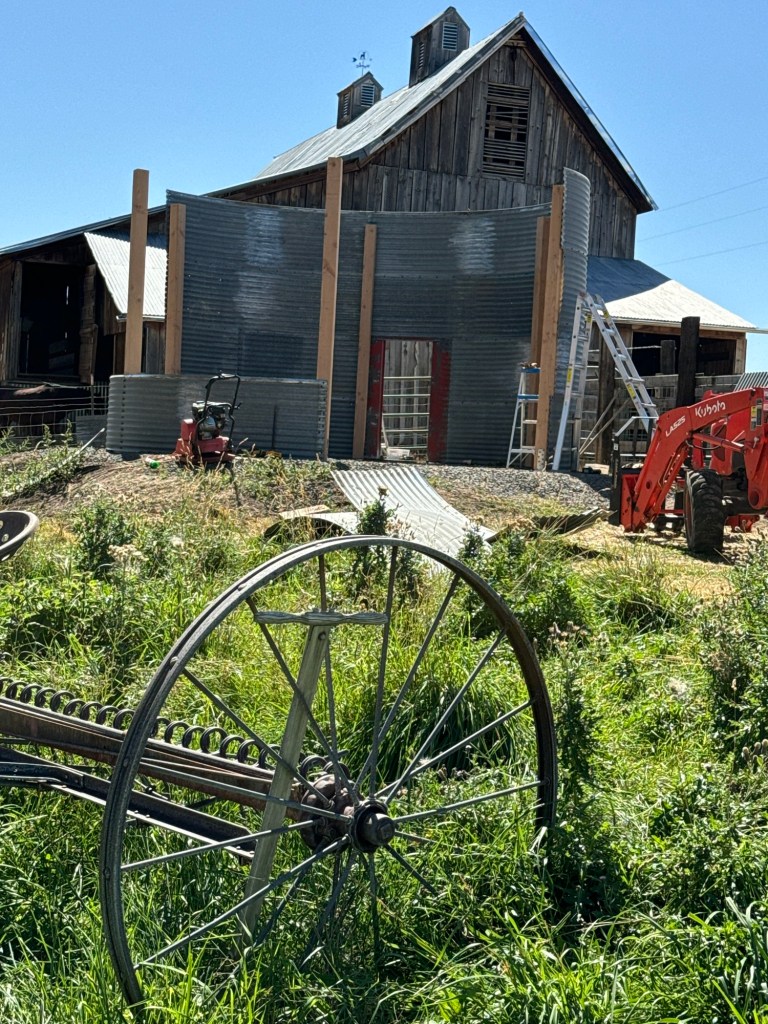
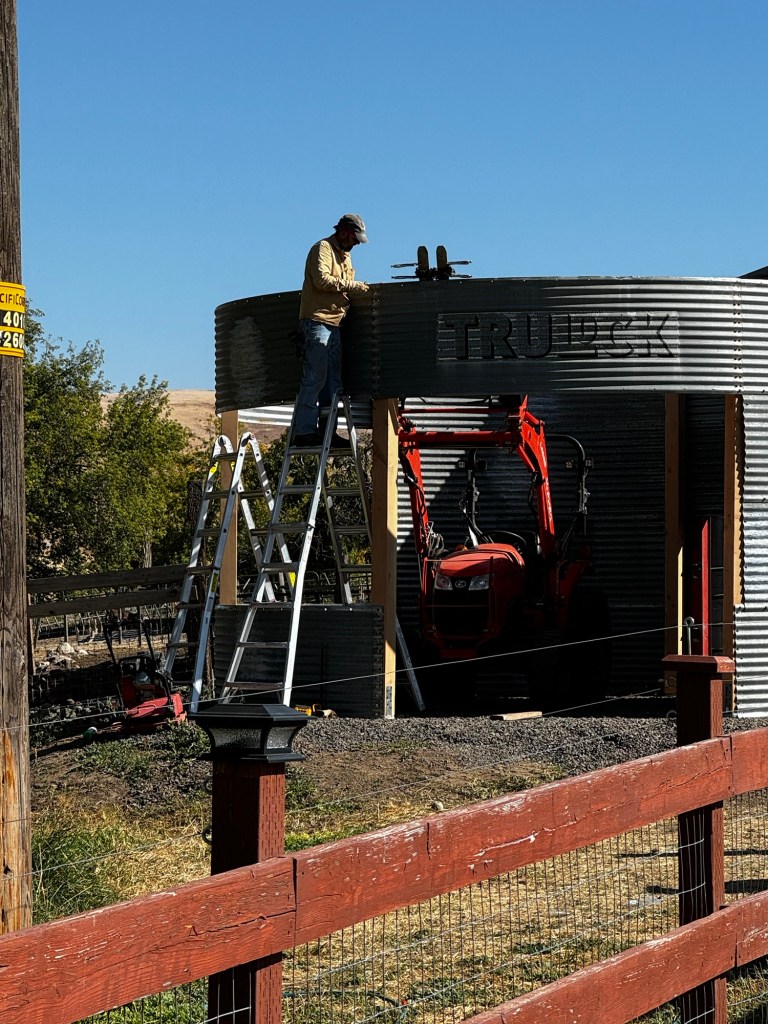
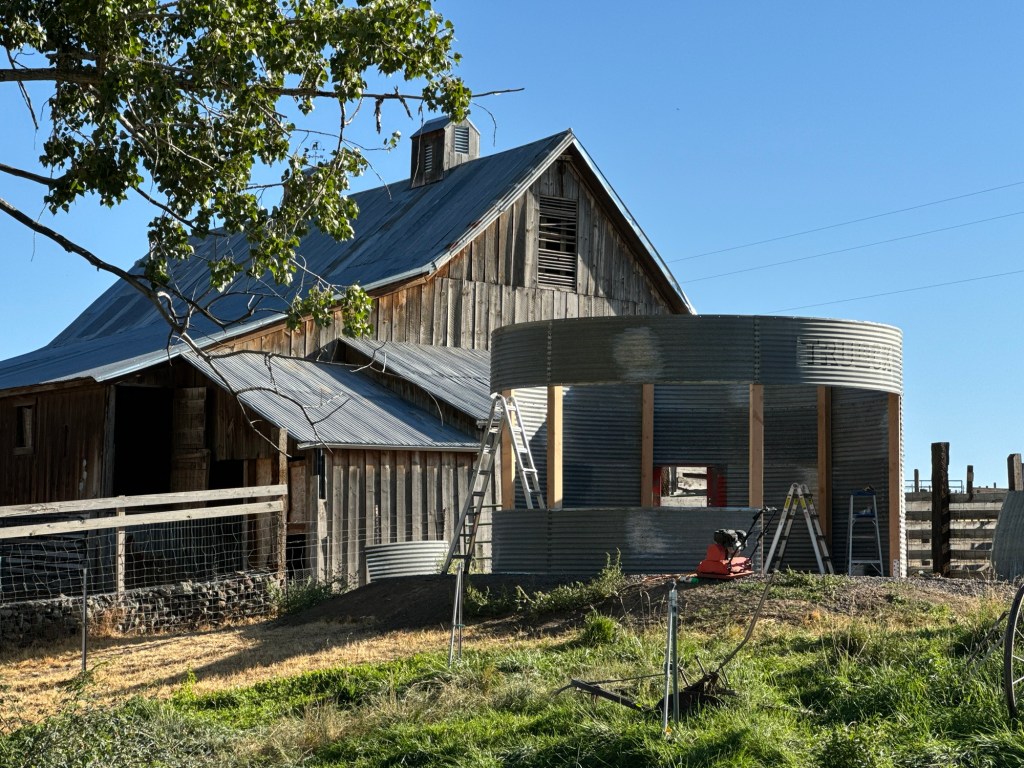
The grain bin gazebo is starting to come together. I as usual did not watch any videos, ask anyone and spent 10 minutes looking at pictures on the internet as a precursor to building said gazebo. The guy I purchased the parts from told me it was the bottom 10 feet of a 20 foot grain bin, he gave me two tubs of bolts and nuts, four floor anchors, a pile of roof anchors, a door, the roof parts and central roof ring. Supposedly the only thing missing was the vent cap for the roof. This was promptly unloaded and ignored for two years.

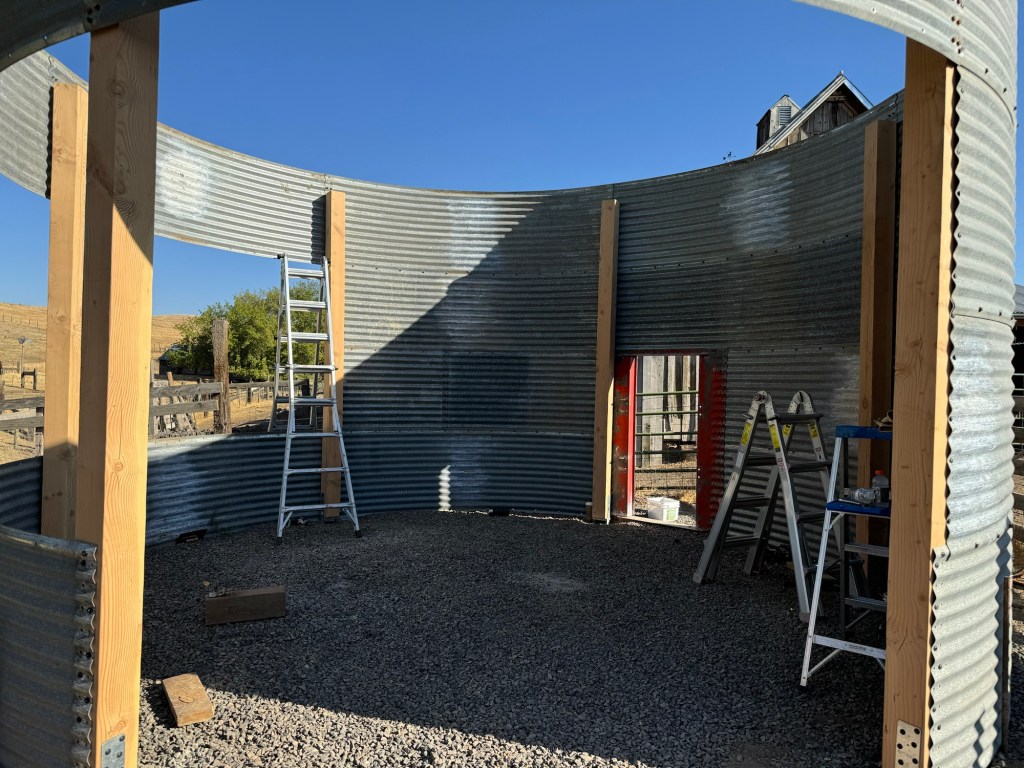
Well, let me say that it is definitely the bottom half due to how heavy the pieces are. We did not get enough pieces to go to ten feet, only eight feet and if we put up a full ring for the roof then you would have hit your head every time you went in and out of the gazebo. We could have cut one of the upper panels but then I was afraid it would weaken the roof. The bottom line was after talking with the boss, wife, we opened up enough of the gazebo to have a full six pieces to go around the entire top and to get the gazebo sides over ten feet into the air. It’s actually about ten feet six inches high now at the walls with the roof I think it will be another 4-5 feet higher.

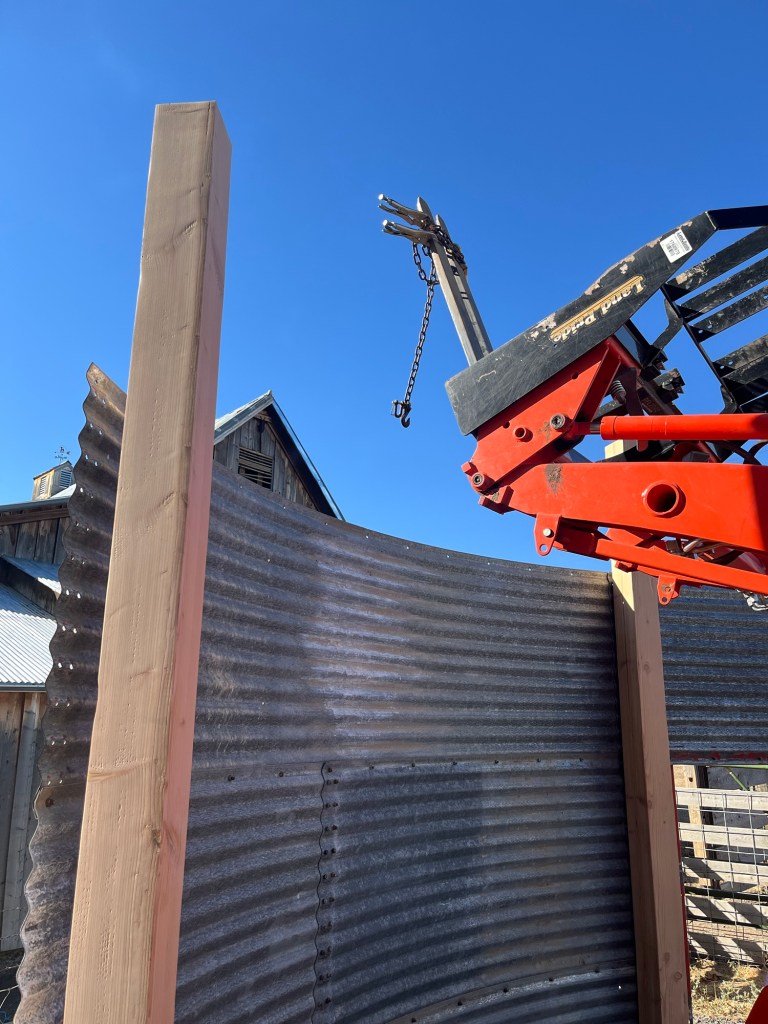
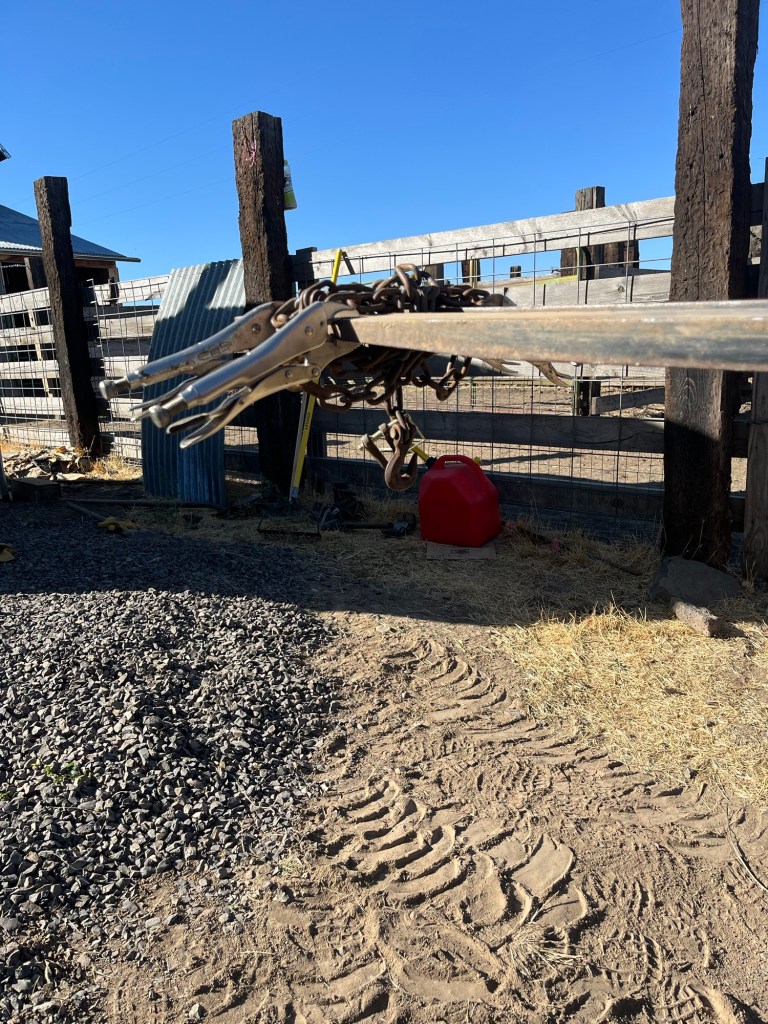
This morning I decided to do a little research on how to put the roof together. Yeah, I was better off not knowing. They used a crane, built the roof and then stood on the ground and proceeded to add a row of panels and lift up the entire grain bin as they built it. No ladders needed! The only drawback for me is that I don’t own a crane. Instead we used the trusty Kubota with the forks on it, a chain and some Vice-grips to hold the chain at the far end of the forks. This worked to get the third and fourth row in place. The fourth row was the worst. We ended up having to drill out three holes that we just could not get lined up, they were off by about 1/8” and the entire rest of the panel was already bolted together.

Mr Rainman came over Friday morning and we got the three panels up on the high back wall. It was a battle to get them bent into shape, another problem with not putting them back on in the exact order they were removed. I put up the last three rings myself with the Kubota being my trusty partner. At no point did I fall. I did tear my finger away from one of my fingernails enough to make it bleed and discovered a metal sliver in my finger this morning. The bolts had to be put on between the panel and the wooden support posts and this was an incredibly tight fit. Putting the posts 1/2” from the metal and then adding bolts meant some of the bolts are touching the posts. This is a good thing when I screwed in the lag bolt anchors.

The trusty Kubota is not going to be able to lift the center ring for the roof. It will only lift something about eight feet into the air. I am going to bolt two ten foot 6×6 posts to the upright frame of the forks resting each one on a fork. But first I am going to get a stout wooden pallet. This will let me put a diagonal support out to the front of the forks. I will then build a small open box with 45 degree supports at the top for the posts. This is where the roof ring will sit. I can then lift it up and get it centered with the tractor and then assemble the roof. I think this will work. No, I am confident this will work!

I just have to figure out how the roof support pieces go onto the sides…

Gazebo progress

After we sorted cows we worked on getting the 1/4 round trim installed on the porch. I made a mistake and only bought ten pieces 10” trim to cover 78’ of trim. This may sound like a lot of extra but it was going to take one piece for each end (2) and four for each long side (8) for a grand total of no extra pieces! I have never installed 1/4 round overhead before but knew there was going to be something special about it. I cut the first end piece and installed it without any difficulty and went to cut the adjoining 90 degree piece and could not get a match despite cutting it six times! I was trying to cut a 45 degree miter with another 45 degree slant. I had it all so screwed up I could not figure it out. I knew I had to quit guessing or I was going to run out of wood. So we watched a YouTube video. You have to use the wall side against the fence and then cut a 45 degree cut. Once I did this I was able to cut all of the pieces and reuse my short piece to get the trim completed. We had to use the router on the trim to get around a metal connector and on a separate piece two nails stuck in the overhead that cannot be removed. The blue color on the porch ceiling really turned out nice and the blue trim really made it snap! The only thing left is to clean off the porch, scrub it down with cleaner and get the furniture back on the deck.

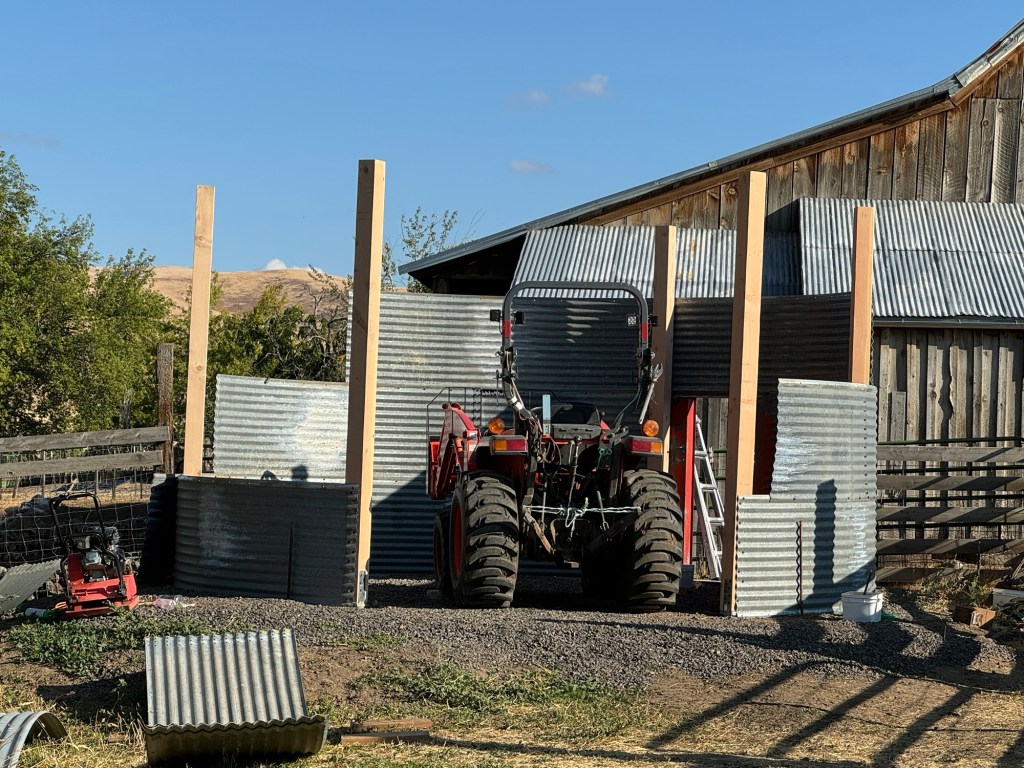
Mr Rainman was able to finally get the dirt/gravel pad all compacted down nicely so we could start figuring out where to place the grain bin/gazebo. I started setting up the first row of walls to get a decent orientation on how it was going to fit. Once I had it bolted together then Annmarie and I went out and we discussed where the support beams would be located and how much of the walls I was going to remove to create an open type building. It turns out that it takes six panels to make a full circle. We are going to take out two panels on one side to create the entrance. They only sent us enough panels to go three high but that is only eight feet high and they told us we had enough panels to go ten feet high. So to compensate we are going to take the four panels from the opening and raise up the other four panels another 32”! This will get us 10’ 8” instead but that will give us enough clearing above the posts to bolt in the ceiling.

I had to order a case of 4” structural bolts so we could attach the panels to the wooden posts. We are going to install 6×6” posts on steel supports that are embedded in concrete pillars. Each post assembly costs around $100. I thought it was the wood until I looked at the receipt today, the stainless steel supports that go into the concrete are $65/each. Once I had the first ring assembled I marked the post holes and placement with some paint then we took down the walls again. I had converted the little John Deere over to a post hole auger. We drilled a 6” hole first then once all six of those were done we came back over them with the 12” auger. I managed to snap two shear bolts on the 12” auger. We kept hitting buried metal, large rocks and large tree roots.

Tomorrow, Mr Rainman will reassemble the first layer of the gazebo so he can start pouring the concrete piers. Hopefully, he can get all the piers poured but I am unsure if it can be done in a single day.

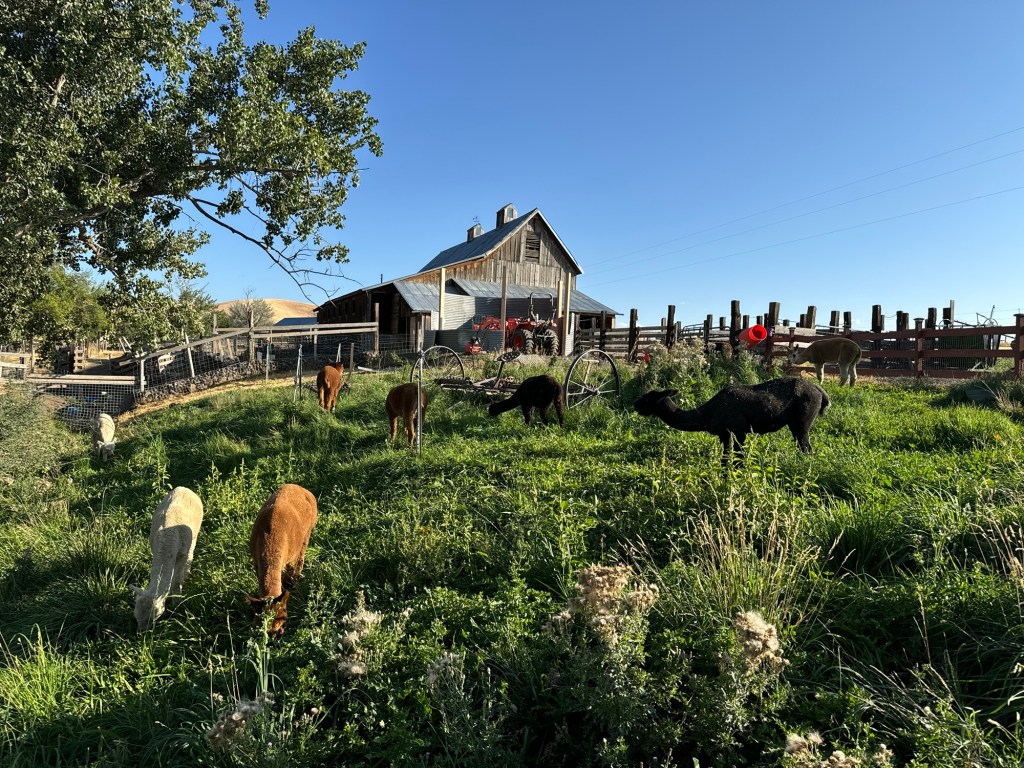
The grass is getting very high on the front hillside. We are going to let the alpaca nibble on it and see if they can make a dent.