Granary repair closing in

I should really break this up into a couple of blog entries but I did a little bit of everything over the weekend so I am just going to lump the whole weekend into one big blog. Let’s start off with the great news, the wheat has been harvested and it did very well for this place, it came out to 47.65 bu/acre, anything over 45 bu/acre is very good for this soil. This is even more amazing considering how little rain we had to finish off the growing season. They disced a fire break around the entire outside of the field so that worry is gone.
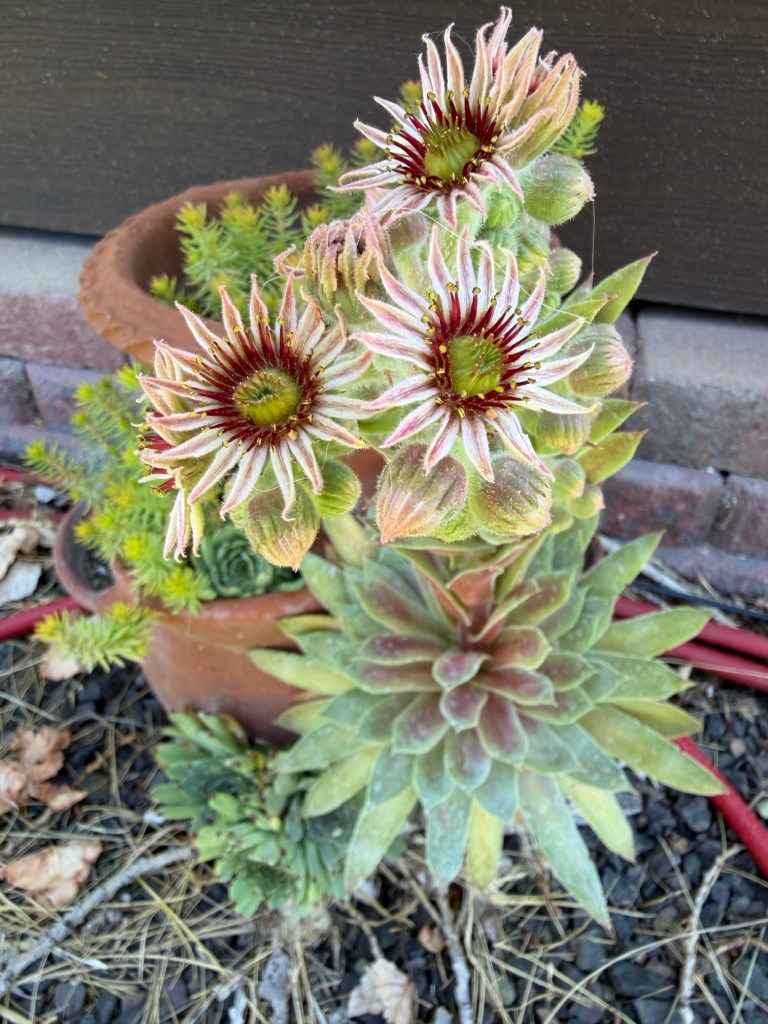
My outside plant is now on a drip line so it is loving having all the water it can drink. It is blooming for the first time ever! Our deck plants have water also but we got it to them a little late so one planter has died and the other is struggling. Our system is working, so we are going to add two more hanging spots so we can have flowers across the front deck next year.

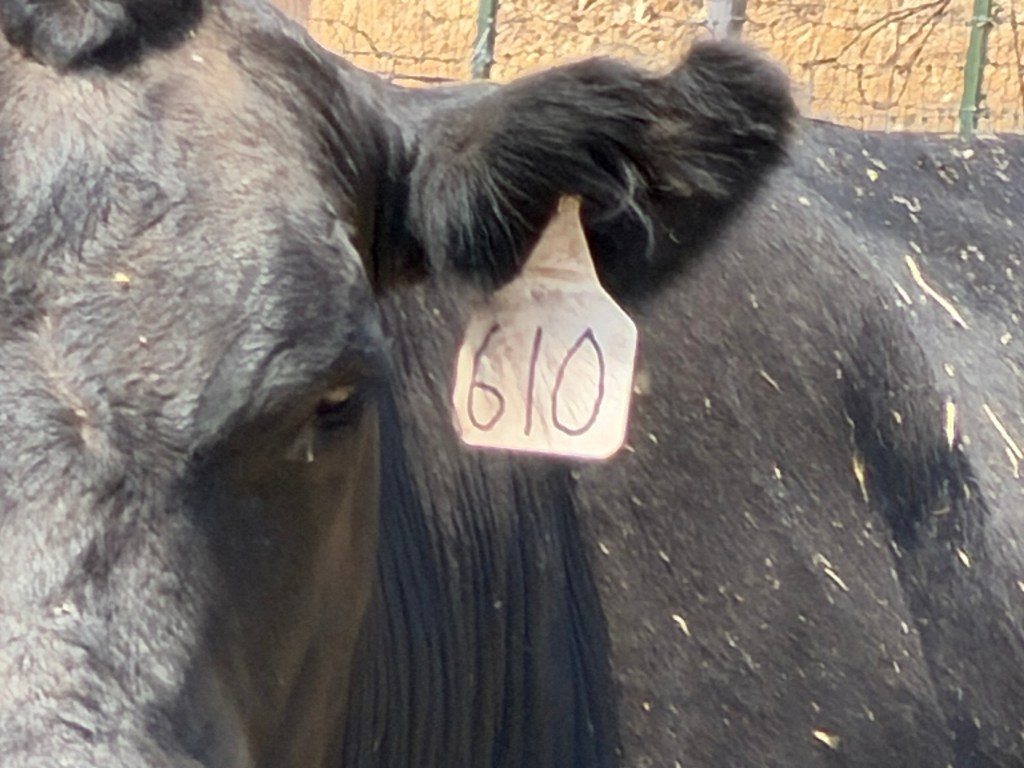
I was cooking breakfast yesterday and saw a black cow out the back window. I asked Annmarie to go out and let our cow back in. I thought that one of our cows had gotten out and wanted back in. I saw Annmarie go out to the ram pasture and open the double gates. This was the go signal for all the sheep in the barn lot. They ran Pell Mel for the open gate. Annmarie blocked the gate and told the sheep to stay but when she moved the sheep bum rushed the gate and ran out onto the back hillside and then down to the orchard. All the cows ran out onto the back hillside. Annmarie came running inside for help and I made it to the lower hillside gate before the cows got down below. We tried to push them down but then we realized it was not our cow! Instead we just left the gate open. There is not really any food on the hillside we knew they would come down eventually.

I posted a photo of the brand to Facebook and we eventually had someone call us today and say they thought it was their cow as they are now running cows on the Broken Spur land. They came up today and we walked up and pushed the cows back to the corral. Their cow sorted right off and the cows loaded right up. Chance got to go out with us and work the cows. I am sure he thought it was a little weird when I started hollering at her to go “left” to circle around the cows and she did! She does know her left from her right when she wants to pay attention. We get someone’s cow about every two years, they wander onto the property.

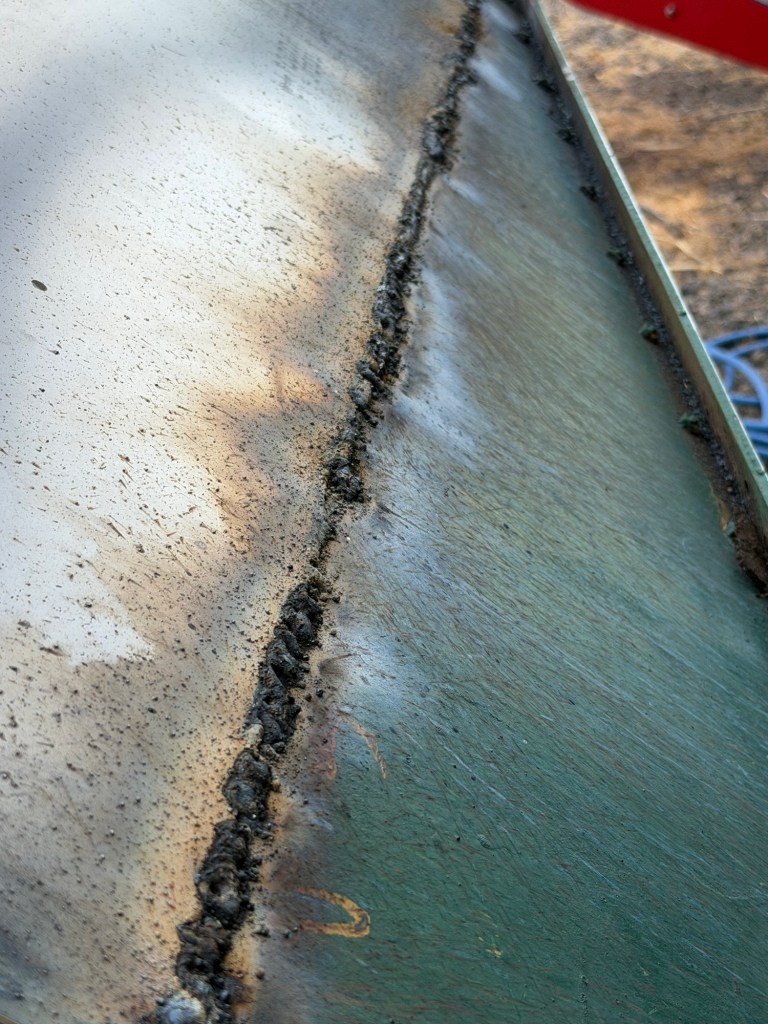
My goal for the weekend was to get the granary bottom welded and together. Since I am a fairly inept welder and am now learning to wire weld instead of stick weld I have been having some problems. Mostly I have not figured out how to fill in with wire when I have air gaps between the metal. I am also having a hard time adjusting the wire feed speed to match my use and hand movement. I started at 180 speed and ended up at 250. I was having some pushing back going on at that speed so I probably need to be welding at 240-245. Using the higher speed I was able to keep a continuous bead going. I did figure out how to fill in but it was not very pretty, but I got it done!. I welded the wire to the copper center thingy on Saturday. I watched a video that said there was a tool you could use to clean out the hole so the wire would thread easily. I do not own such a tool but there were three extra tips with the welder so I swapped out a tip. I kept a longer wire by speeding it up so I was not welding so close to the tip.

Saturday after the cow debacle I decided to go pick blackberries. We are not going to get hardly any fruit this year so I will need to fill the freezer with blackberries. I figure I will need to pick about 30 gallons. I spent three hours picking and managed to pick three gallons. Annmarie got them all packaged up for her breakfast smoothies. I will need to pick some and package them in 6 cup increments, we use those for pies! The wild blackberries make the best pies, especially if you keep the sugar to a minimum.
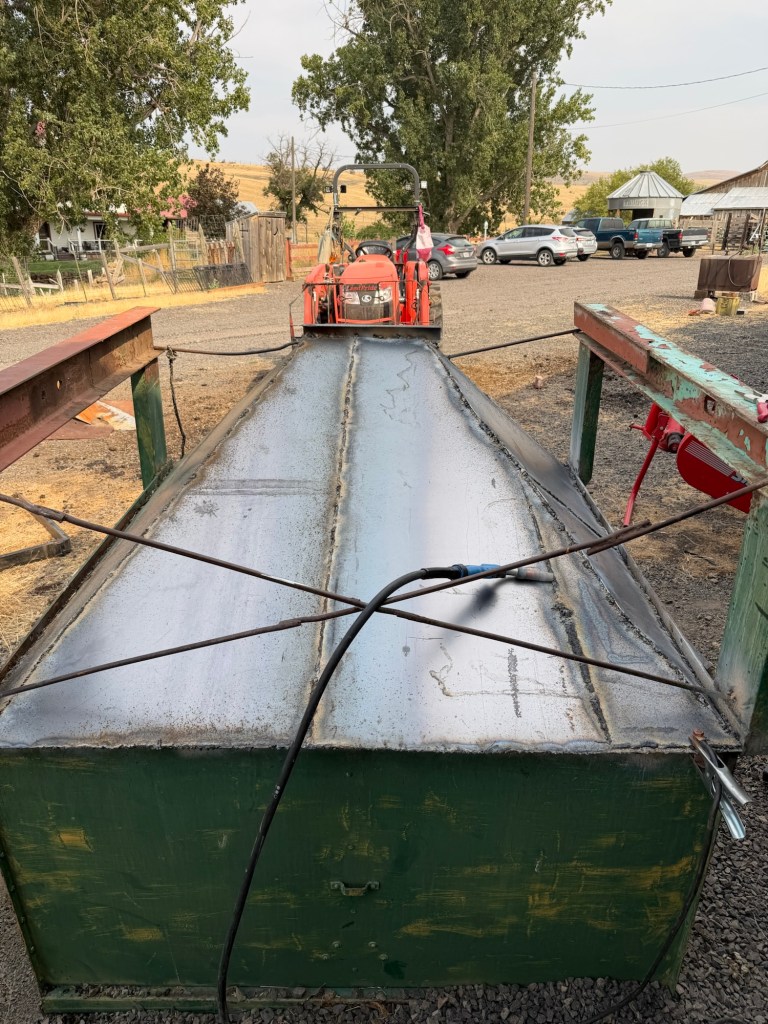
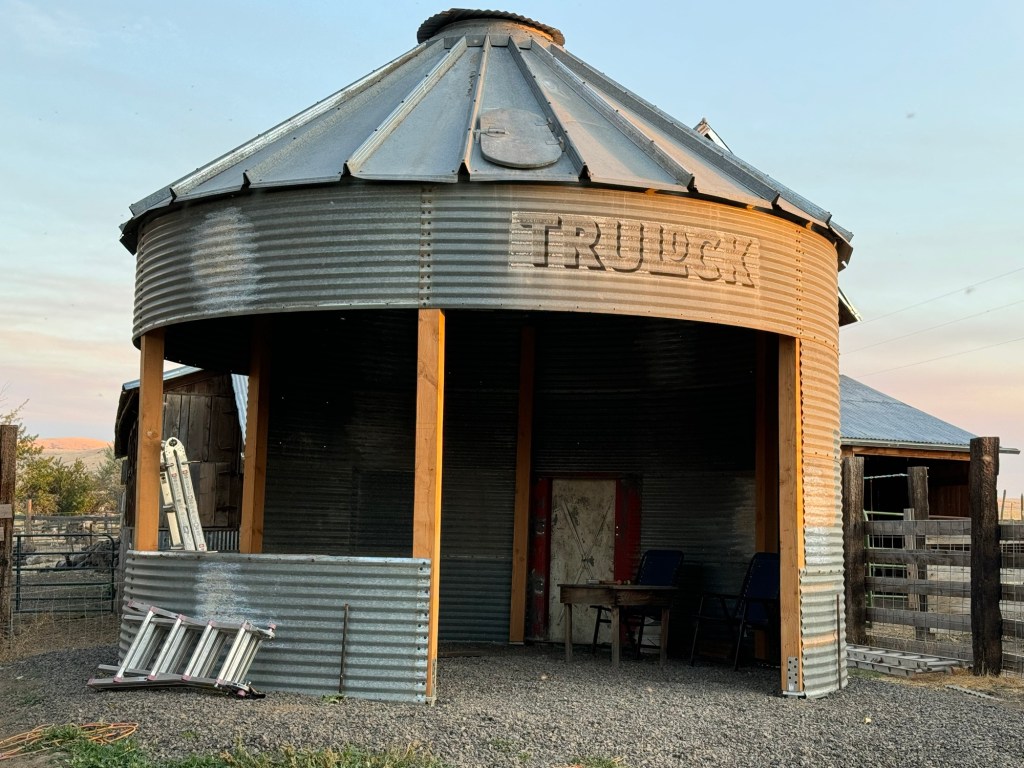
I spent three more hours on the grain bin today and got the entire bottom welded on! I just have to drill the holes for the grain gate and get it installed. I am going to put a foam seal on the lid so it doesn’t leak water but it should not. I will need to install three bolts to block off three holes in the side. I am going to just install the bolts and washers instead of fighting with welding something over them. Basically, I am going to take the easy way out! Once I get that done I will need to make an elevated wooden stand about 16 inches off the ground to place the granary on and it will be in service.

I was going to make another grain bin but the sheet metal alone was going to cost me $660. I was able to purchase a 28’ tall grain bin for $750 this weekend on Facebook Marketplace. I have already leveled a spot and filled it with six inches of gravel. We will need to get our large grain elevator functional. I would like to get it running off of the tractor’s pto instead of the old gas engine that is on it. I think I saw an old fill trough somewhere on the farm but I cannot remember where. It slides under the feed opening of the auger so the grain stays clean.
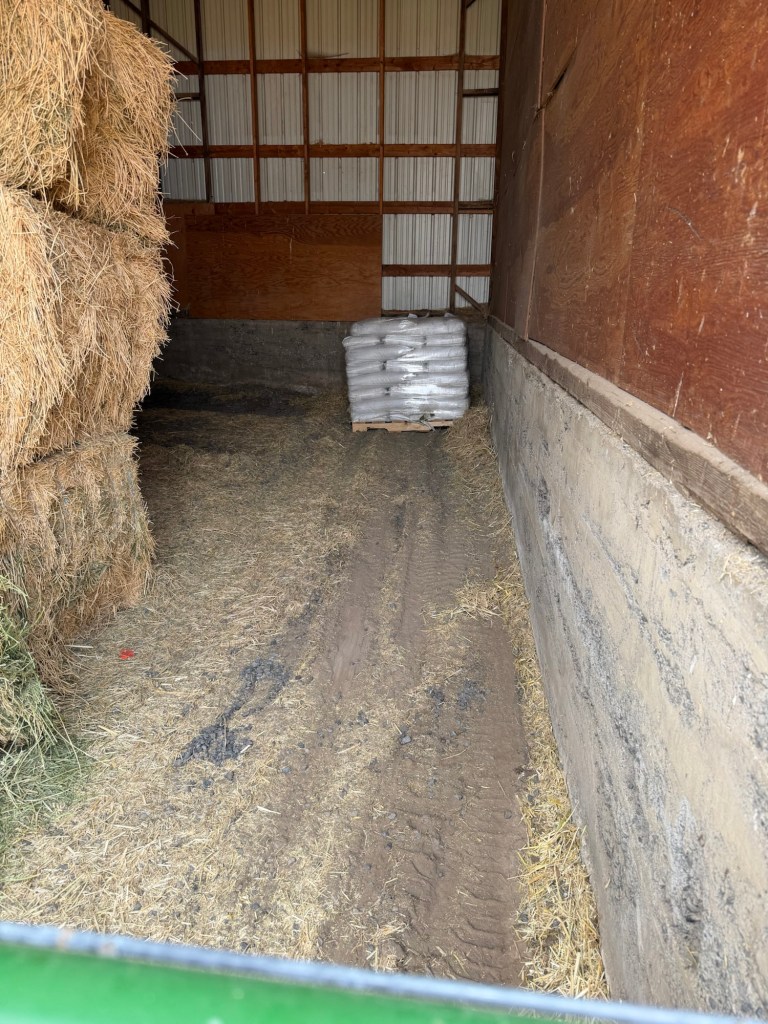
We purchased some cow feed and I was able to get it unloaded and moved into the machine shed with Clementine. This doesn’t sound very exciting but the lift capacity on the tractor is only 1100# and the pallet weighed 2000#. The guy dropping it off stood on the back of the tractor when the back wheels came off the ground as I was trying to slide it out of his horse trailer. It was all the weight I needed to get the feed out of the trailer. I was then able to drag it backwards with only the front tires touching the ground. You have to steer backwards when the front tires are the only thing touching the ground! Once I had it lined up with the machine shed I was able to just push it into place! I was sure I was going to have to break it up and move those 50# bags by hand. Where there is a will there is a way!

Granary repair

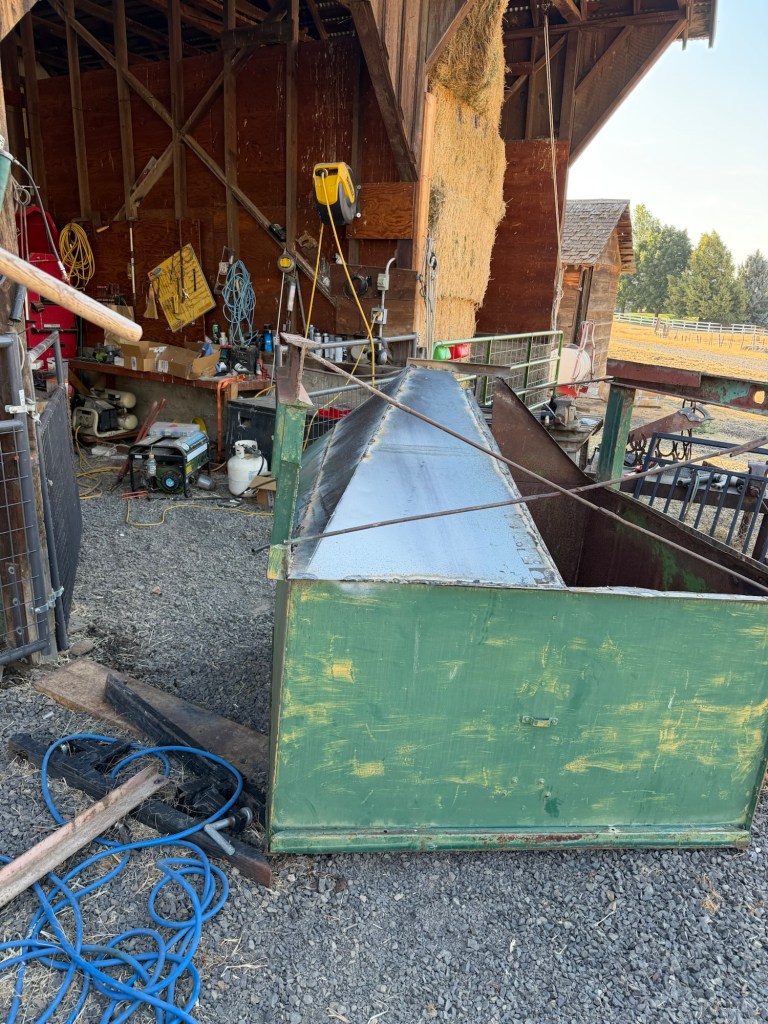
I was given an old granary this year. It was from a very old combine and had been converted to hold grain for chickens. It had not been used in a very long time and the entire bottom had rusted out. It still had the old pto motor for an auger on the front. It was trashed but it was still there. I have finally gotten around to repairing it. The problem is I have never really attempted a metal project this big before. My one quarter at BMCC with the welding class to learn stick welding did not cover this. Especially since the Gingerman changed the welder to a wire feed system. I have been trying to teach myself to wire weld. It is not quite the same as stick welding.

I have spent a couple weekends cutting out the bottom with a disc cutting wheel on my DeWalt 60v grinder. I have accepted that to work with metal I do actually need to wear some protective gear. I am wearing long pants, long sleeve shirt, leather gloves and eye goggles when I grind or cut anything. I switch out the goggles with a welding helmet and welding gloves when I use the welder. I get popped on the arm or face every once in a while but the important stuff is protected. I needed to buy some sheet metal and when I went to Packy’s the only type they carry is 14 g. I do not have a sheet metal brake. I needed to bend an angle into the sheet metal, both sides. I cut the piece then tried to bend it with a hammer and some clamps. No go. So I then tried to bend it over a piece of angle iron with one piece under and over the bend and beat on it with a heavy hammer. No go. So then I ground. Groove on the bend line and tried again. No go. I then proceeded to cut two inch grooves along the crease line about every six inches, so I cut out about 25% of the material along the bend. I then put it in place, welded one side down and then started to beat on it with a hammer, jump on it and used the forks on the tractor to bend it to my will!! I still ended up with 1/4” air gap in a few places that was painful to fill in with the wire welder. It would have gone faster if I had used the stick welder. But who wants to do the conversion again and then convert it back? I am too lazy for that much swapping around.

I was able to get the first half welded on and welded the gate holder in place. I marked the drill holes for the gate but I think they are wrong. One side looks good but the other looks like I let it slip while I was marking holes. I will just drill one hole. Put the gate on, mark and drill a second hole, insert bolt then I can get the other four in the correct spot. It will most likely be the very last thing I attach and I am going to bolt it on instead of weld it on. I bought a grain gate just for this purpose.

A full sheet of 14 g sheet metal cost roughly $110. So I think I can make it all with this one full sheet, if I piece the other side together. It will be close. I want a second granary, five feet on each side and five feet high. I have been looking to see if there is one out there available. The reason I want that size is I can fill it with the bucket of my tractor. If I get a real tall one I will have to use a grain auger. At this point I may have all the structural material in scrap and would only need maybe 2 pieces of angle iron for the lid and all of the sheet metal. Each side could be done with a full sheet of sheet metal, I would need one for the bottom and one for the top, six full sheets plus the grain door and it would cost $700 in materials, plus $100 in welding wire. I am thinking that this is the way to go to get a second one. An old water tank would be the bomb! I may keep looking, if I mounted the tank on a downhill angle I could just put the gate on the low side, a fill lid on the high side and I would be set!

My welds are improving as the project progresses. I have had to lower the voltage to minimize burn through and I have had to increase the speed of the wire. I had turned it down but had to adjust it faster on three separate occasions. I will need to move over a couple of railroad ties to set it on. Slow and steady progress. Eventually, I would like to have enough storage to be able to go get our wheat truck filled with 3-4 types of grain/peas and then store it on the farm. One wheat truck full would get us through the winter for the sheep and the year for the chickens.

New sprayer boom

I keep working on getting the star thistle sprayed in the CRP. It had not been controlled for a decade so it made some inroads. The wind and heat has been dictating when I can spray so it has been hit and miss to get it done but I managed to get in a solid three days last week. I can usually get 3-4 tanks done before the wind or the heat picks up enough that I can no longer spray. There are a lot of old coyote dens out in the CRP! It makes driving around on the tractor surprising. You can get lulled into a back and forth rhythm then WHAM, you hit a huge hole and the front tire has fallen in. It takes four wheel drive and going backwards to get out.

The miniature bunnies are all along the fence line. They are living in every single rock crib. This little furry creature thought that if it just held still I would not see it. I guess in its mind it worked as I just snapped a picture and kept on driving. Nothing harassed it so it was successful. We have one down along the driveway also. Annmarie and I were just commenting that we never see babies and we only ever see one at a time yet they keep multiplying.

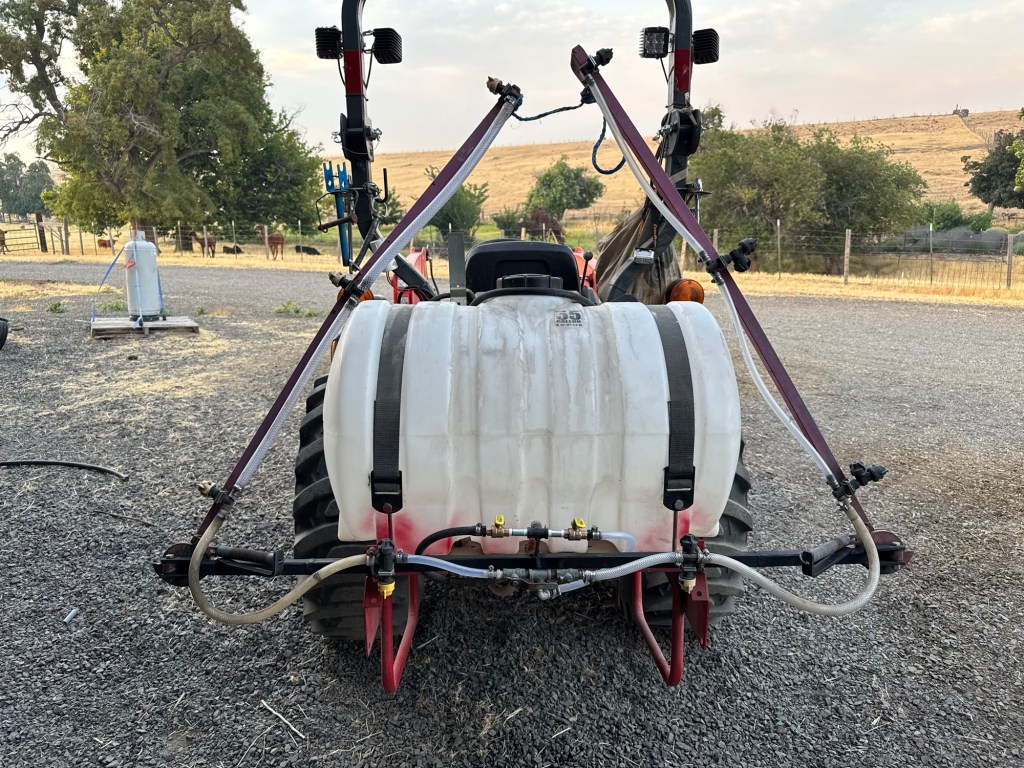
When I got down to the house I tried to back into the machine shed. Unfortunately, the boom on the left had flopped down and I ran it right into the upright wooden pillar. This caused a bend on the back rigid bar. It was bent too much, when I let the boom down it was pointed forward at a 45 degree angle, no good. In typical farmer fashion I figured I could just straighten it out by hooking it on the same post but pulling with the tractor to straighten it out. Surprisingly, this took quite a bit of effort on the tractor’s part and all it did was break the hokey fix I had done a couple of years ago in the middle. So now I had two issues.

The answer at this point is to just take it apart and rebuild it. But this means relying on my welding skills. They are improving, but that first weld two years ago was so bad I had to screw two holes into the patch and put screws in them. I am getting much better and that was one of my very first repairs. It also held for two years! I went to Irish Iron (Packy’s) and got some square tubing, a small piece of square tubing to go inside both pieces to hold them in alignment when I welded them. I also picked up some channel iron for the gun rack on the Kubota tractor. I was there so I figured I would just get it all.

I had to take it all apart, busted one of the bolts in the process and then had to cut the swing safety ends off. They need to be welded onto the new piece. Since I was having to rebuild the thing anyways I decided to do some improvements to its design. I have a boom and a wand attached but the valve to switch is under the tank currently and it is a standard yard hose Y splitter. So I purchased two valves to weld onto the top of the bar to switch between the wand and boom. I also moved the boom left/right valves to an upright direction so I now have four valves mounted on the spray bar. It was surprisingly not bad once I got the wire feed speed adjusted. I had to slow it down from the Gingerman’s settings. I cannot weld at 200, I did fine at 175 speed. I have no clue what the value for the setting is, I just know the bigger the number the faster the wire comes out.

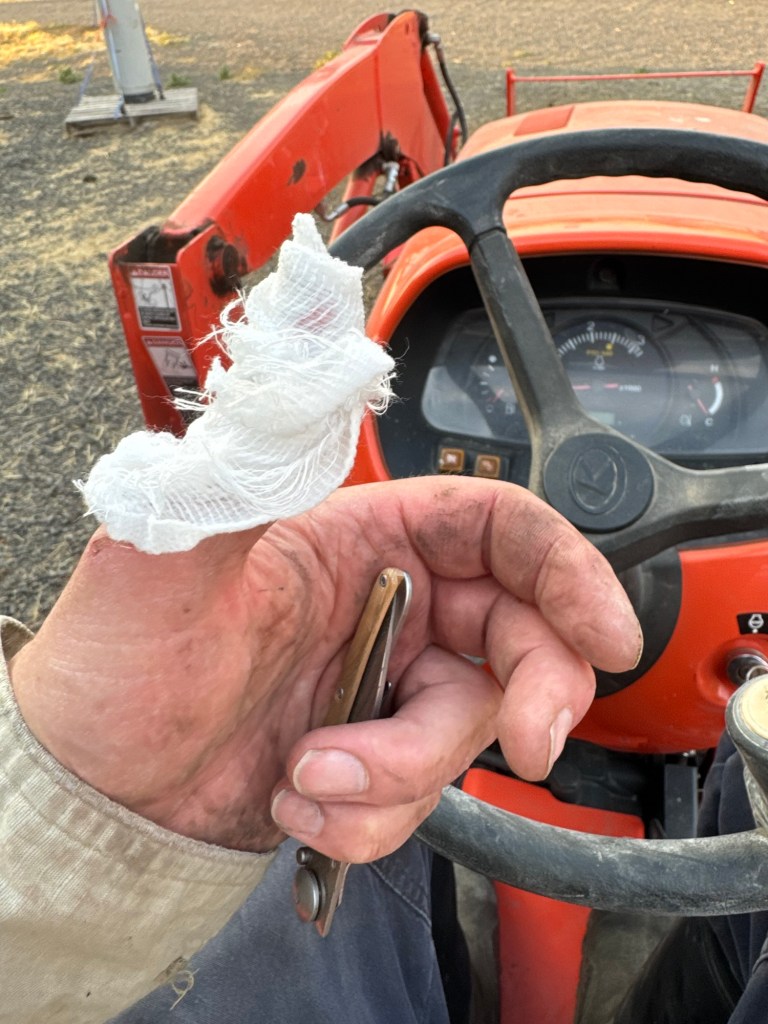
I go it all welded together and broke the ancient handle off of one of the old valves. I tried to weld it on, it took two attempts before I realized the valve stem is bronze. I will have to eventually replace that valve but for now it will work fine. I have learned to just grab some color of spray paint and cover up the bare metal when I am done. It helps control the rust. I was putting all of the tubing on with hose clamps and of course on the very last clamp the standard screwdriver slipped and dug a gouge out of my thumb. It would not stop bleeding so I whipped out the little first aid kit I have on the tractor. The requisite blood sacrifice for a farm project was given.

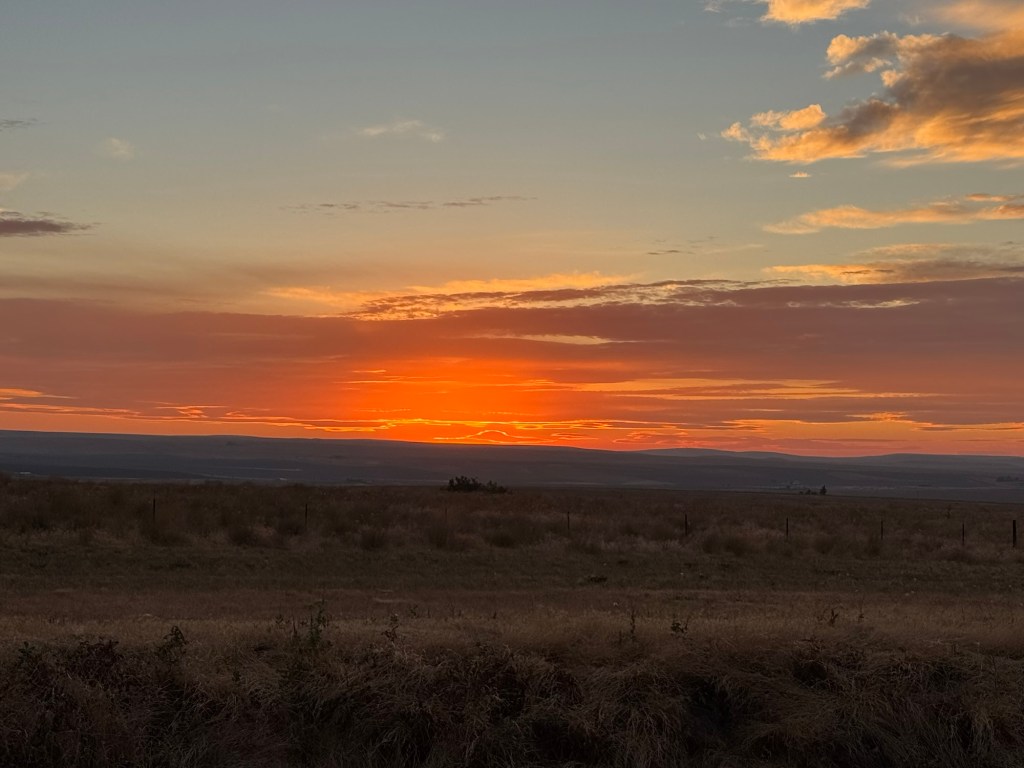
The fires have already started to burn all around us. It is a little early for fire season but our lack of rain is starting to show. It does make for a fantastic sunset!

Fencing/metal shed

I know I was supposed to be finishing up the winterizing projects. Finish installing parts on the bailer and finish emptying wood out of the old house. We are getting my future craft area all cleaned out so that we can use that as a staging space for the bathroom remodel in February. It already has a sink, toilet, shower head out there currently.

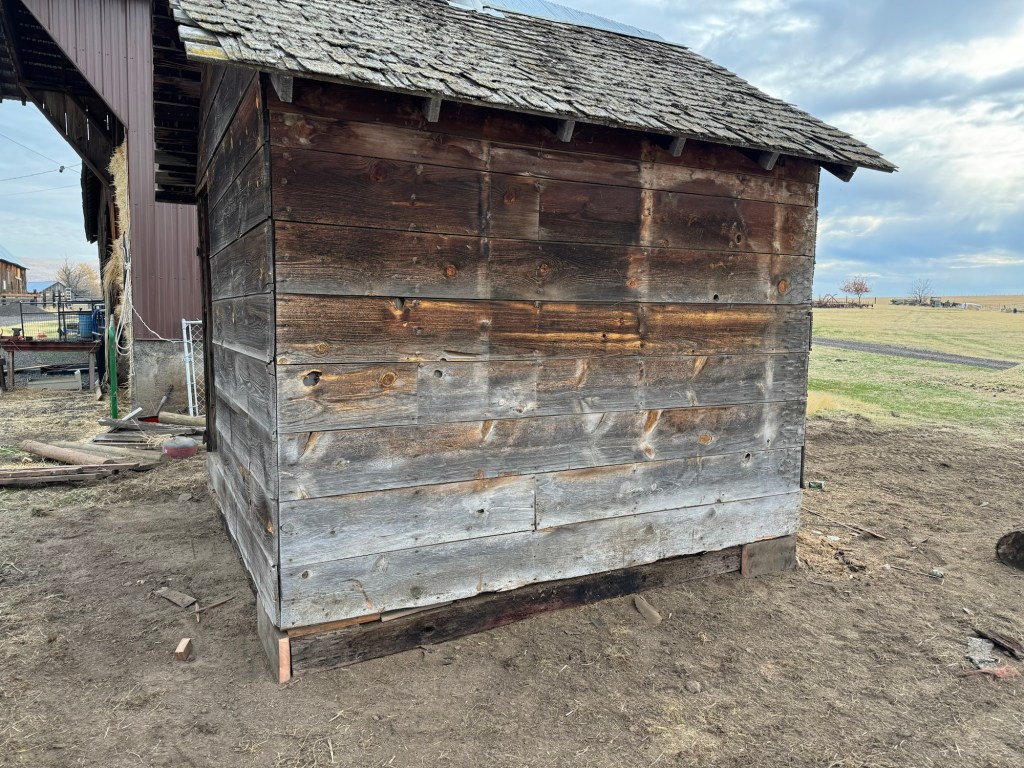
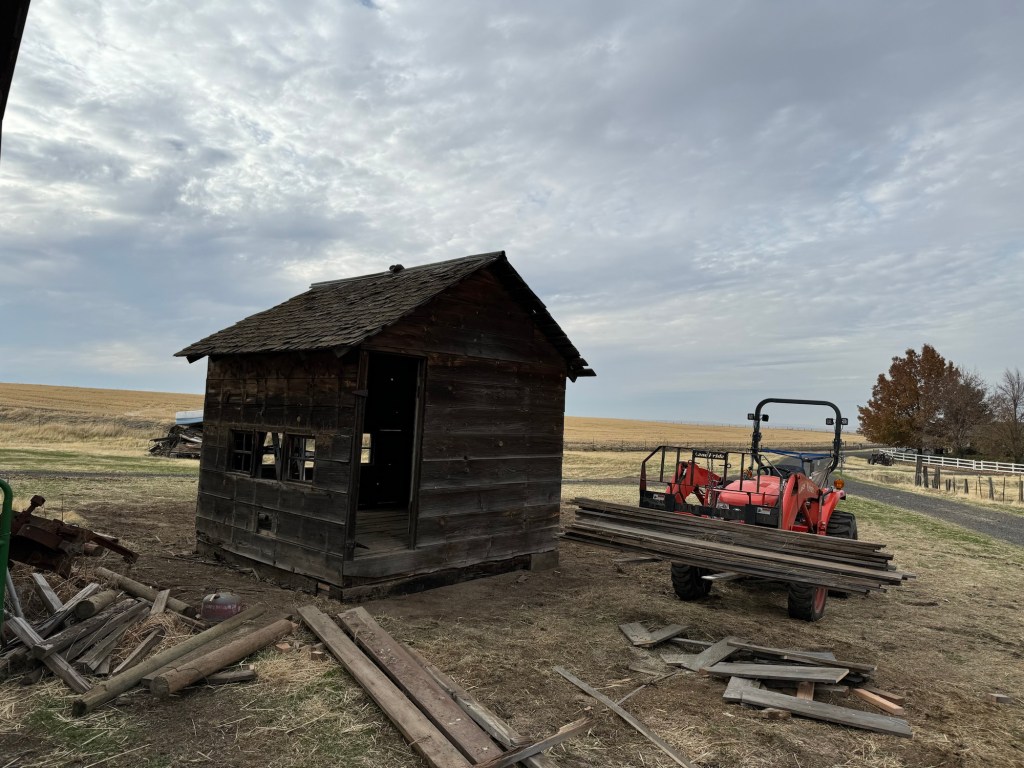
But honestly, I did not want my future fencing tools/supplies and metal storage area to blow away. This building was originally a chicken coop then did duty as a lamb shed. When we had the terrible windstorm that ripped part of the barn roof off it rolled this building about 100 yards. It is odd to see a building rolling across the ground. Even weirder when I was able to move it and it was still intact! Since that time it has tipped over once and spun ninety degrees in place from the wind. I have been wanting to get all of my fencing supplies and tools out of the machine shed. They take up four pallets worth of space and I wanted to be able to put metal scraps and pieces under cover so when I need pieces for weld repairs they are all in one place and not spread out over 100 feet and buried under other crap.

It does not hurt that it is the allure of a new project enticing me to do something. Mr Rainman and I got the last railroad tie installed under the building then filled the one foot gap with an old 2×8” board. We had to chase out one cat before we could get started. I don’t want any kind of animal living under the shed or for that matter in the shed. The door on the building is made out of chicken wire and if I just add a six inch piece on the bottom it will keep out all four legged creatures. We will need to add hardware cloth to keep the little birds from flying in and building nests in the rafters. I ordered twelve inch long deck anchors so that I can attach the building to the railroad ties. They were incredibly expensive at $3.60/each. I only ordered a dozen from the entire building. The additional weight should help keep the building from blowing away, plus putting it next to the machine shed helps break up the wind at least from one direction.

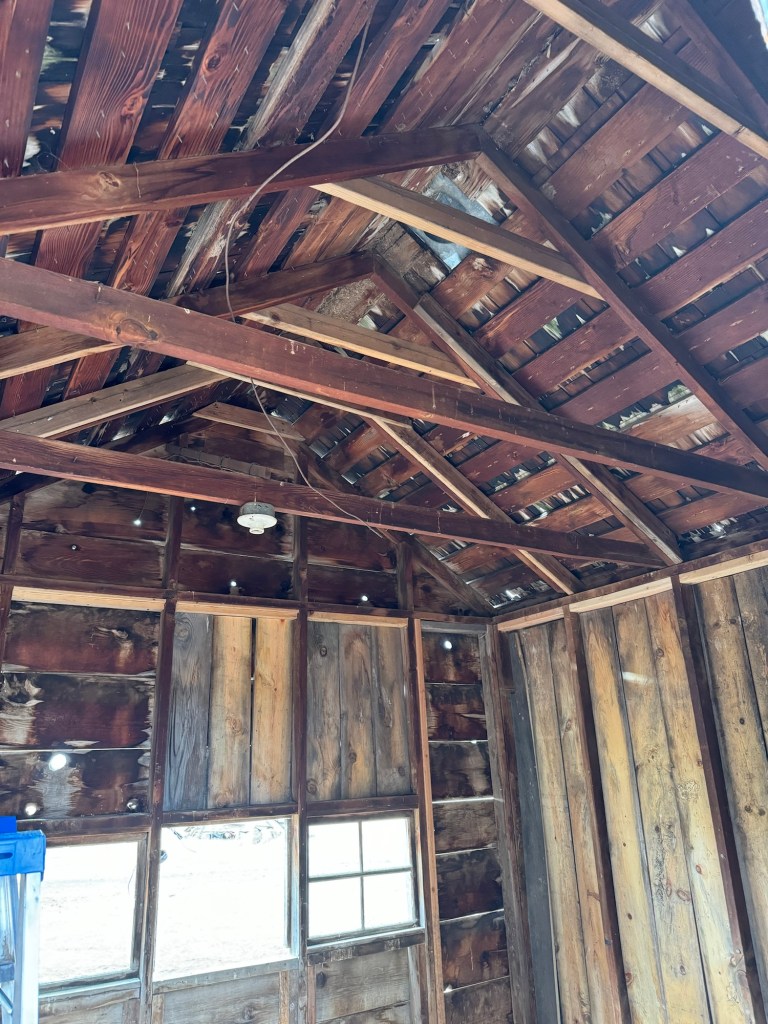
Once we tore off the bottom board on once side and started to clean out the building we realized that if you shake the walls the entire building was moving. This meant we had to look at the bones of the building. There was a roof joist that was not touching the sill plate and one of the sides it had split. It needed two new boards cut and then attached to the old joist. We even squeezed the split joist together and put a few screws in it before attaching the new joist to it. For all the purists out there this is a shed. It has lasted 70-80 years already so I just need it to last another 50 years. We found another roof joist that looks like it broke in half but it was still perfectly aligned. We just slapped another 2×4 up next to it and screwed it in. I had five new 2×4 but we used about 20 to fill in all of the upper and lower sections of the wall. Doing this really stiffed up the old building. We had one soft corner where we installed three new upright 2×4. By this I mean we just toed in another one next to the soft spots. We also put some supports in near the top of the roof to stiffen the roof. I am going to have to climb up on the roof and install a metal roof and I don’t want it breaking. I have some old used metal tin that did not get used up when I roofed the barn. It is old and aged and will go perfectly with the building. I will even reuse the roof cap it currently has as those are hard to find.

My Mother-in-law wanted the building to maintain its old look. To do this we are going to use a bunch of eight inch by eight foot boards that have been laying outside for the last ten years. I bought a unit at a charity auction and have had various projects that I thought I would use them on and never did. The unit had gotten spread out all over the ground and needed to be restacked. It was the perfect time to get boards because they were all weathered. We will line the inside of the walls with the new boards and put the weathered color outside. There are a ton of knot holes in the wood. They had covered the knot holes with cedar roofing shakes from the inside. We tore all those out to get a better fit for the inside boards.

Once we tore off the scraps of 80# asphalt paper, another reason the building probably held together well, we pounded in all of the nails on the outside walls. Surprisingly, the cupping on a lot of the boards was pulled out by hammering in the nails. We will use black screws from the outside to attach the boards to the frame and to attach the inner boards against the gaps and knot holes.

We are going to cover up the windows. I have an old window from the old house but honestly, it’s a shed and I have already ordered a solar, motion sensitive light for the interior. No power required! I had hopes that we would be able to finish it up on Sunday but the rain is pouring down so it is going to have to wait. I love using the tractor as a working platform when cutting a lot of boards. I can adjust the fork height to the perfect working height.

Annmarie spent the day canning spaghetti sauce, we had been freezing the tomatoes and she was able to make three gallons of spaghetti sauce! So now we can have spaghetti every month.

Staycation day 5

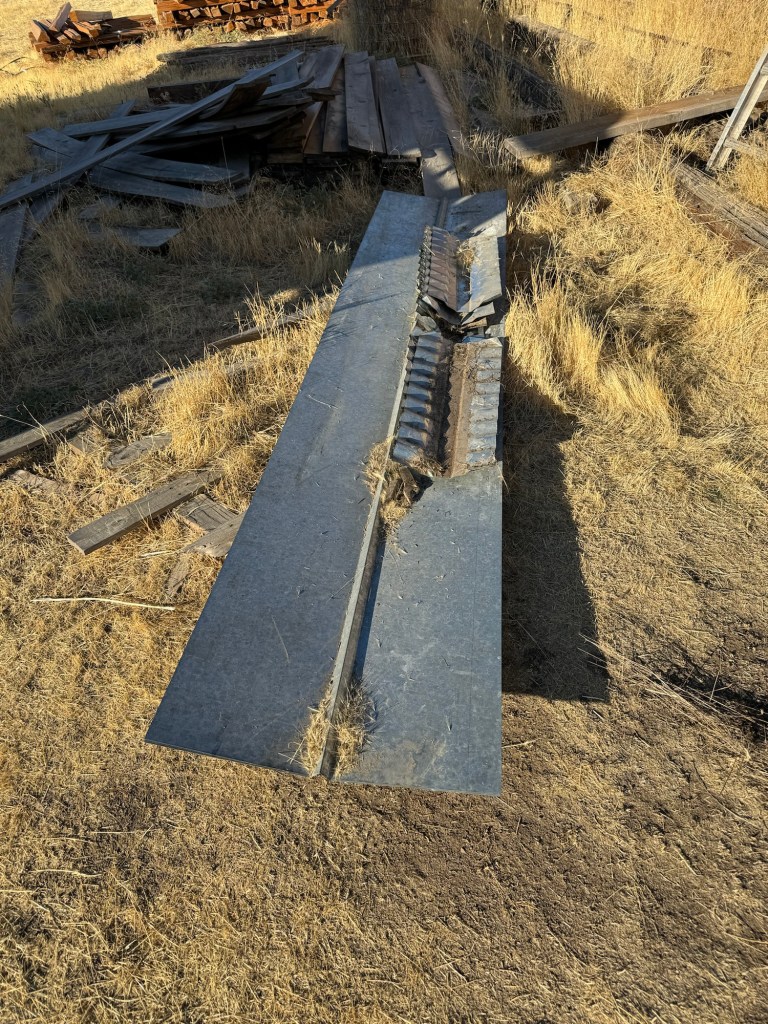
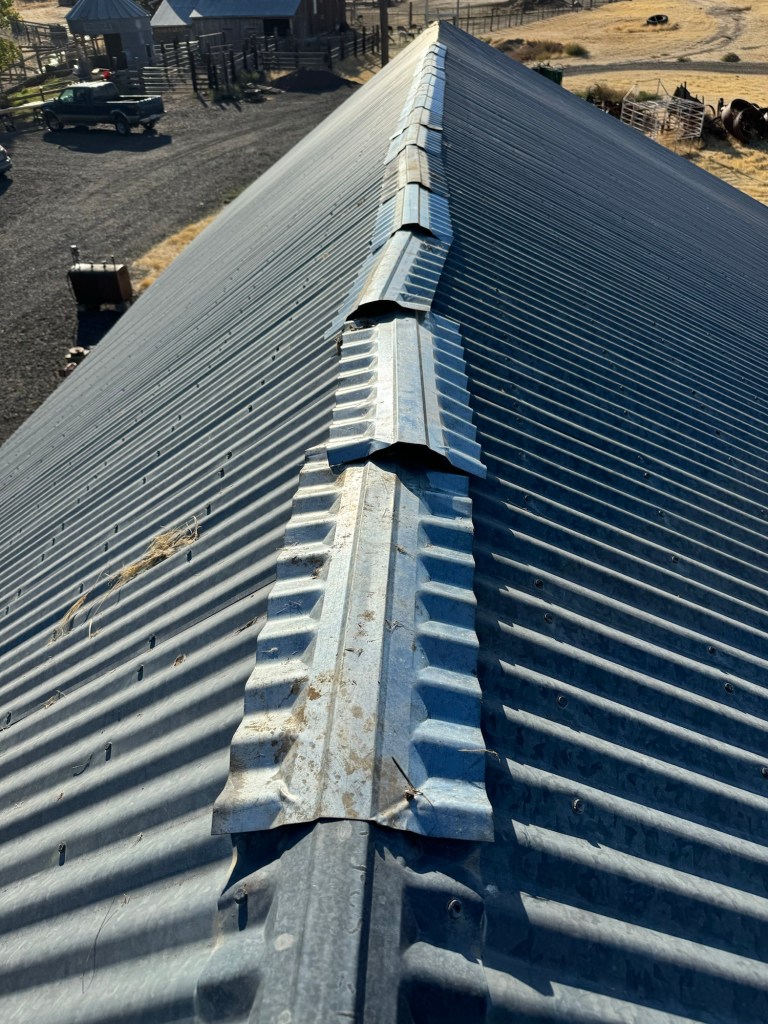
It seems like every project is two steps forward and one back. I was able to work on the machine shed ridge line install yesterday. I had found some small two foot peak sections somewhere on the farm but they were not enough to cover the entire ridge line. I purchased some trough metal that I turned upside down and used as ridge cap. It was at a close out and I only paid about $8/piece. I was trying to use up my leftover roofing screws from the barn. The only problem is I ran out with only 27 left to be installed. They are oversized as I was reusing metal tin and needed a larger size to go through the existing holes. This meant I had to drill a pilot hole first. I drilled those 27 holes before climbing down from the roof and of course could not find a #14 screw anywhere in town. I had some #10 but they were red! I ended up ordering some and they should be here this week. Luckily, I ran out of screws as the sun was heating the roof up to unbearable temperatures but I kept trying to get it all done so I would not have to climb back up on the roof. I ended up going to town to get some oak, some trim for the cook stones enclosure, sheep and lamb pellets and some bolts to fix the gazebo door.

I had enough time to repair the gazebo door, cut off the door handle bolt and install a new one. I still ended up beating and bending the door into submission to get it on. Our original plan was to use the door to get to the grill outside after I built a lean to on the back of the gazebo. Nope, not going to happen. That door will be staying shut, it took a hammer and a couple of minutes to get it shut the first time. The grill will be going inside the gazebo. I just have to figure out where the grill is going to go as I need to run the power to that spot.

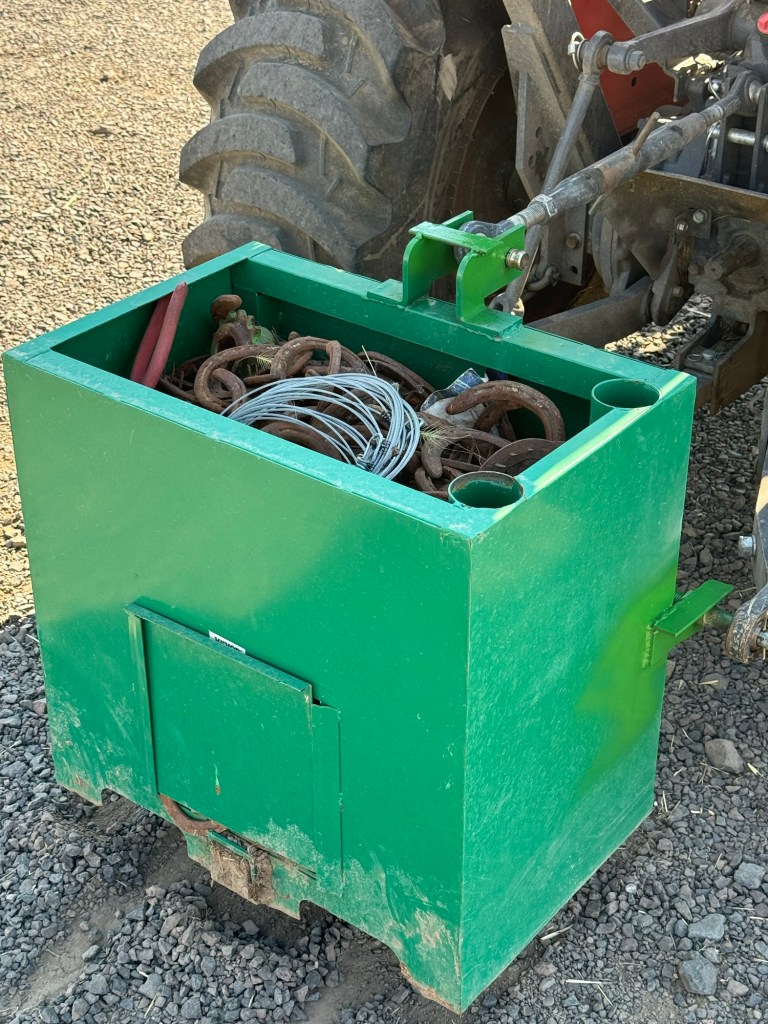
Today I took the second repaired cattle feeder out into the alleyway and got it ready for a large bale. I dumped some more scraps onto the burn pile. All the burn piles are starting to grow pretty fast now as we continue cleaning up. I got the weight box for the tractor and took it over to the machine shop so it could be repaired. The supports keep bending from the weight of all the metal horse shoes. I beat on the three point supports with an eight pound sledge hammer then proceeded to weld some supports on all three attachment points. I am hopeful that it will keep them from bending now during the winter use. I am still welding pretty roughly but it is holding and that is the main purpose for my welding skills.

I took 1000# of sheep and lamb feed out to the barn. We are storing the sweet feed in the large grainbin we have in the momma/baby area. I put 450# in it today and I am pretty sure I can fit another 1000# in it. The lamb creep feed gate is up and we are now feeding the lambs where the mommas cannot reach. This should hopefully help the mommas not slough so much weight. I took all of the leftover feed bags and net wrapping and bagged it all up and took it out of the barn. Annmarie had been complaining about there being no box knives out in the barn. I found two knives in the trash bin, some lamb nutrient mix and some hoof treatment powder. So now we know where all of that is located.

Annmarie really wants the house number holder completed so I started welding that project today. I am a mediocre welder so hopefully this turns out well. I got the rough frame welded today but had to let it cool off before I could work on it some more. Tomorrow I will grind it smooth and try and make it pretty. Hopefully the tile will still slide into the end. We will know tomorrow!

The porch lights went out for the third time! This is after I wired the new ones in. I took the main one down again, took it all apart and used a voltmeter this time to check everything and the switch. It turns out that it was the cheap porch light bulbs. They had blown up with all of our power losses. I bought LED this time!