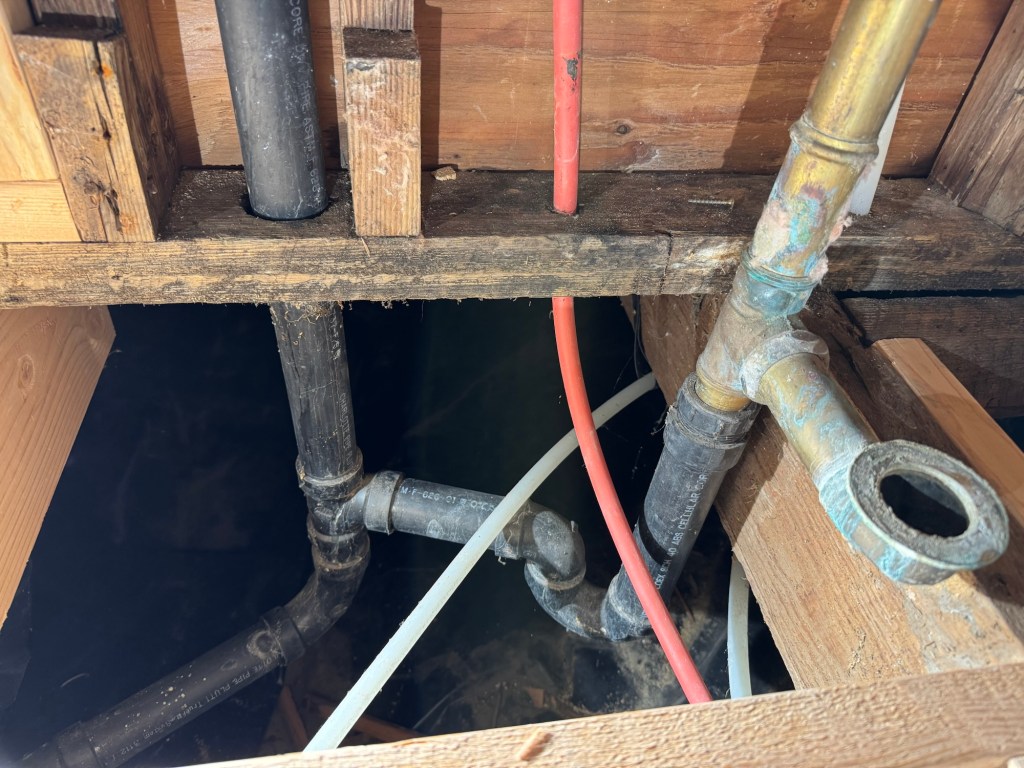
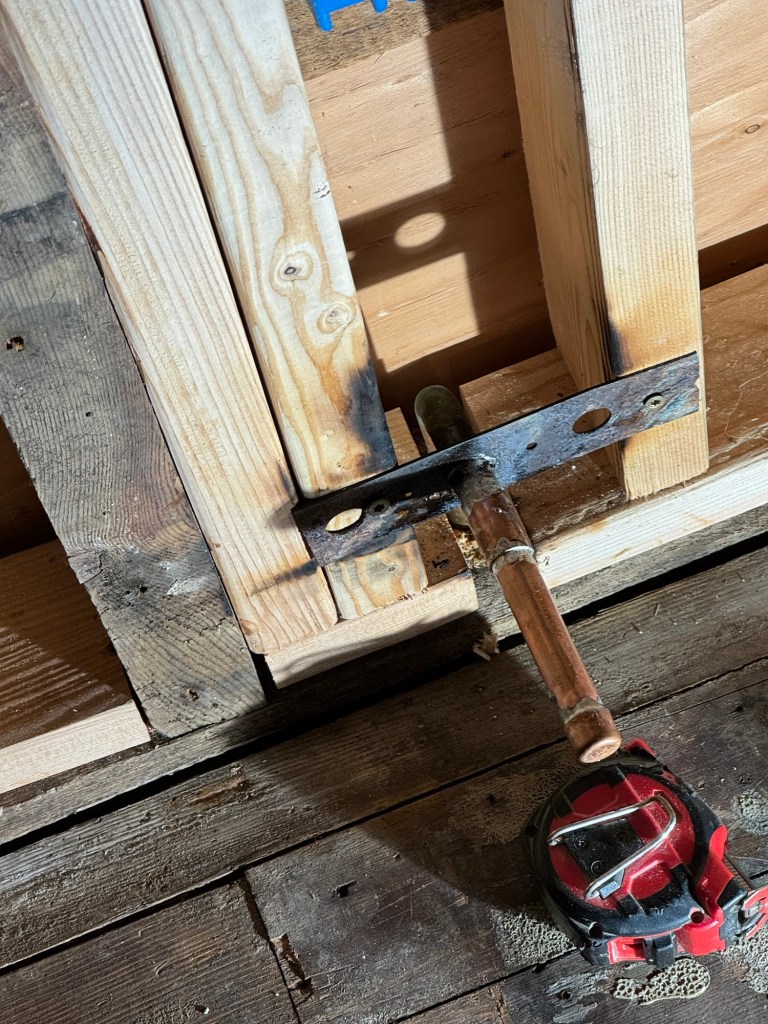
Well it’s been a long three days. Mr Rainman and I have kept after it diligently every day. There have been some setbacks, namely the plumbing. I am not a plumber, I have never been a plumber and I won’t even play a plumber on TV as I am just not a plumber! I managed to burn up the toilet stub and had to cut it short and after a couple of hours and two trips to the store I was able to solder on one end cap. The Gingerman had offered his soldering services but he was going to be gone until Sunday evening.
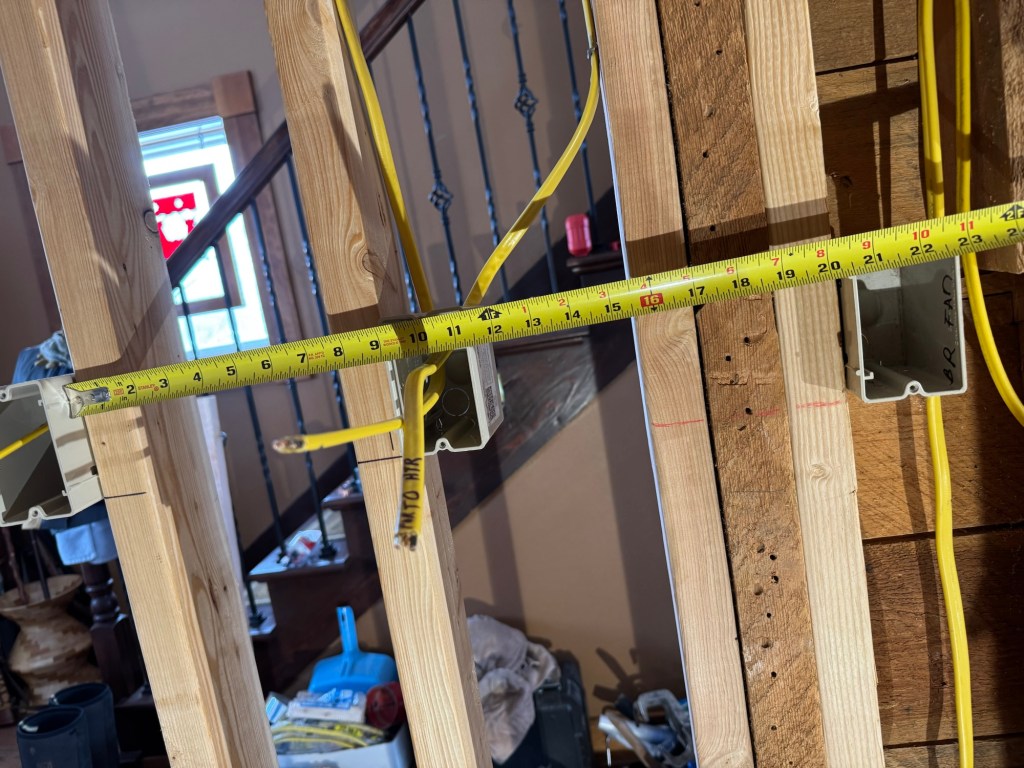
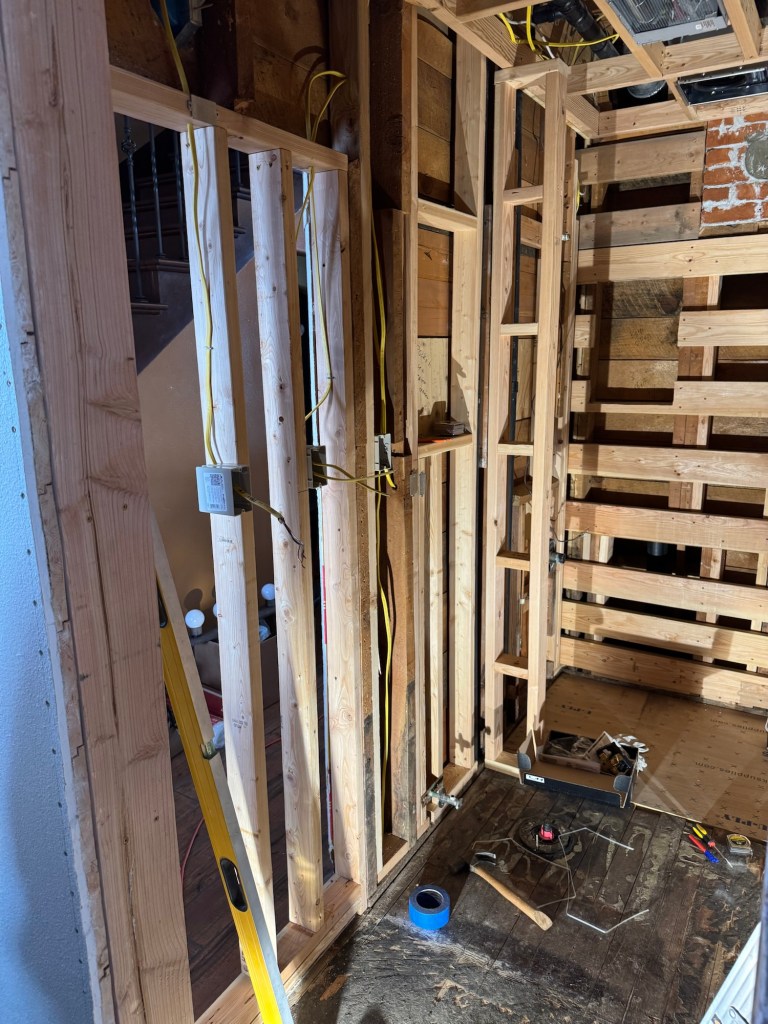
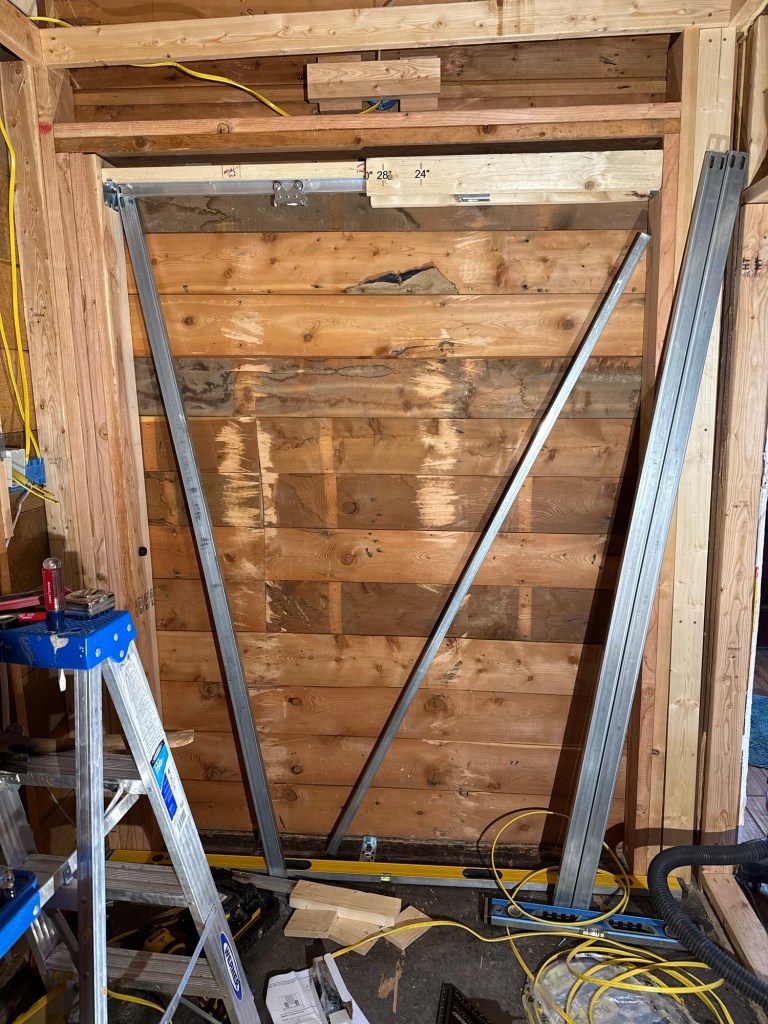
So I finished installing the new supports to block off the old door. I messed with that for 30 minutes trying to get the three outlet boxes equidistant from each other in a straight line. They are 9.25” apart and will look great when we are done!

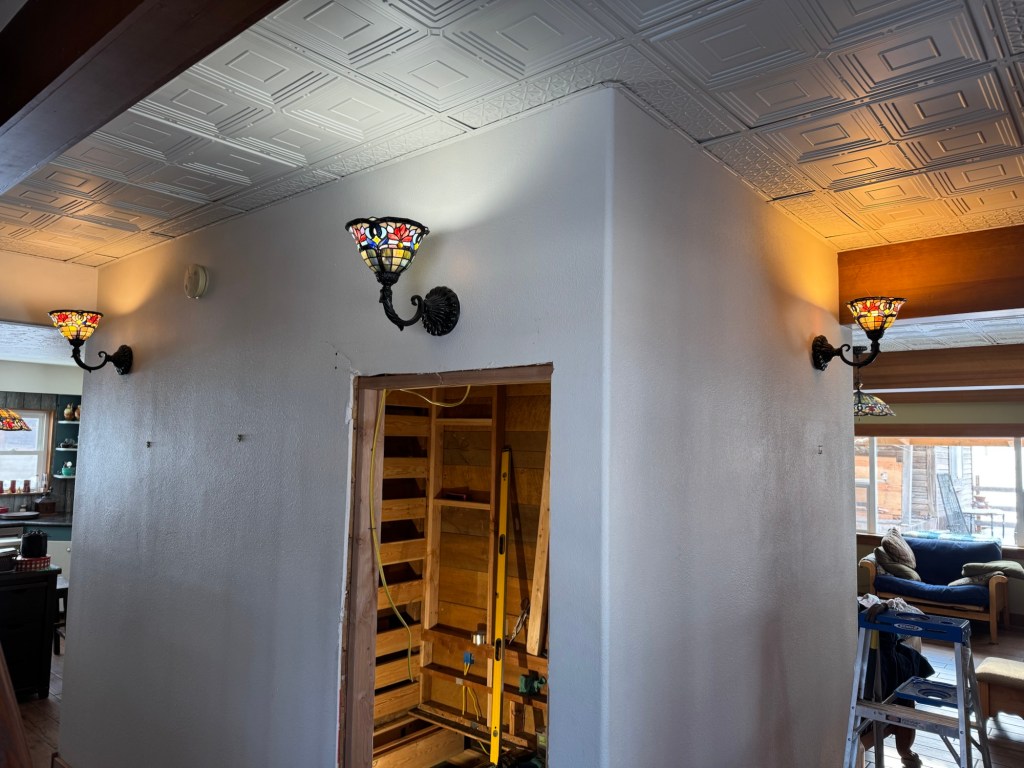
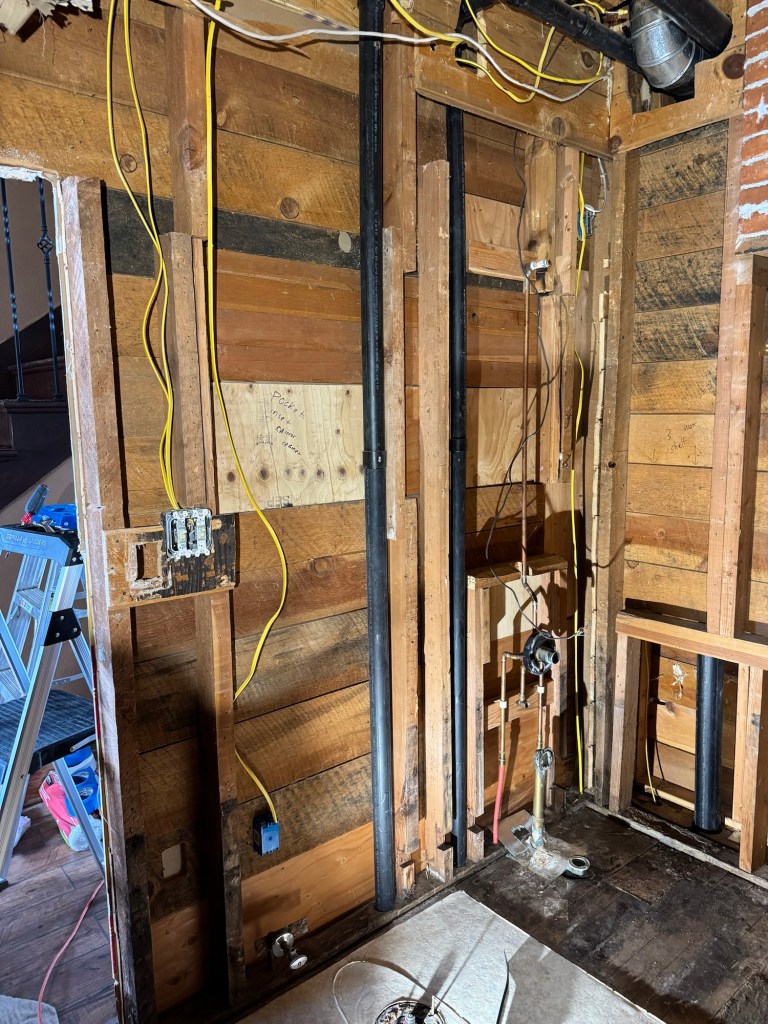
The pocket door has been painful. I have never installed one before and the kit does not exactly have the greatest instructions. We installed the door and played with it to see how it works. It took us 30 minutes to figure out how to lock it into place onto the rollers. The door slants to the closed side. The floor slants also so I kept the slant so that the default position on the door will always be closed! This makes perfect sense to me and once we have the handle with indicator you will be able to tell if the bathroom is occupied, besides the fact that the door will not open. I ended up looking at how the contractor installed one in my mother’s house to figure out what would be the next steps for us. We know have a groove in the bottom of the door. This was painful as I always forget how to use a router, go shallow then a little deeper and make multiple passes, do not try and just count one inch out of the wood. I used the circular saw to make rough cuts and cleaned it up with the router making multiple descending swipes to get to the one inch deep goal. We also shimmed the opening bump board so that it now hits the entire door end at the same time. There is only about 1/32” opening in spots along the doorway. We will need to install trim to block the view of peepers.

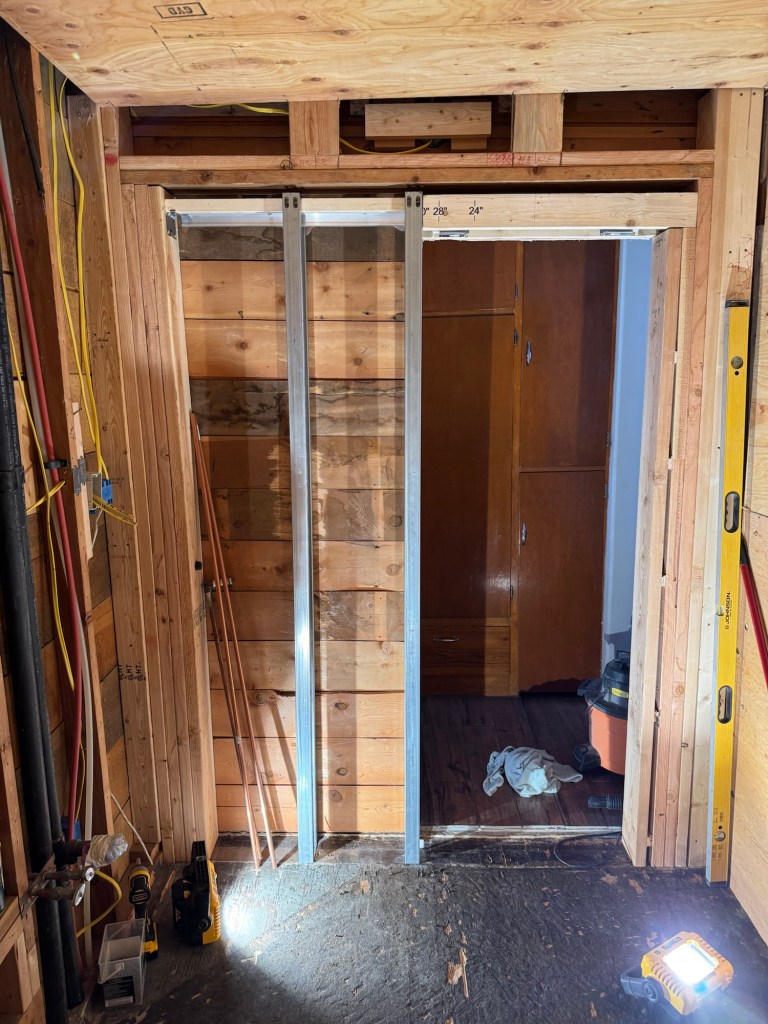
Finishing the sliding door early is going to have to take precedence. We need to get the door stripped and sealed so it can be reinstalled before we close up the pocket. We are going to reuse the old door and will need to put a plug into the handle end where the old box knob was located. Then I will have to drill a new hole for the new flush locking mechanism. The door will take a few hours to strip and sand then re-stain and seal it.
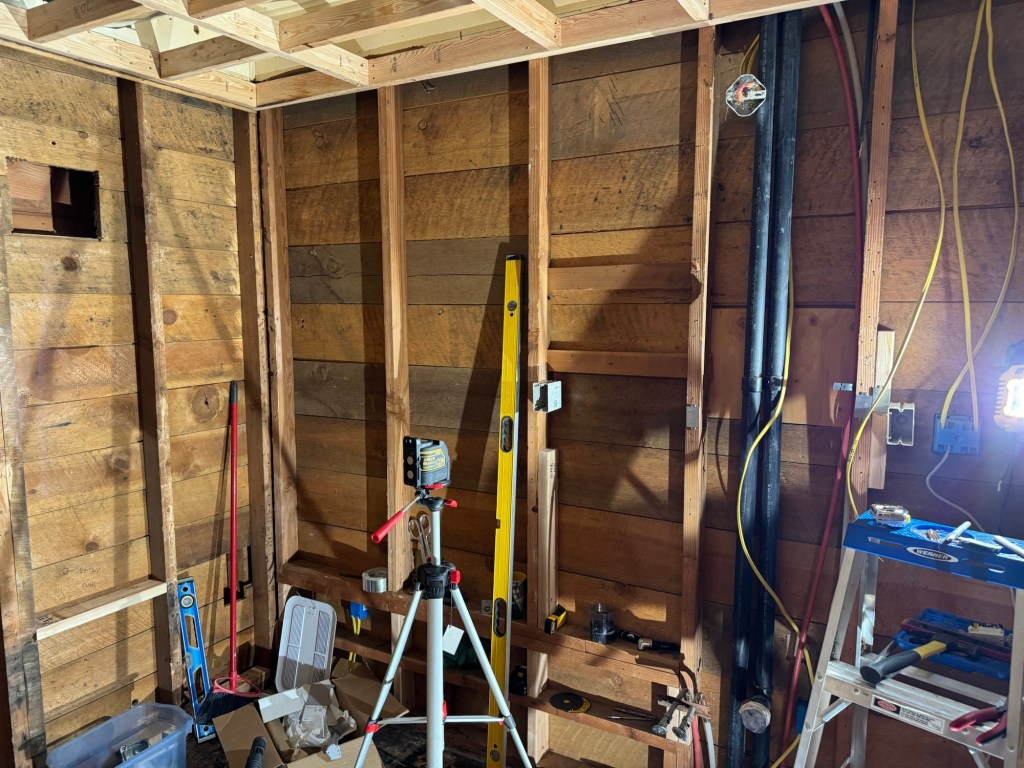
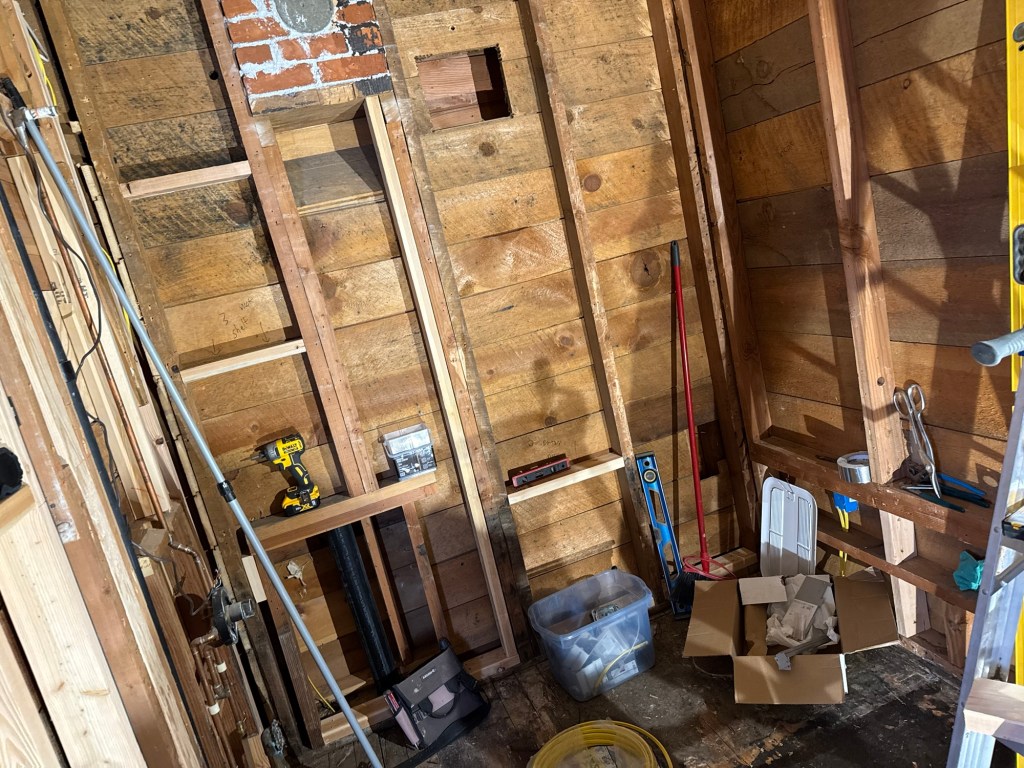
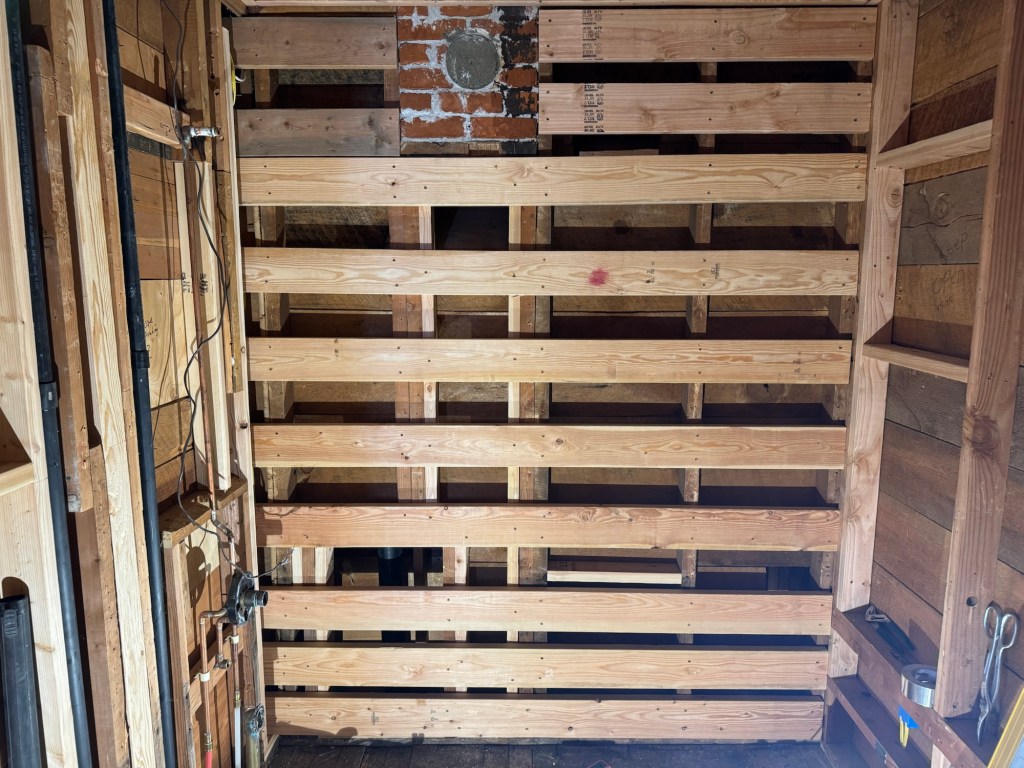
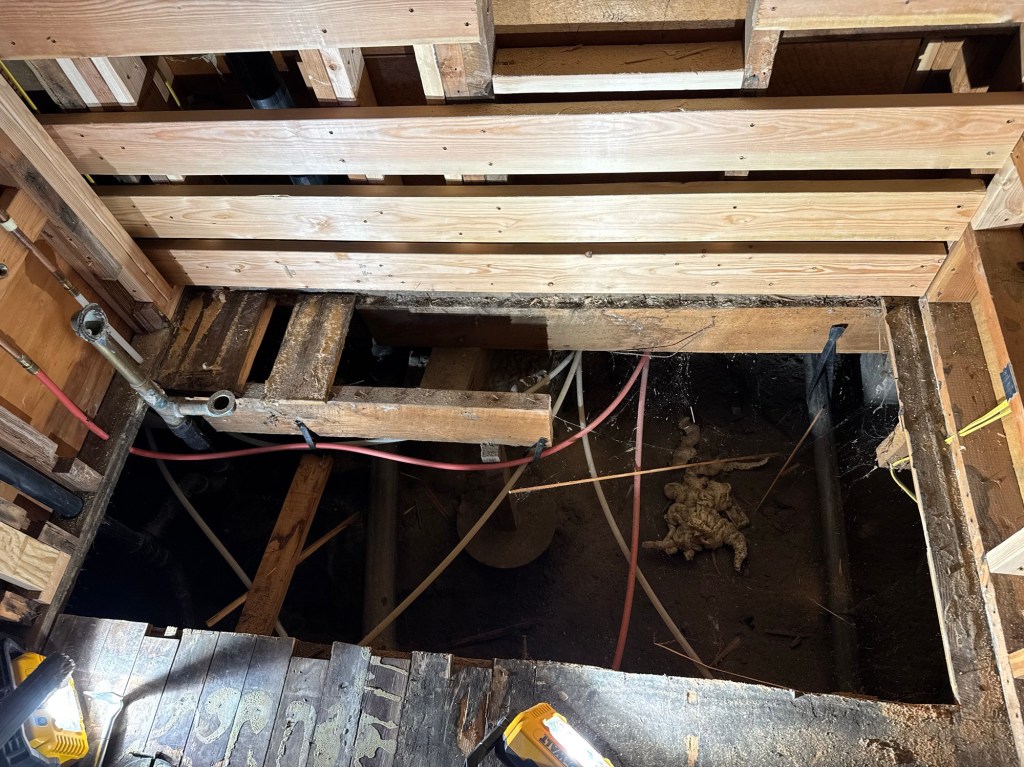
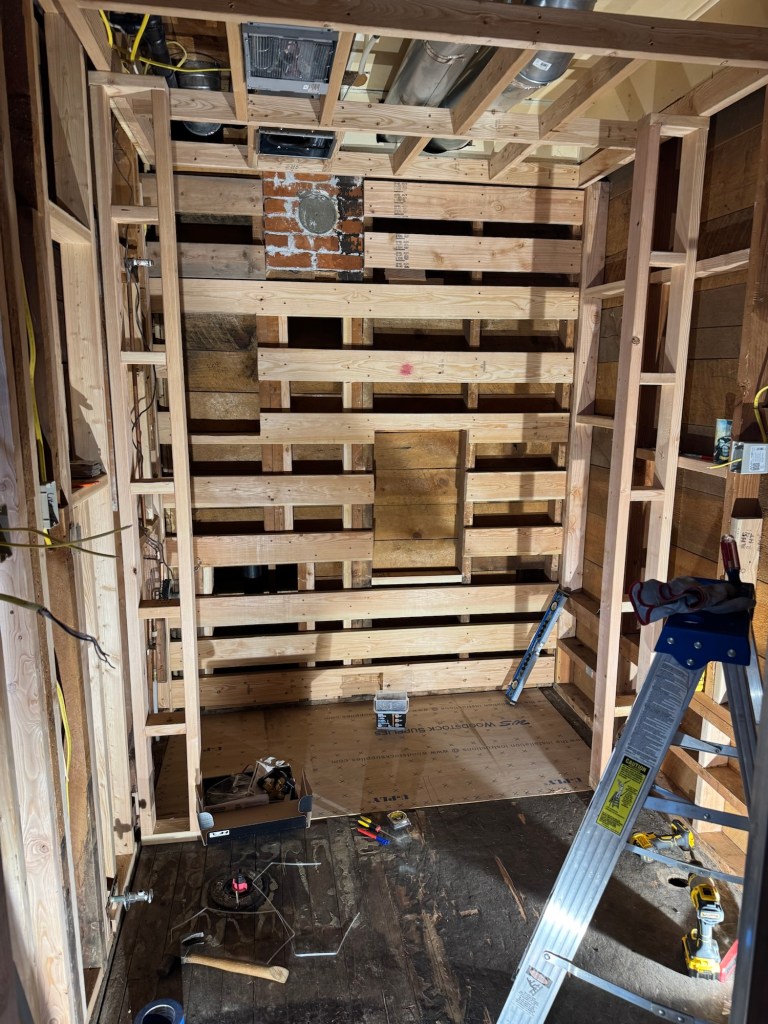
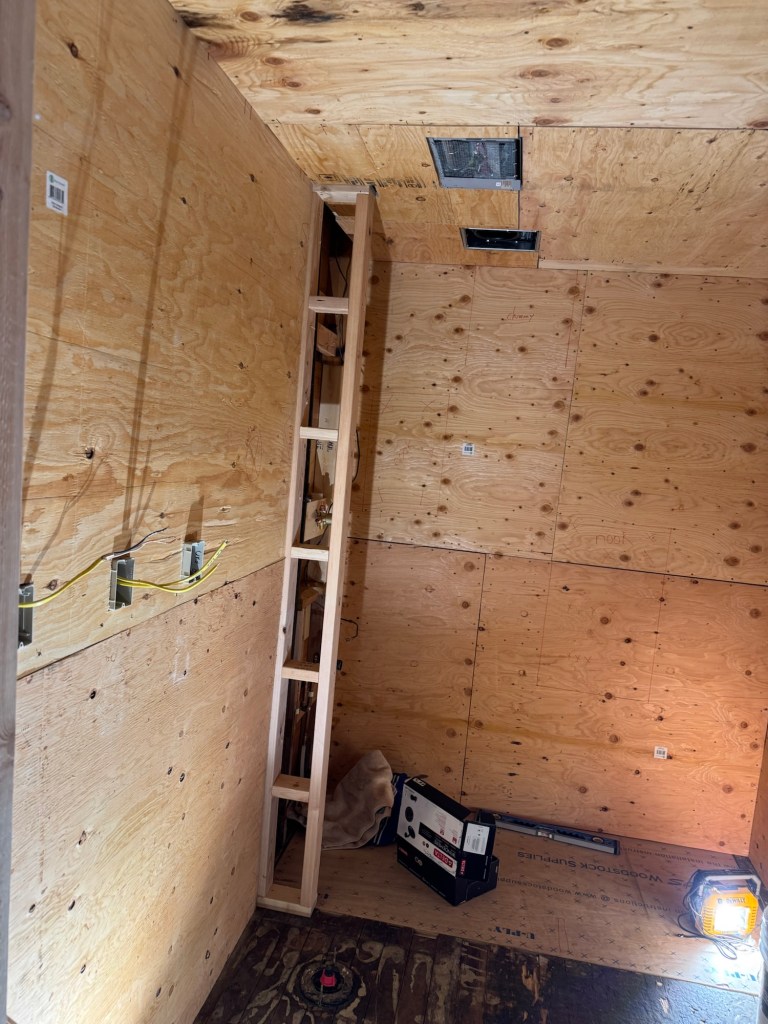
We started to put up the plywood but realized quickly that without the plumbing being installed or the sink and toilet stubs blocked off we were limited in what we could cover up. The ceiling had some complicated cuts to get it all on a single piece of material. I ended up marking and cutting one sheet wrong. So far we have not been able to utilize my mistake yet. We are using scraps when possible so that we don’t have to go buy more lumber.


The weather has not really been cooperating. First there was a lot of snow. Then there was a lot of ice over the snow. Today it was rain and freezing rain. We had to move the sawhorses out onto the front lawn as Annmarie ended up doing church remotely from her office due to ice on the roads. This meant we had a no noise rule for a couple of hours today. We just moved the makings to over by the front door and carried plywood over to the front door to mark and cut it to fit.
There will be no progress made tomorrow as I have to go in and do the paying job for a day. Mr Rainman is coming out on Tuesday so we can dig back into the project. Annmarie wants to know when we are going to start tiling! I tell her when all of the prep work is completed.

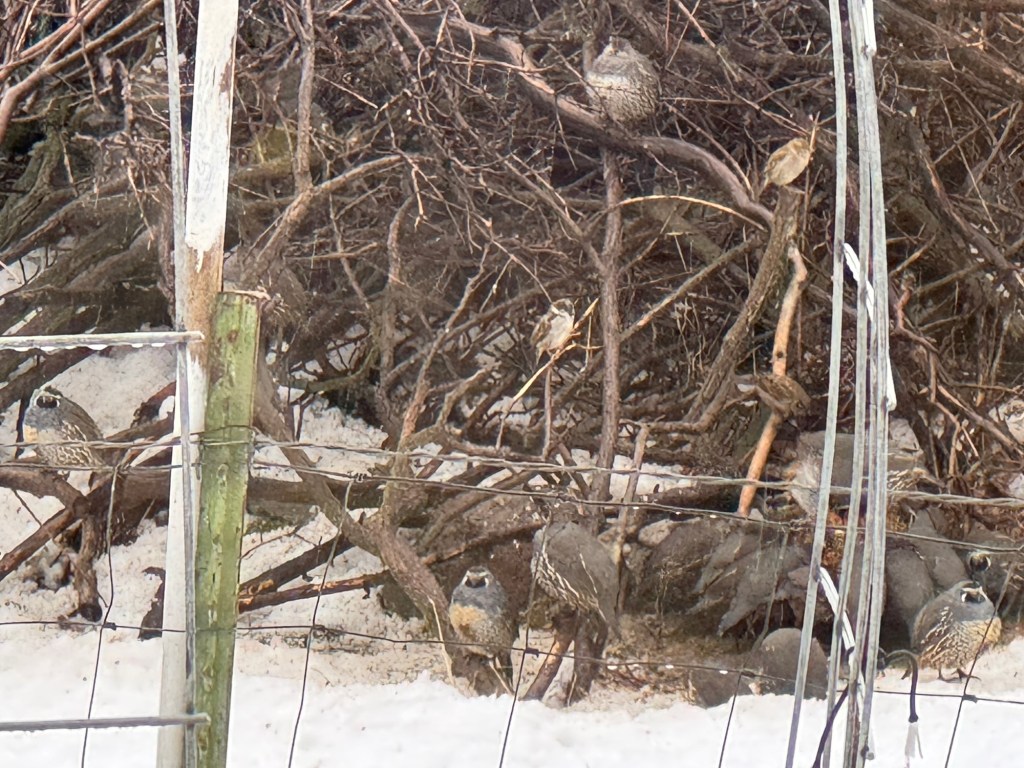
The quail have finally found their block I placed outside the kitchen window. They come every day now to eat seeds from their block. Sometimes it is very hard to see them. They are easy to spot when you are outside as they make a lot of noise! Like a whole lot of noise!