Bathroom day 6

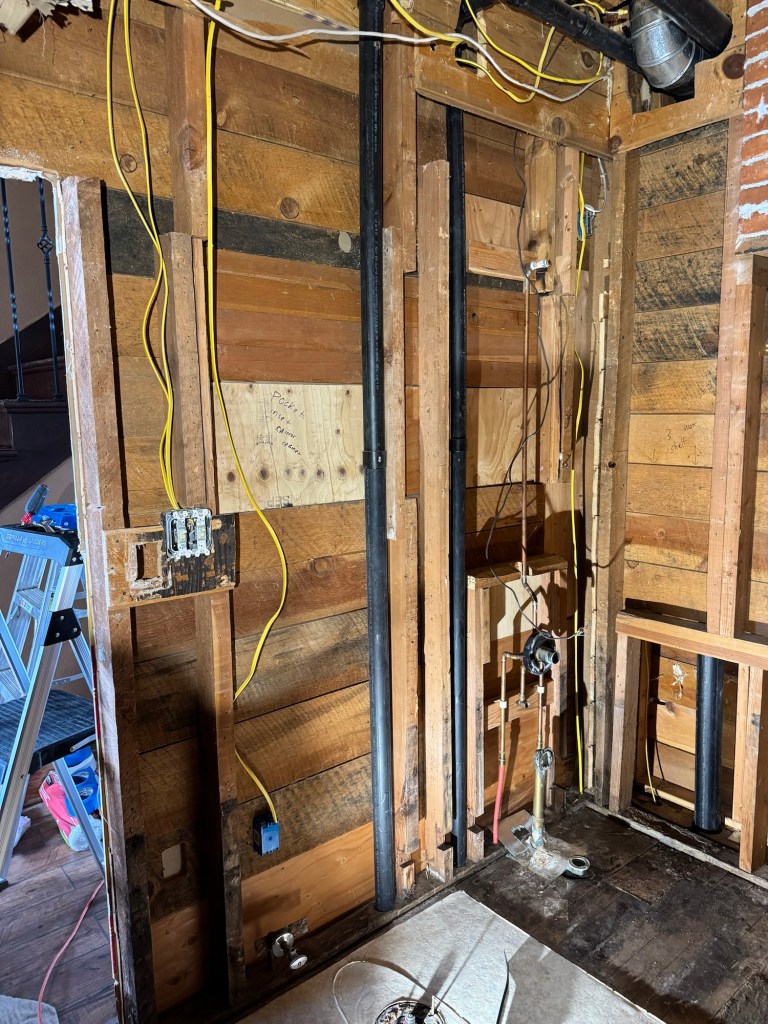
It doesn’t seem like I got a lot done over the weekend without Mr Rainman helping but the wiring I could do without cutting out the bathroom floor is done! I also spent a lot of time looking at problems and how to get around them.
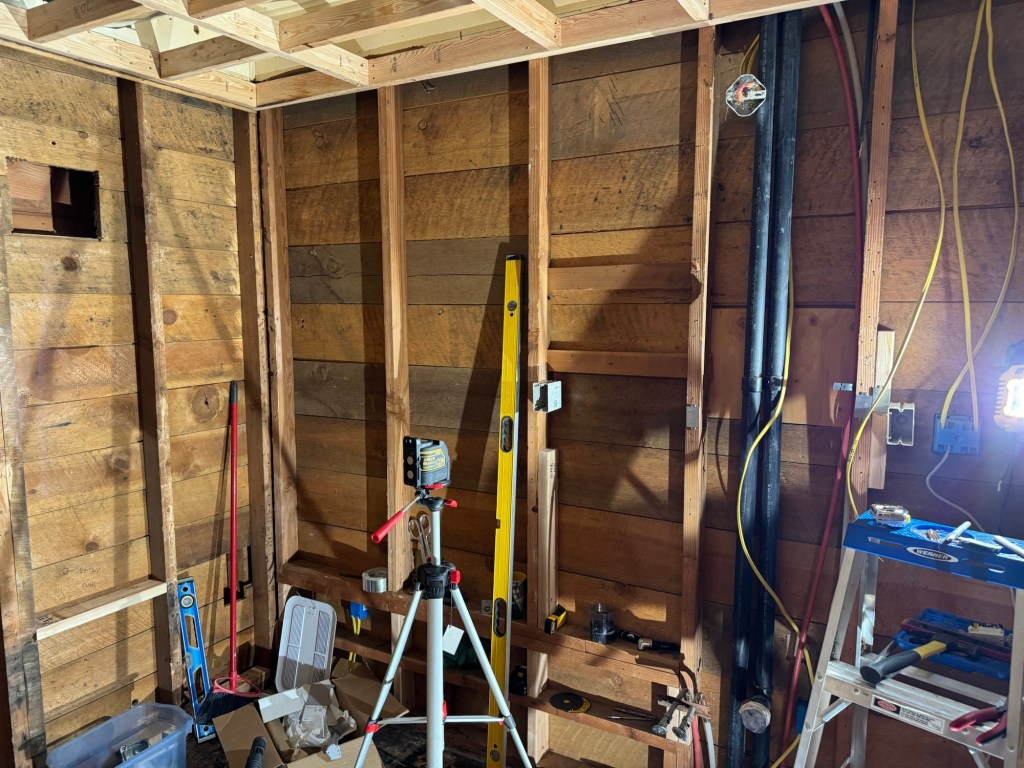
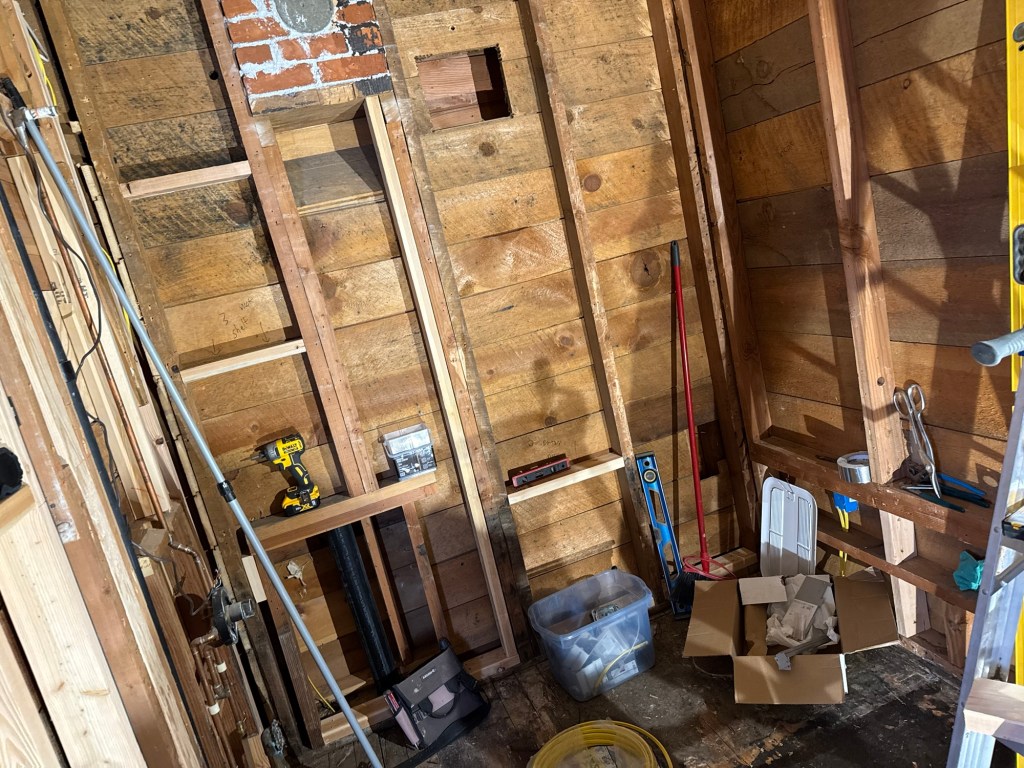
Today, Mr Rainman came out and we started with him just cutting boards for a couple of hours. I was able to get the chimney wall all covered so that it can now have plywood applied. I needed to get the boards to stick out past the chimney. I was going to just line the whole wall with 2×6 but Annmarie told me that was overkill. So I lined them up every other instead. Of course I had them up for about 30 minutes before I realized that I had covered up the recessed shelving space. So I had to cut out the recessed areas.
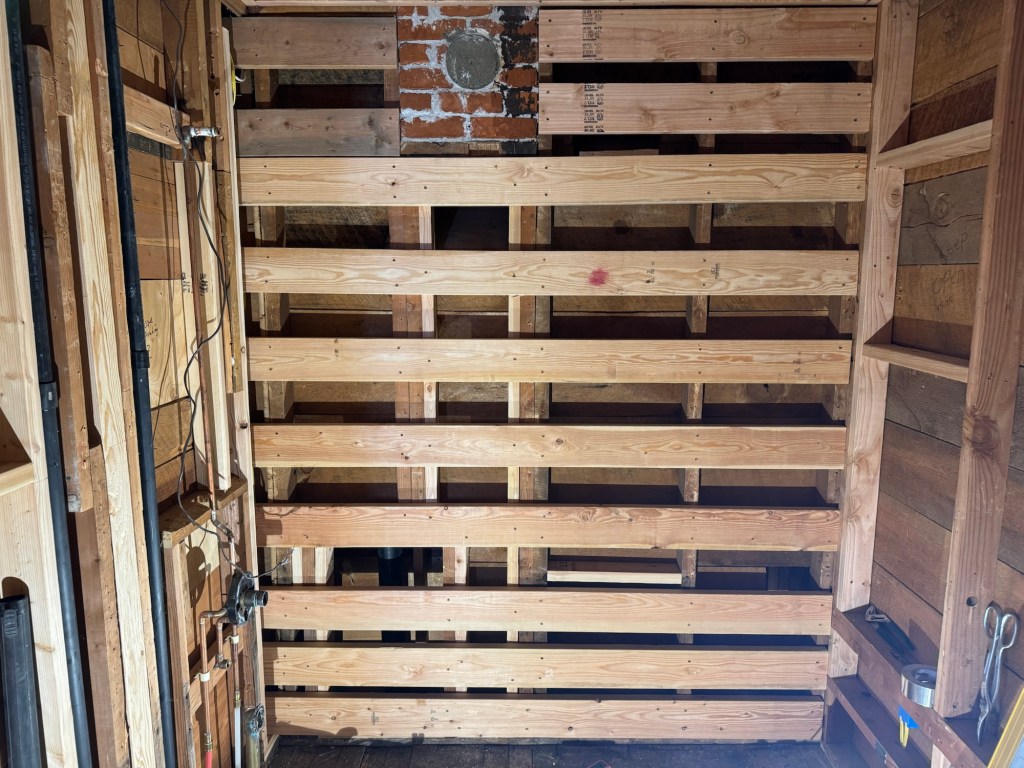
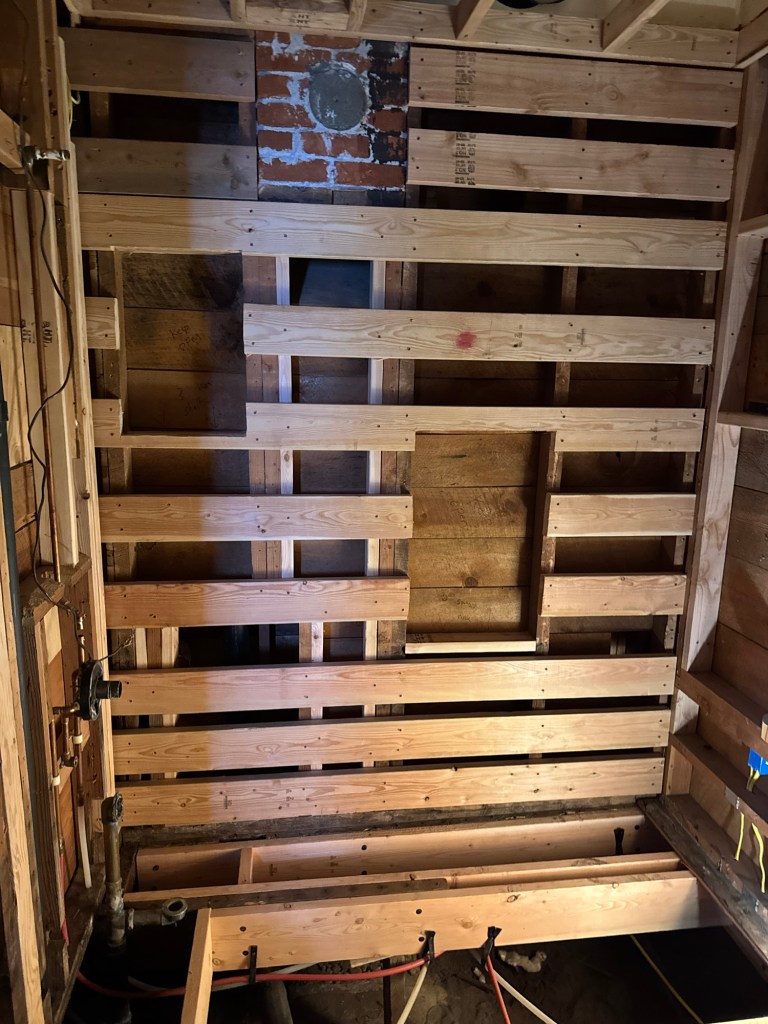
We also had to trim some board at the ceiling height, it was going to throw off the plywood. He cut all the boards for the pocket door rough opening but we had to shim one side to get it square, level and perpendicular to the wall. We had three more places where we had to put fill in 2×4 so there was something to attach the plywood to in the corners.

Mr Rainman cut out the floor and we realized that they had cut the floor joist eons ago to install the toilet. We suspect it was the original. Unfortunately, they did not just box it out so we ended up putting in several support pieces so we can install the new subfloor.
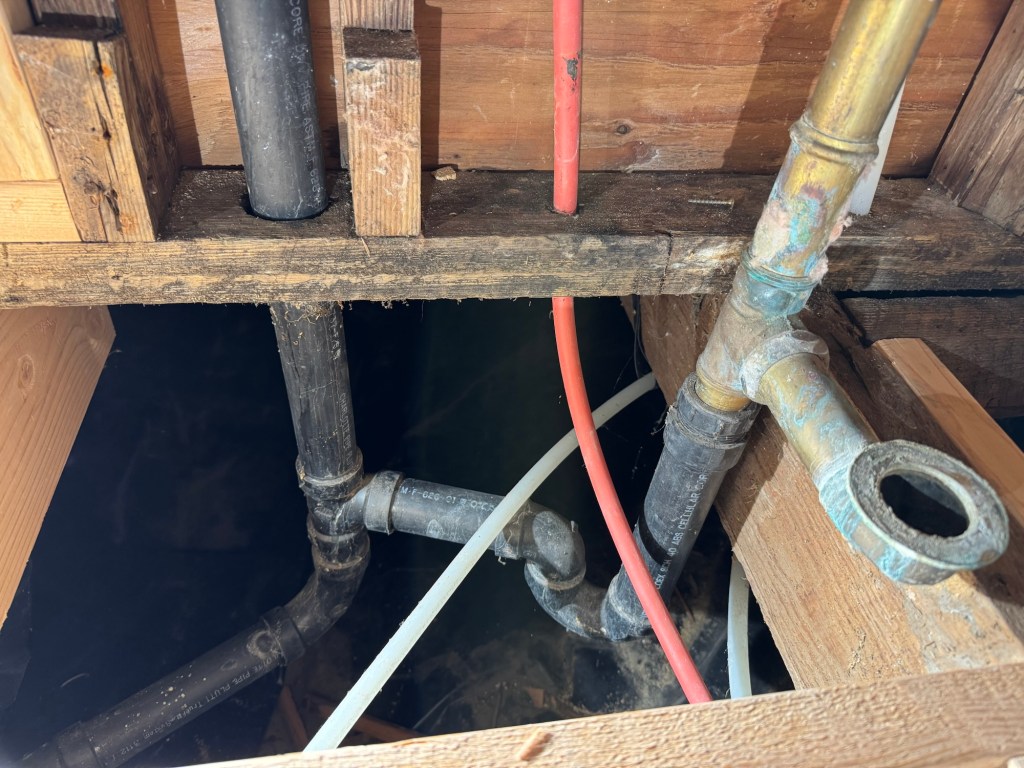
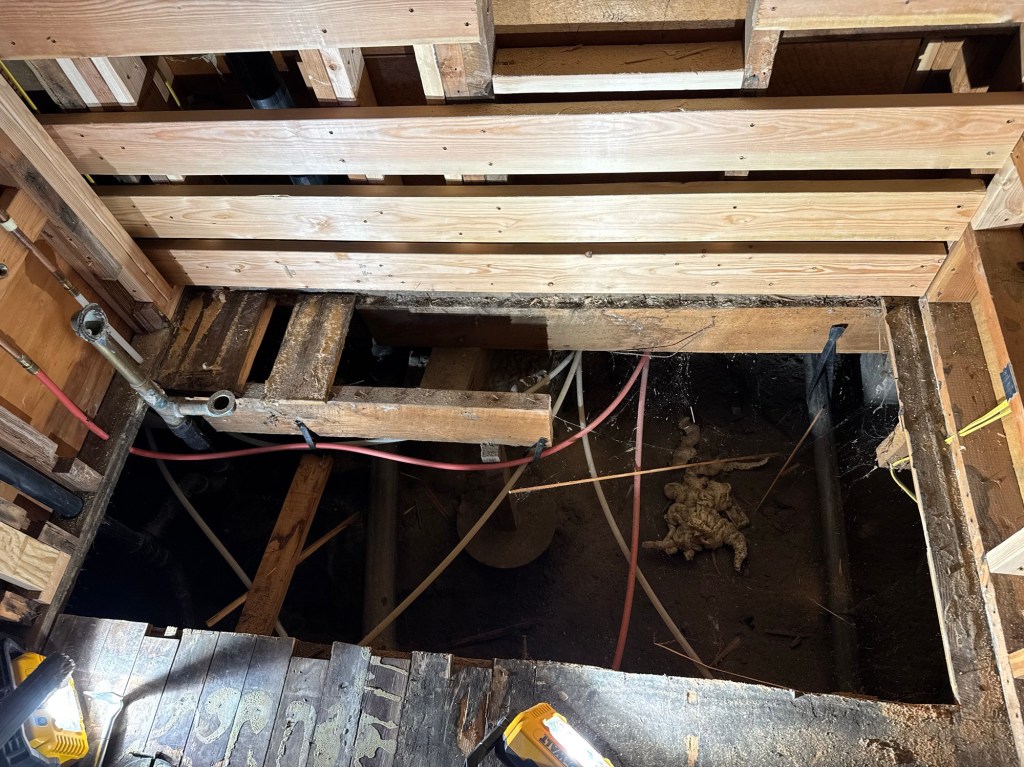
I was crowing about how awesome we were doing when I remembered I had to crawl under the house and move two wires into the walls, not just next to them. The underside of the house is dirty and there are a gazillion spiderwebs that kept getting in my face. I had to crawl around on my belly to access the wires.

It was at this point that it dawned on me that we had not yet run power from the breaker box to the bathroom for the new overhead built in heater. I had Mr Rainman feed me the wire and I crawled about halfway when Annmarie came home and said she had a student meeting. I needed to kill all power to the house. When turning off the water or power always check in with your spouse. So I had an excuse to not finish the power install today. Plus, you never know when you are going to hit a snag and the power may need to stay off all night!

I had forgotten that I had tripped breaker #29 to rewire the two outlets in the living room. The cables had to be moved to fix the floor. Annmarie could not turn on the overhead living room light so I had to go fix the outlet so I could turn the power back on.

The pocket door kit was delivered this evening! It is still in the box and will need to be trimmed to fit our 29.75” door. We are going to reuse the original door as our pocket door. I am going to install the frame without the floor roughed in. This will let me move the tile under the door pathway. I am about three inches too short on the door for it to not have a gap at the floor. I will build up the floor about 1.25” and I think I can lower the door about an inch, so now I only have to add on 1” of wood at the top of the door to make it work. The patch job will be hidden at the top of the channel and I doubt anyone will notice.

I tried to get the baby chicks to come out of their area in the coop yesterday. I opened up the door and propped it open so they could intermingle with the older hens. They failed at their assignment. So today I tossed them all out, shut the door so they could not go back and put them in the area below the nesting boxes. I did use the heat lamp on that side of the coop for just this reason. They are only two months old and do have all their feathers but they are not big chickens. This should force more interaction between them and the adults.

Bathroom day 2

No plan survives first contact. It snowed last night, a lot. So I had to spend 2.5 hours outside digging out our walk way and then hooking up our snow blade. I almost never use the snow blade so it had sunk down into the ground on the attachment side and I had to pull it out with the tractor. This of course meant that I could not lock it into place until I dug the dirt and grass out of the way. So the plow took me about 25 minutes to hook up by itself. Once I had it hooked up I went to town on the driveway. You have to be careful not to dig into the gravel because the blade will tear it up. I did pretty good but the driveway is a little wider now near the road.

The elk came down with the snow but they appear to be staying on the upper hillside and the upper CRP. The wheat field is fallow this year so they cannot damage it. They also appear to be staying out of the bottoms. There really is not any food there but I thought they might try and find it and tear up the fields but so far they are not. Last time they came down in a huge group they started tearing up the snow and ground to get to the grass. They made a mess of my hay field.

Mr Rainman picked up some longer 2×4 and some 2×6. We are going to make the closet hall wall a 2×6 deep as it was already! This will make it a lot easier to fit the pocket door and to have something to nail into when applying the wall. I ordered the frame yesterday and it should be here early next week.

One of the surprises was how much I am going to have to rewire. Now that the walls are open all of the stuff that was done blind will have to be updated and secured. I need a different type of electrical box to be able to slide it in and out to account for the plywood/schluter/tile thickness. I may even have to mount the boxes after I put up the plywood as I am unsure if they will come out 1.5 inches. I am pretty sure they only adjust up to one inch. I need to move the electrical outlets to the left and right on one wall. I need to move the fan switch and light over two feet so you can reach it when you enter via the pocket door. I need to install 10g wire for the 220V electrical heater in the ceiling and wire in a switch. I just thought of this, the location for the switch was going to be in the cabinet but I was going to put it on the side where the pocket door needs to go! That means I cannot put a recessed box in the wall, I will have to put a box inside the cabinet, good thing I just thought of that, disaster averted. I have already removed the hall lights and fixed their anchors and tightened them back up. They are perfect now, for the last 18 years they have been a touch saggy, I was probably the only one who noticed. I also have to lower the light over the sink, I used the old electrical box and it was three inches from the ceiling. Not aesthetically ideal I am told, so the new light height has been marked.

I had the wife go into the room yesterday and I marked out the three in shower cubby locations and heights. The medicine cabinet/mirror cannot go over the sink as the plumbing is in the way, I was going to move it two feet to the left. You would not be able to see yourself in the mirror while standing at the sink so this was shot down. The sunken medicine cabinet is going over the toilet and we will be finding a mirror for the bathroom. This is why the project manager has to have early input, it saves a lot of retro job changes later on.

We did discover an “ugh ooh” yesterday. The floor under the tub and back wall cabinet is shot. There used to be a toilet where the cabinet was previously located. Mr Rainman almost fell through the floor over by the tub drain and I almost fell through floor over by the old toilet spot. So it looks like we will have to tear out at least three feet of subfloor and reinstall new subfloor. This will make running the power much easier. So it is what it is. The wife says I should have expected it. She is right, it has really been quite a while since I truly tore into the bones of the house and this room was a parlor before and they just pieced together two more walls to make it a bathroom. If I had truly known how bad the walls were I may have prioritized the bathrooms. I know now I should have added that second bathroom upstairs on year 2! Not waited until the teenager was out of the house. Well, it is getting fixed now and we will reinforce the walls and run full intact studs the length of the wall, not pieced together things. They had a window in the wall of the bathroom and just pieced in a couple of 2×4 chunks when they took it out. No sill plate or box for the window, now in their defense it is a non-weight bearing wall but still it makes it a lot easier to set the window. They just cut the shiplap on both sides and slipped the window in place.

I am hoping on day three we can get the floor torn up and I can see whether we need to purchase one or two pieces of 3/4” plywood subfloor. Milo stayed home with me and he is so used to staying with Annmarie at work that he refused to let me out of his sight all day. He spent most of the day trying to get into the bathroom. Once he figured out we would not let him into it, he laid out in the hallway and supervised our progress.

Bathroom remodel day 1

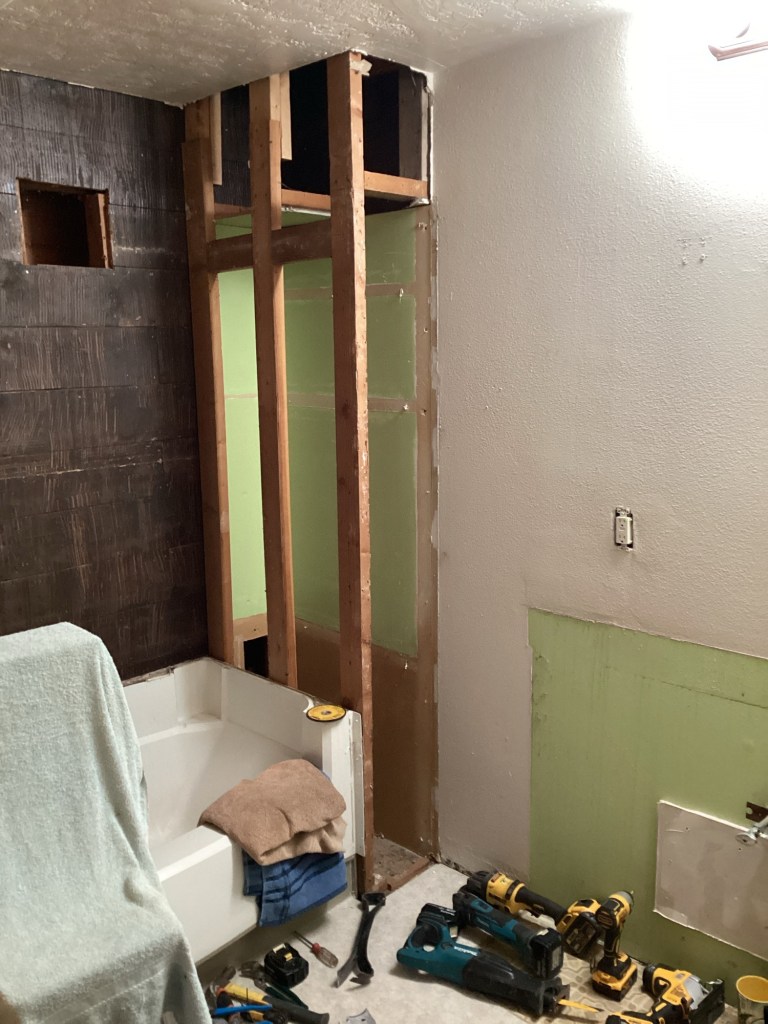
It is official, there is no longer a toilet downstairs. There is not a shower either but on some level the toilet is more important I think. Luckily, we do now have a toilet upstairs but that means that the wife and I now have to share a bathroom in the morning before going to work. Luckily, I am going to be off most of the month working on the downstairs bathroom remodel so there will not be any jockeying for bathroom space.

Mr Rainman came out on Monday while I went to work. He managed to get all of the main items torn out except the tub. I took a lunch and drove home to help him carry the vanity out of the bathroom as it was too heavy for one person to move. The entire thing is made out of solid wood and plywood. There is a lot of ceiling space

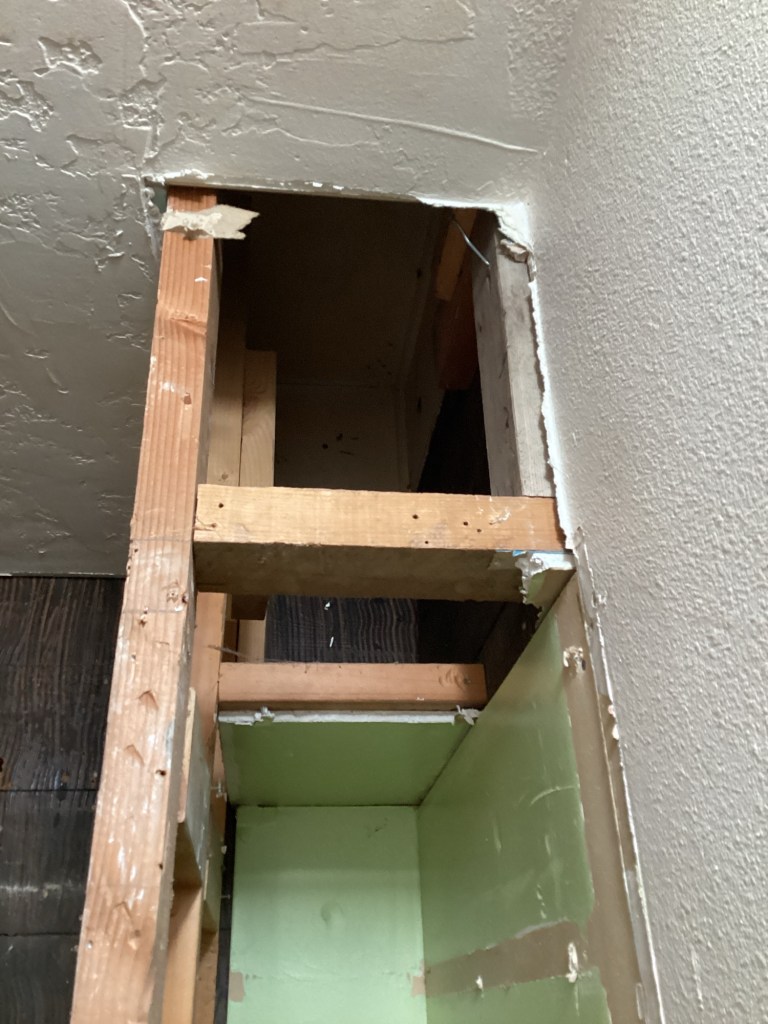
But I am pretty sure we ran some of the ductwork for the downstairs through that empty space. We are going to tear out the entire ceiling and see what we end up with. We may be able to raise the bathroom ceiling! So we have a 85% plan currently but it is fairly fluid. I talked the wife into a pocket door over the weekend. It will go on the hall coat closet side of the bathroom. I will have to alter the tile configuration and do some calculations to see how much tile I have to accommodate the change. We may end up just taking the shower enclosure to the ceiling and going up the wall four feet around the other walls. I am not sure. I am waiting to order the pocket door frame until we get the walls all opened up. I am pretty sure that closet wall is only 2×4 turned sideways thick. The bathroom used to be the front parlor where guests were greeted. That is why you can see a brick chimney on the back of the shower wall. When they decided to do indoor plumbing they just boxed off a room in the middle of the house so the pipes would not freeze and there was easy access.

Our plumber used Pex and copper throughout the house when we replaced all of the plumbing. This is causing some issues as I don’t want to cut it all out, solder on dead heads, tile then cut and solder again. So I am looking at ways to get a nice tile finish with tile saw and tile drill. I will still have to solder in new hot and cold extensions for the shower. We want to move the faucet controls up to waist height. I know how to do it in theory but I am not very good at it. I usually have to do it a couple of times. We are going to tear the room all the way down to the studs so we can get a great view of everything hidden in the walls. We will then see if we need to adjust the level of the walls by furring them out with some extra 2x4s. We are going to sheet the entire bathroom with 5/8 plywood before doing any tile work. The room has shiplap on it now and every time I have had to disturb the shiplap I have replaced it with plywood or more boards. You can hang anything anywhere in the house. Also, the house is over 110 years old, I figured that they know something we don’t and some of those old techniques work.

I just needed to get to the floor

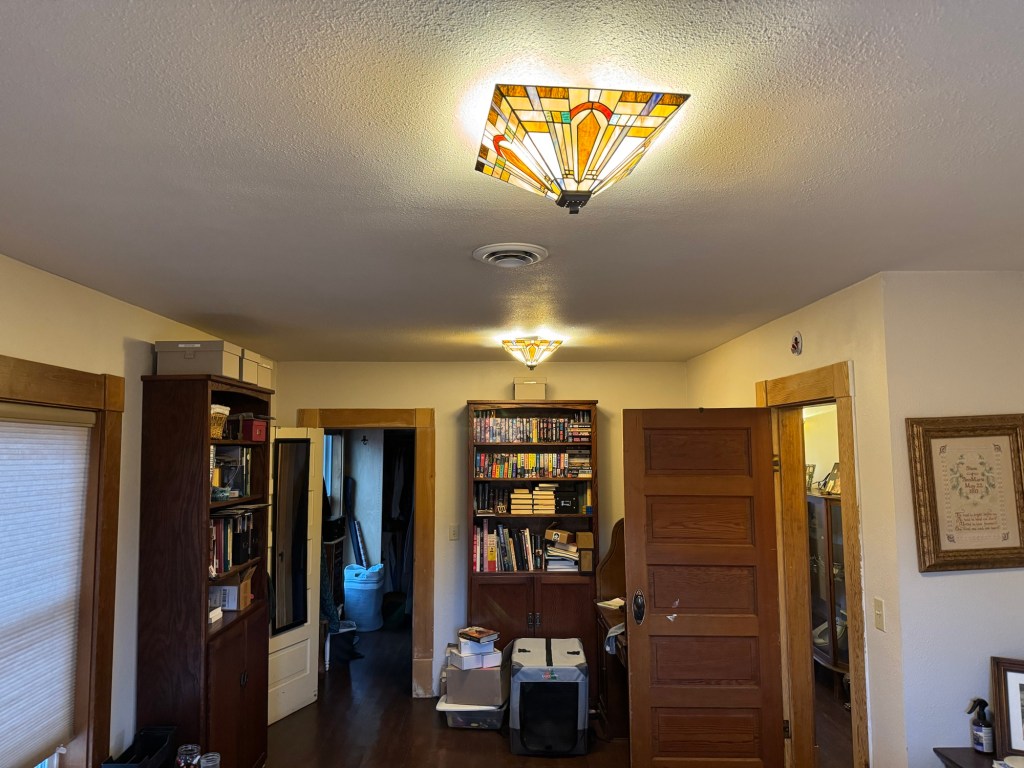
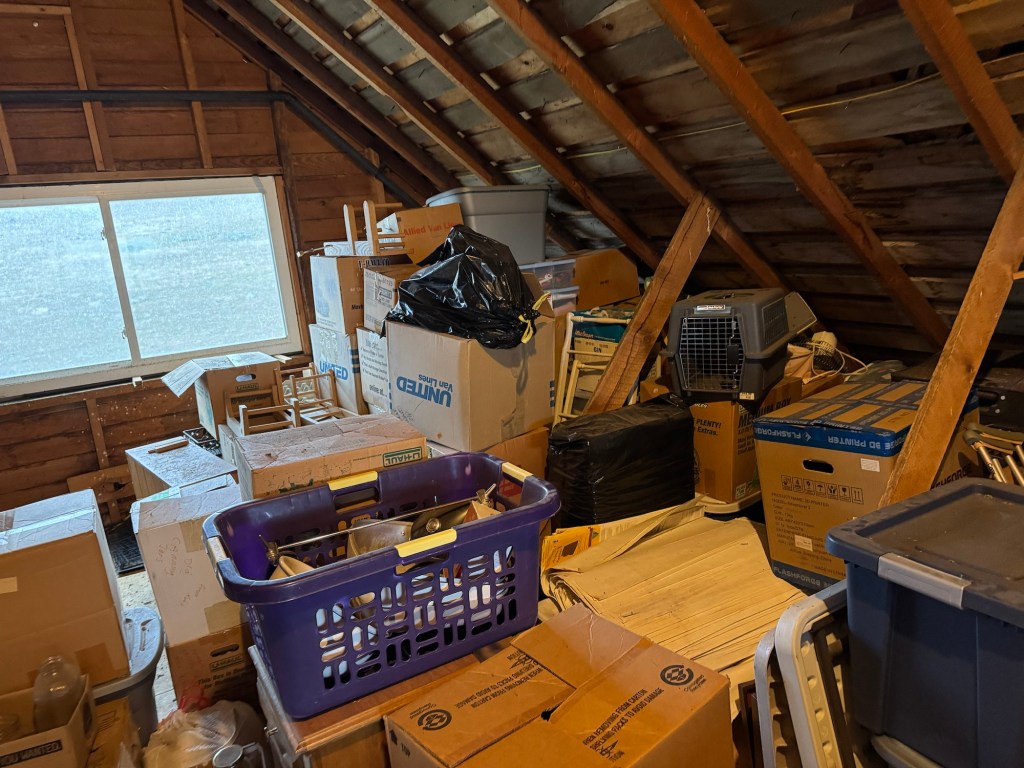
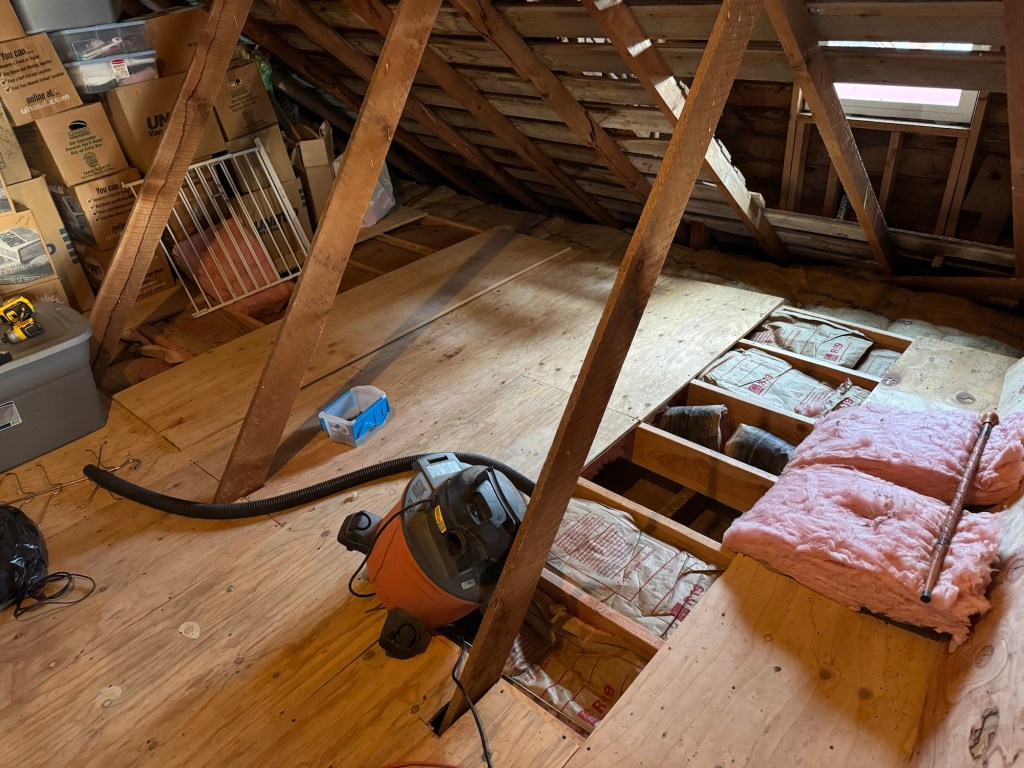
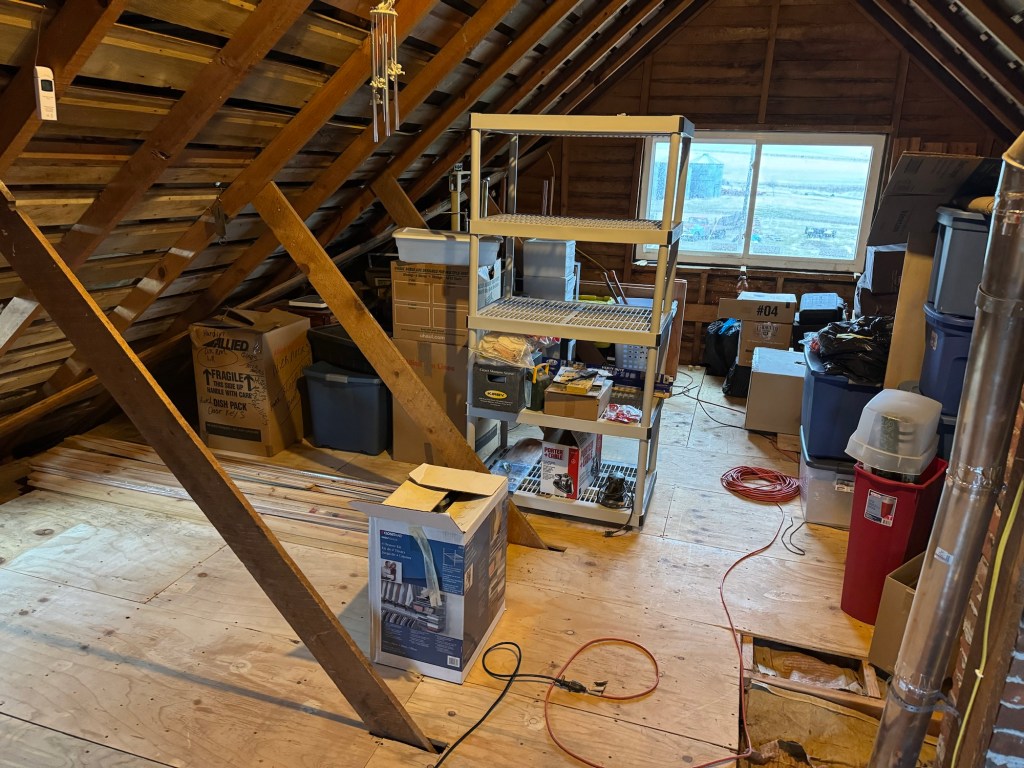
One of the add on projects was to fix our master bedroom lights. The stained glass lights fit the farmhouse theme but depending on where you are in the house some rooms are noticeably darker. Our bedroom only had one light over the bed and if you were over by the book cases it was dark! We have talked about adding another light for years and I finally decided it was time. We purchased the lights and then it was just up to me to install them. The real problem with this plan is over the years I have added boards and plywood to the attic to create a storage space. This storage space now has a relatives stuff, our daughter’s stuff, our stuff and our Christmas stuff. The bugs love to get into the attic and I bug bomb it every year. We have not vacuumed it out in 10 years probably. So it was a bug jungle up there. It needed to be vacuumed. The real issue was to run the wire for the new light we needed to pop up the floor and then run new wire to the new light. So first we had to dig out the boxes then clean then get to the correct spot without tearing up the entire floor.

Now that Annmarie has a sewing room again we worked on cleaning out the walk in closet in that room and brought down all of the bins of bulk fabric. There were eight bins of fabric! The sliver lining of this is that we found the material for her to make me some new dress vests and she is going to make me a suit out of some really nice thin Pendleton black wool. This gave us an extra eight empty bins. So we started to consolidate all of the cardboard boxes and putting them into plastic for more permanent storage. This took two days as I kept getting distracted by finding stuff I had not seen in 20 years! We managed to empty out about 20 boxes and consolidate them into the eight bins. We still have two more empty bins up in the attic.

There were a lot of old books from the old schoolhouse. They were in fair condition but most were from 1900-1930. I just put them in a plastic bin and the child can deal with them in 30 years when we die. There are two whole bins of Barbie clothes and dolls. I was going to take down the storage rack I had set up for all of the electrical wiring supplies I would need to install power all around the attic. Instead I wired up three outlets in the entire attic and left the rest of the boxes empty. Eventually, we will get it cleaned off and moved to a different location in the attic. I will need it eventually and the child keeps buying stuff for her wedding next January and it is getting stored in our attic.

Work room ready

Mr Rainman came out today so we could finish getting the old house room ready for a workspace. We need to build the custom oak cabinet and we will need to get the paint off the bathroom door and refinish it. There is a ton of space now! I opted to keep the one shelf unit full of screws and connectors in the old house. I am always looking for a nail or screw and this will keep them handy. The Gingerman helped me move the old kitchen cabinet into the workroom and it will hold clamps and DeWalt tools that don’t need to be out in the machine shed. I also need to order some more battery holders so I can keep charged batteries on the wall and any battery found laying around can be assumed to be empty.

The room was vacuumed from ceiling to floor then the leaf blower was turned loose on the room to try and get the last vestiges of dust. Nope, it looked like a sandstorm had been cut loose in the room. We will come back in a week and vacuum all surfaces again. That should be good enough to keep the dust from falling down onto the bathroom projects. We would need to go up in the attic and vacuum the entire area above the room. That is really not necessary for what we are doing.

We are closing on being ready for the bathroom remodel. I have managed to stage the following items:

  • All enclosed single piece elevated toilet (heavy!)
  • Bathroom light
  • Exhaust fan with Bluetooth speaker
  • Magnetic shower head on a wand
  • Sink
  • Sink faucet
  • Sink push button drain
  • 10/4 100’ wire for bathroom heater
  • Overhead 220V heater
  • 30 minute 220V timer switch for heater
  • Solid brass knobs for vanity and custom cabinet
  • Solid brass handles for vanity
  • Solid brass toilet paper holder
  • Zip wall zipper
  • Wall towel rack

The biggest thing left is the Schluter system. I think I am going to do a membrane covered floor to disconnect the tile from the subfloor. I talked to the project manager yesterday and I can use tongue and groove wood on the upper half of the two bathroom walls, zero sheetrock needed! This is a huge selling point for me as I hate working with plaster, I make such a mess.

I did not really feel like sorting out in the old chicken coop so there is a huge pile of stuff out there that still needs to be sorted. It can stay there for now and I will sort it eventually. We even left all of the tiling tools in the old house for staging. I will need to dig around in the box before I go buy Schluter parts so I know if I need to pick anything else up.

Mr Rainman will come out one day this week and vacuum the house attic. We will need to take up some of the attic floor so that I can wire in a second bedroom light. It is too dark in there at night with only a single overhead light. It would probably help if we did not have stained glass lights throughout the entire house.