|
| Sunrise this morning. I looked out as I was doing the blog and ran out to capture this view to share. |
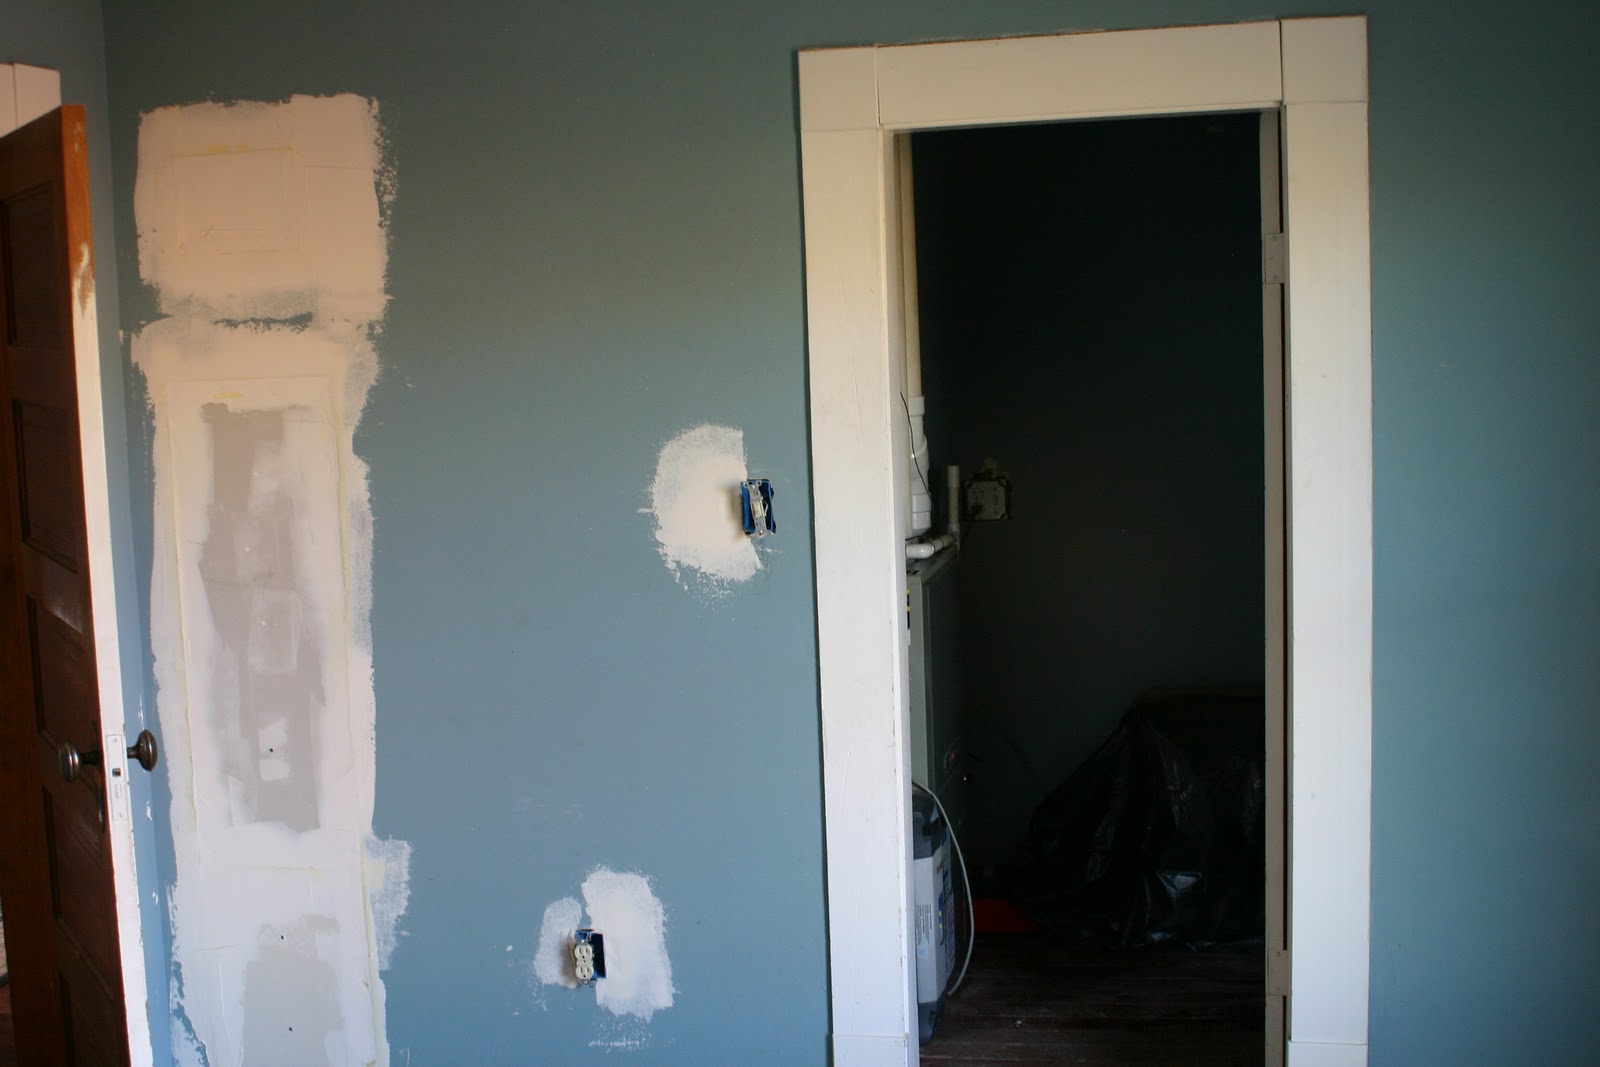
I am officially on vacation now and have been working on the house nonstop. My goal is to get the spare bedroom completely done. It was doable, but as usual I have started to “scope creep” and am expanding the jobs to be completed. I have to keep refocusing back to the spare bedroom. As usual the first job is emptying out the room. Unused spaces in our house tend to accumulate stuff. We stashed the Christmas boxes from the attic here so I did not have to make two extra attic trips with boxes.
 |
| Spare bedroom start |
 |
| Spare bedroom start |
 |
| Spare bedroom start |
 |
| furnace room in spare bedroom closet. |
I put all the Christmas boxes downstairs so we could put away all our decorations. Sarah undressed the tree last night and I will take it outside today. We have gone back to a real tree every year. The smell and look cannot be duplicated in an artificial one. The rest of the stuff is on the breeze porch or clogging our upstairs hallway. This has to be a limited duration thing, Annmarie gets a might upset if the construction zone starts to become indefinite. I try to tell her that it is faster if the tools just lay around and the stuff stays stacked and out of the way, she doesn’t buy it. I think it is a woman thing.
Once emptied, I had to go dig through the old house looking for my sheetrocking tools. Luckily, the organization I did this summer paid off. They weren’t too hard to find. I use the bucket method of tool organization when working on a project. Everything needed just goes into a five gallon bucket and this becomes my tool box for the duration of the job. I wanted to put a little sheetrock patch around the bedroom window. I just needed some 3/8 inch thick sheet rock. Now I had saved some old sheetrock for the patch specifically. Unfortunately, I had neglected to measure that sheetrock. It was 1/2 inch thick. I didn’t want thicker, if anything thinner would be better than thicker. So off to the hardware store (I needed another piece of cedar anyway). I didn’t want to drive to Home depot (45 minute one way drive), so I went to the two local stores (15 minutes one way) and big surprise no one had 3/8 inch sheet rock. Not a common size any more (no big surprise since the room was sheetrocked a long time ago). The only thing I could buy that was 3/8 inch thick was some fancy sanded on one side plywood. So that is what I have to fill the gap. Literally, all I need to do is fill the gap. The window trim will cover up that area so it doesn’t need to be fancy.
 |
| Empty spare bedroom ready for sheetrock mud. Plus a couple of holes in floor. |
|
 |
| Spare bedroom entrance to closet (furnace room). |
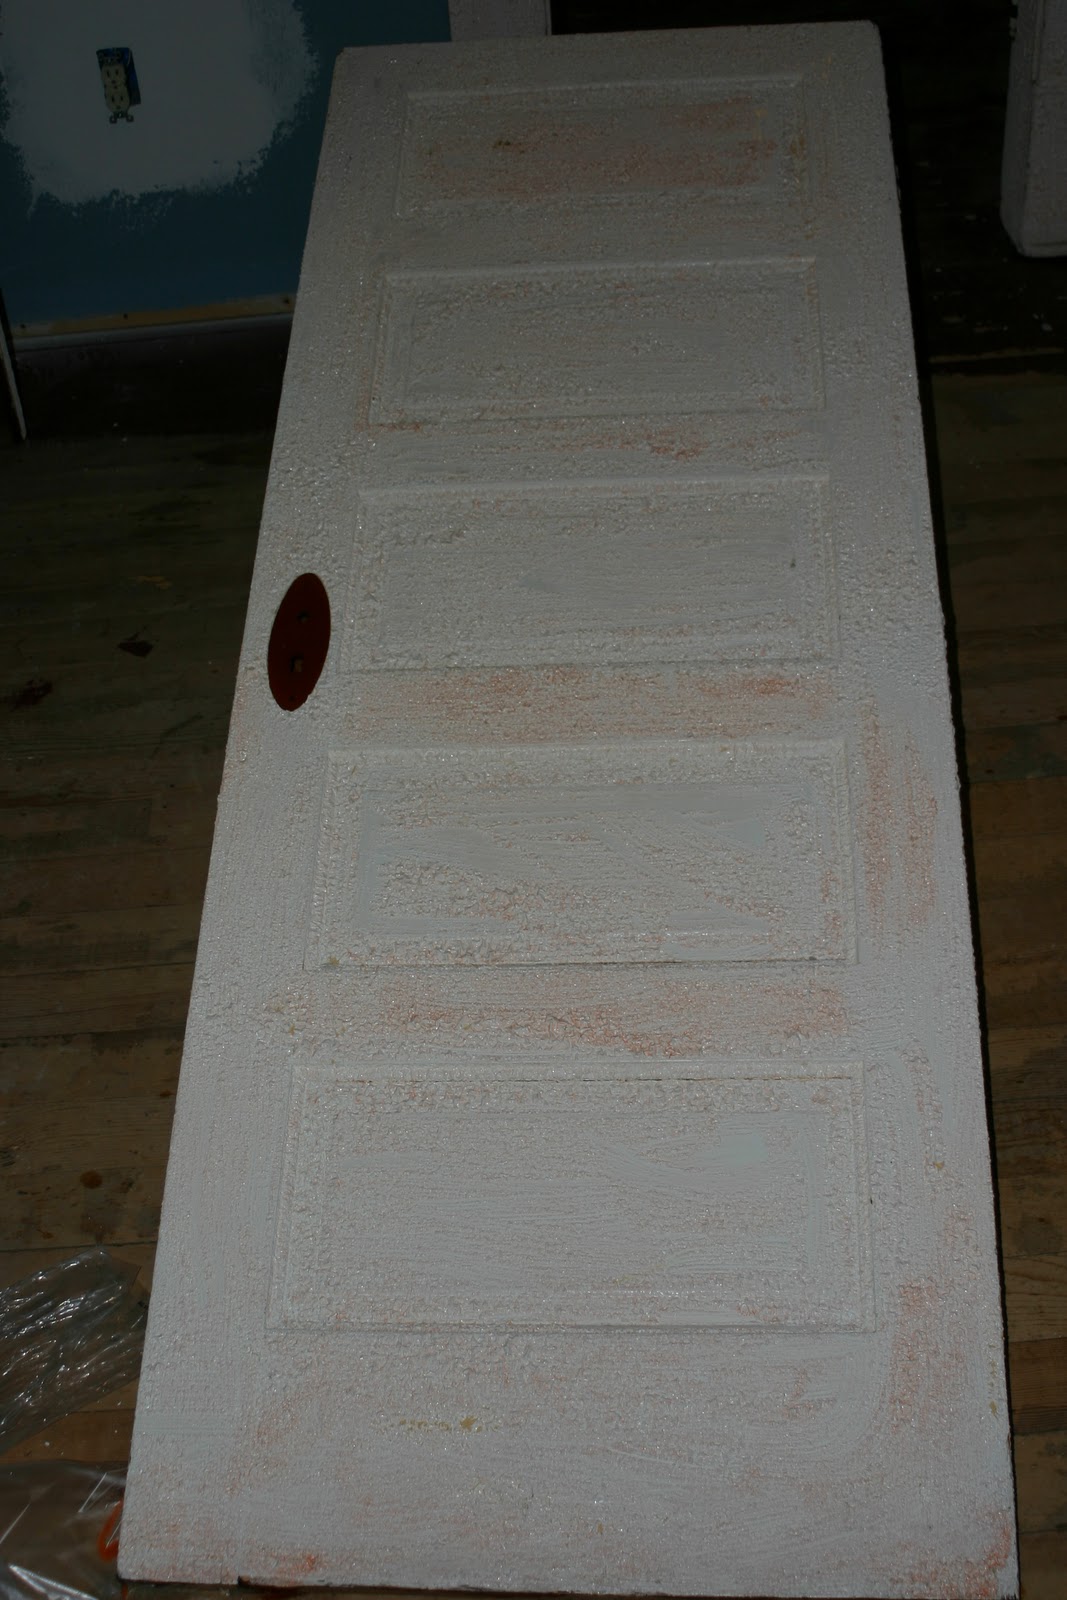
I have subsequently put on two different layers of mud on the holes in the wall. I even sanded between them. I will sometimes just knock down the high points with a knife and put on another coat. I am making sure to go really wide around the outlets so I get a nice taper all around them. Yesterday I made an executive decision (scope creep) to strip the doors and trim around said doors. I have some citrus based paint remover that works very well. I had six bottles in the old house for just this reason but had not used it yet. I thought that it might be painful so I was delaying the inevitable. I pulled down the door going into the furnace room and then slapped stripper on all the trim around that door, then put stripper on the back of the room door and all the trim around that door. I let it sit for a few hours and went up after dinner last night to scrape. Ugh, it was hot and sweaty work. The stripper worked well, but there are THREE coats of paint on all the wood.
 |
| First coat of stripper before removal. |
 |
| Stripper doing its job. |
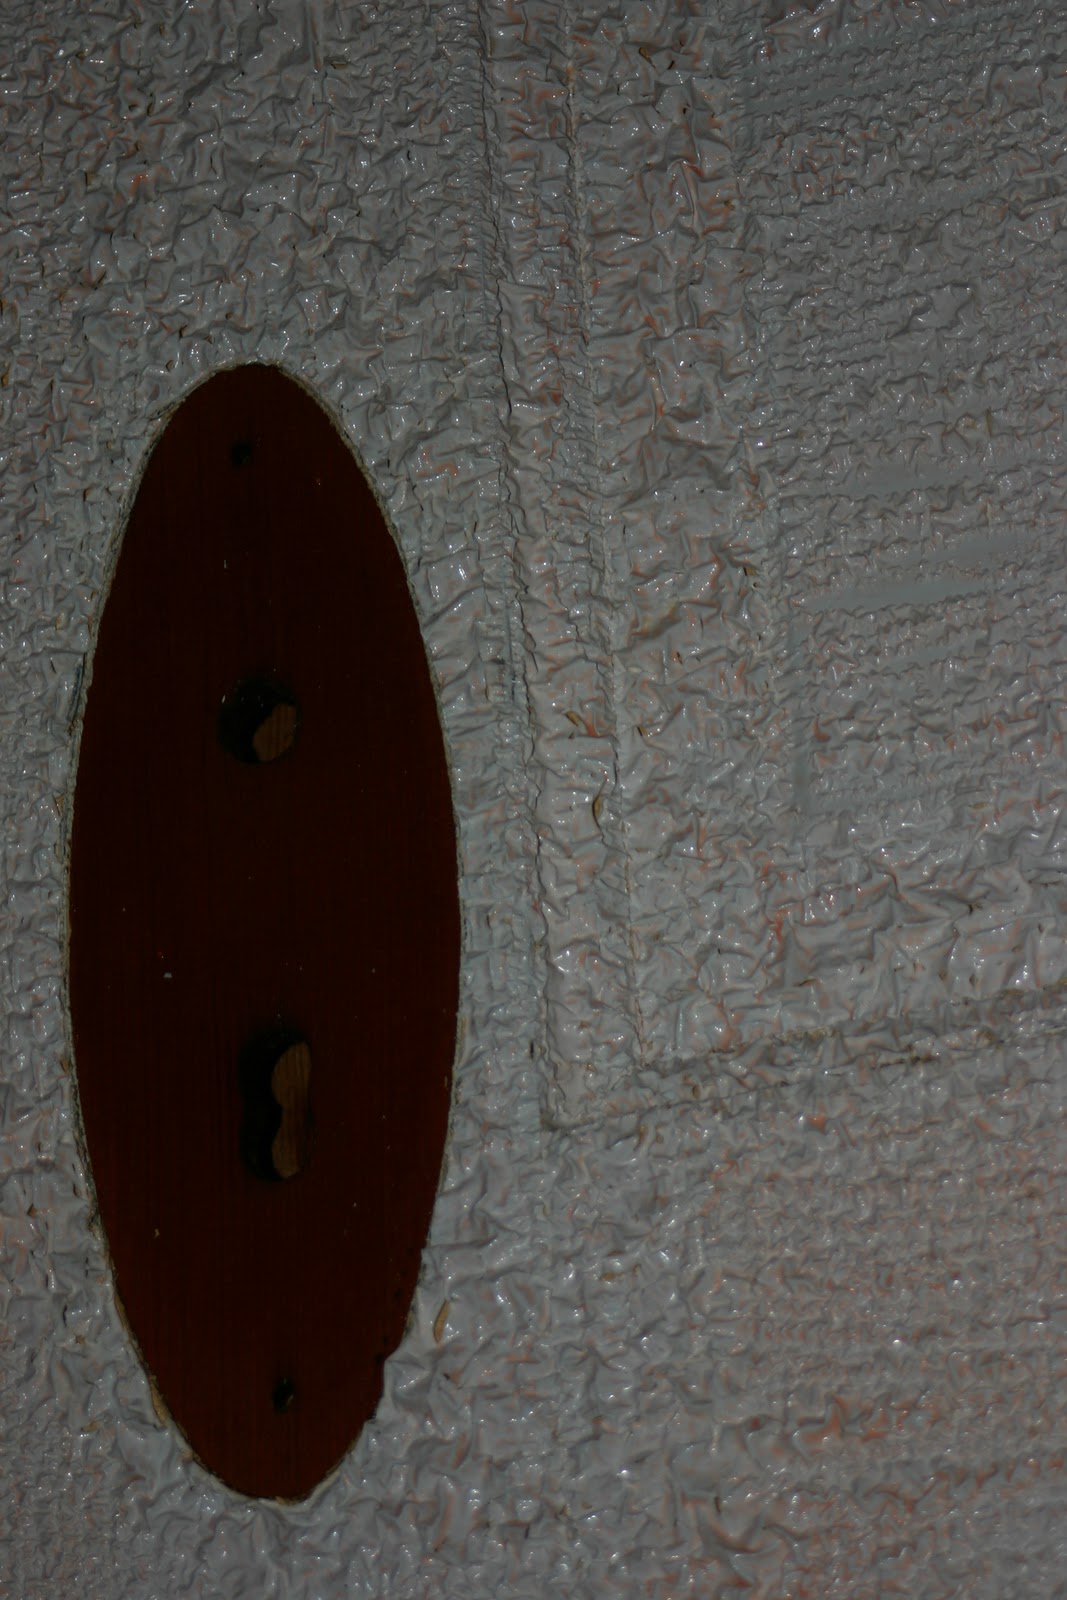
White, yellow and green were the colors discovered. Only the first two colors wanted to come off easily. So I had to add a second coat of paint remover. Unfortunately, the stripper had started to dry on the entrance door so it was harder to remove. I decided to only second coat the door that I had taken down. Today I will strip everything else. This last coat of paint is going to be the hardest to get off. I want to stain the wood again. I realize this is a far reaching goal, but I am not a man who loves painted wood. Wood should be seen not covered up. I am going to take some hot soapy water and a greenie scratch pad and try and get every little bit of paint off the door this morning. Trial and error, it is how you learn.
 |
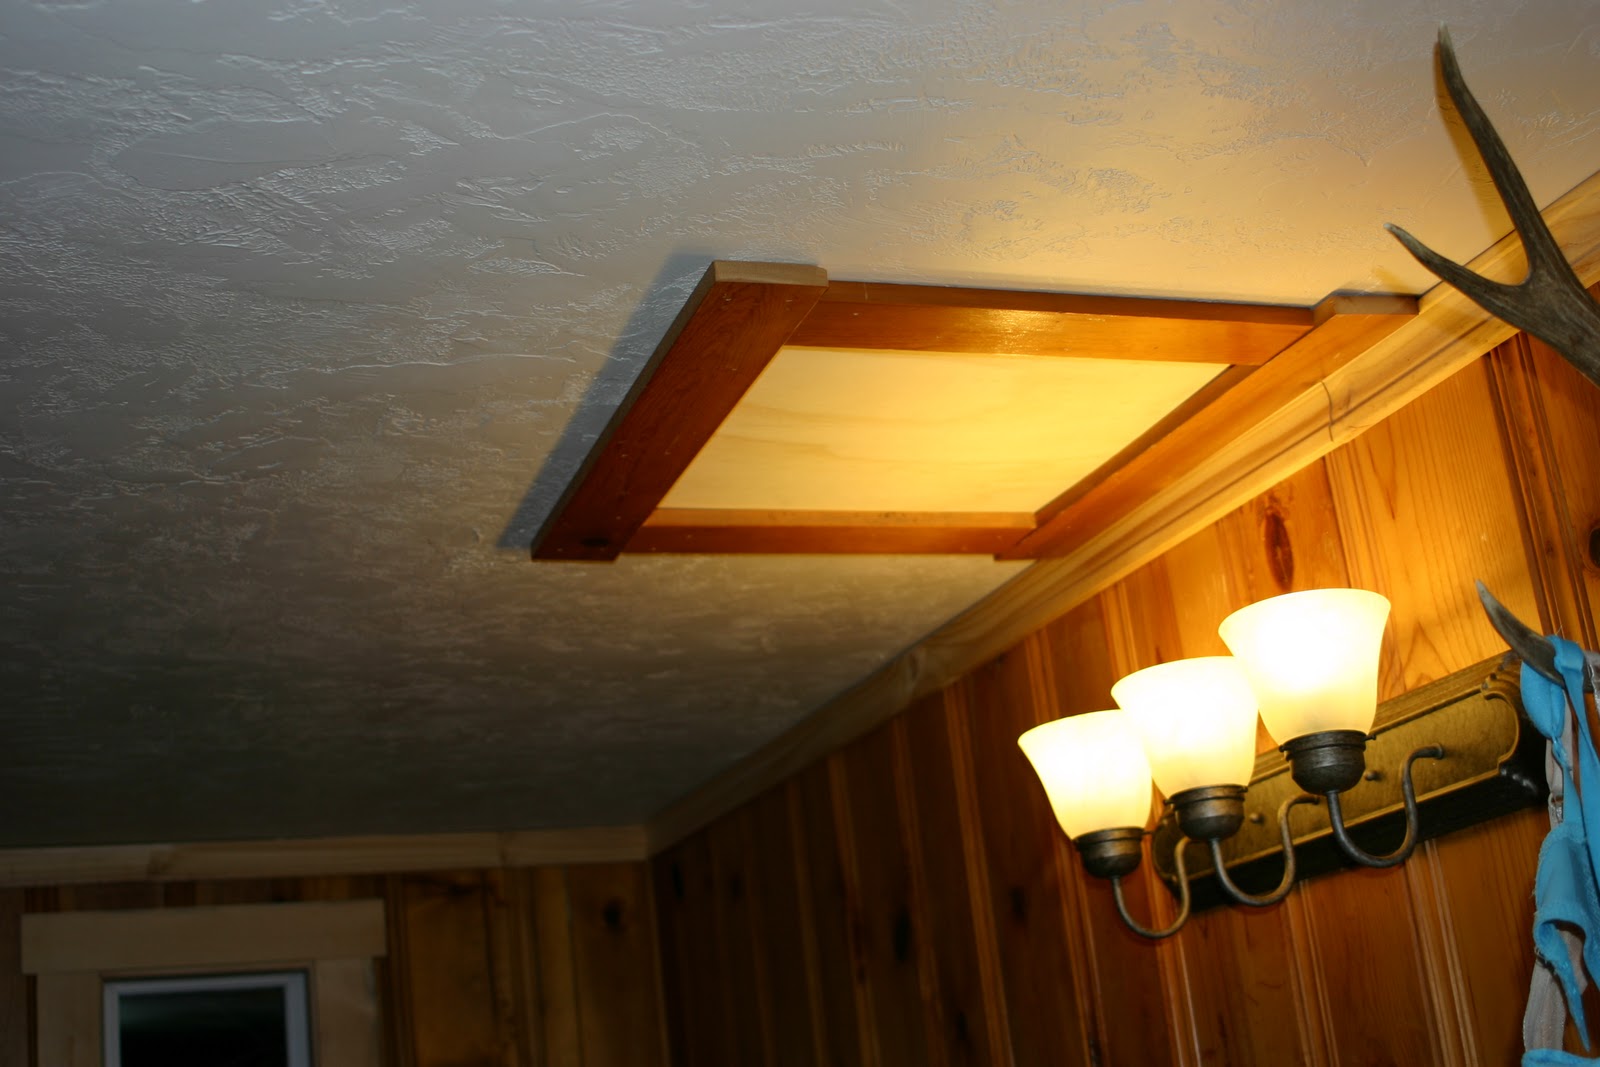
| Before trim (should have done picture at night) |
 |
| Completed window. It turned out nice. |
I did manage to get our master bedroom closet window trimmed out. I had to buy “clear” lumber (no knots) and they add almost 800% to the price of this wood. It is crazy. The cedar (rest of the closet is cedar) cost $80. After cutting and sanding the four inside pieces I was ready to go. It only took me four trips outside to cut the side pieces the right length to match the reveal top and bottom. I keep telling Annmarie I should have left the radial arm saw on the breeze porch so I would not have to go outside to use the saw. She still doesn’t buy it. Three years on the breeze porch was long enough for her. It sits on the old house porch now with the table saw. Handier for me, but I would like to have the old house done and set up as a wood shop so I didn’t have to work outside. Yes, the breeze porch is covered, but the wind still blows and the light is not very good after dark, just a single sixty watt bulb.
 |
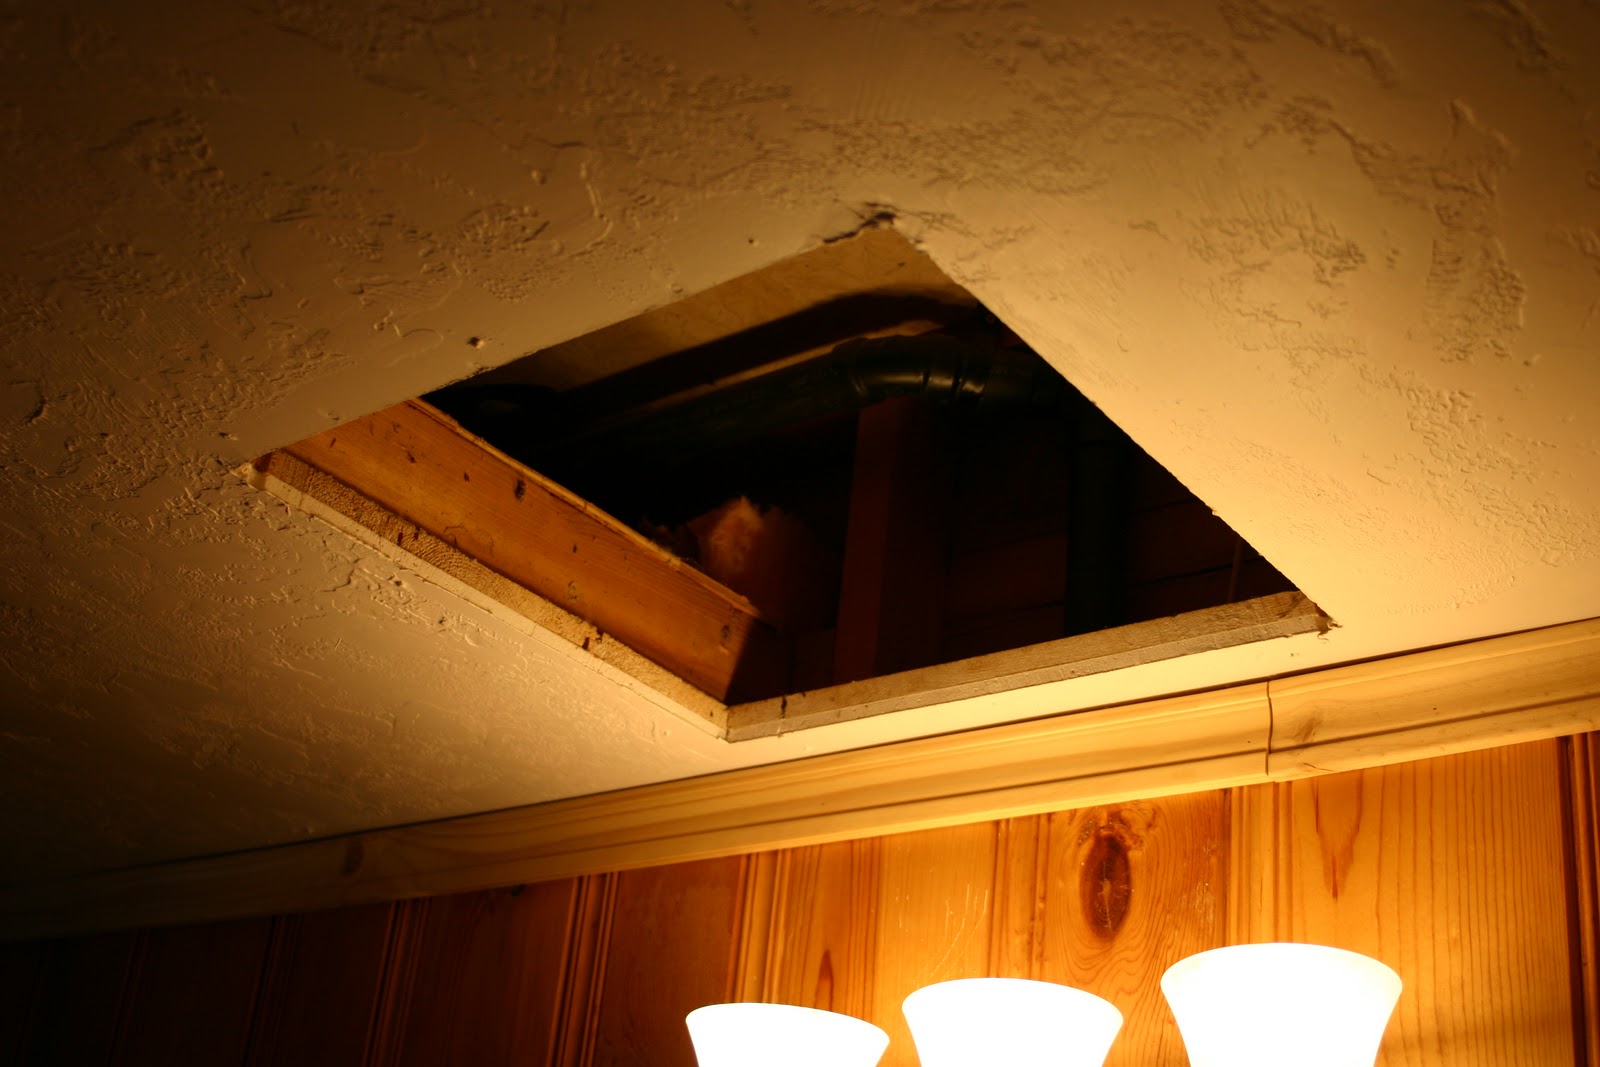
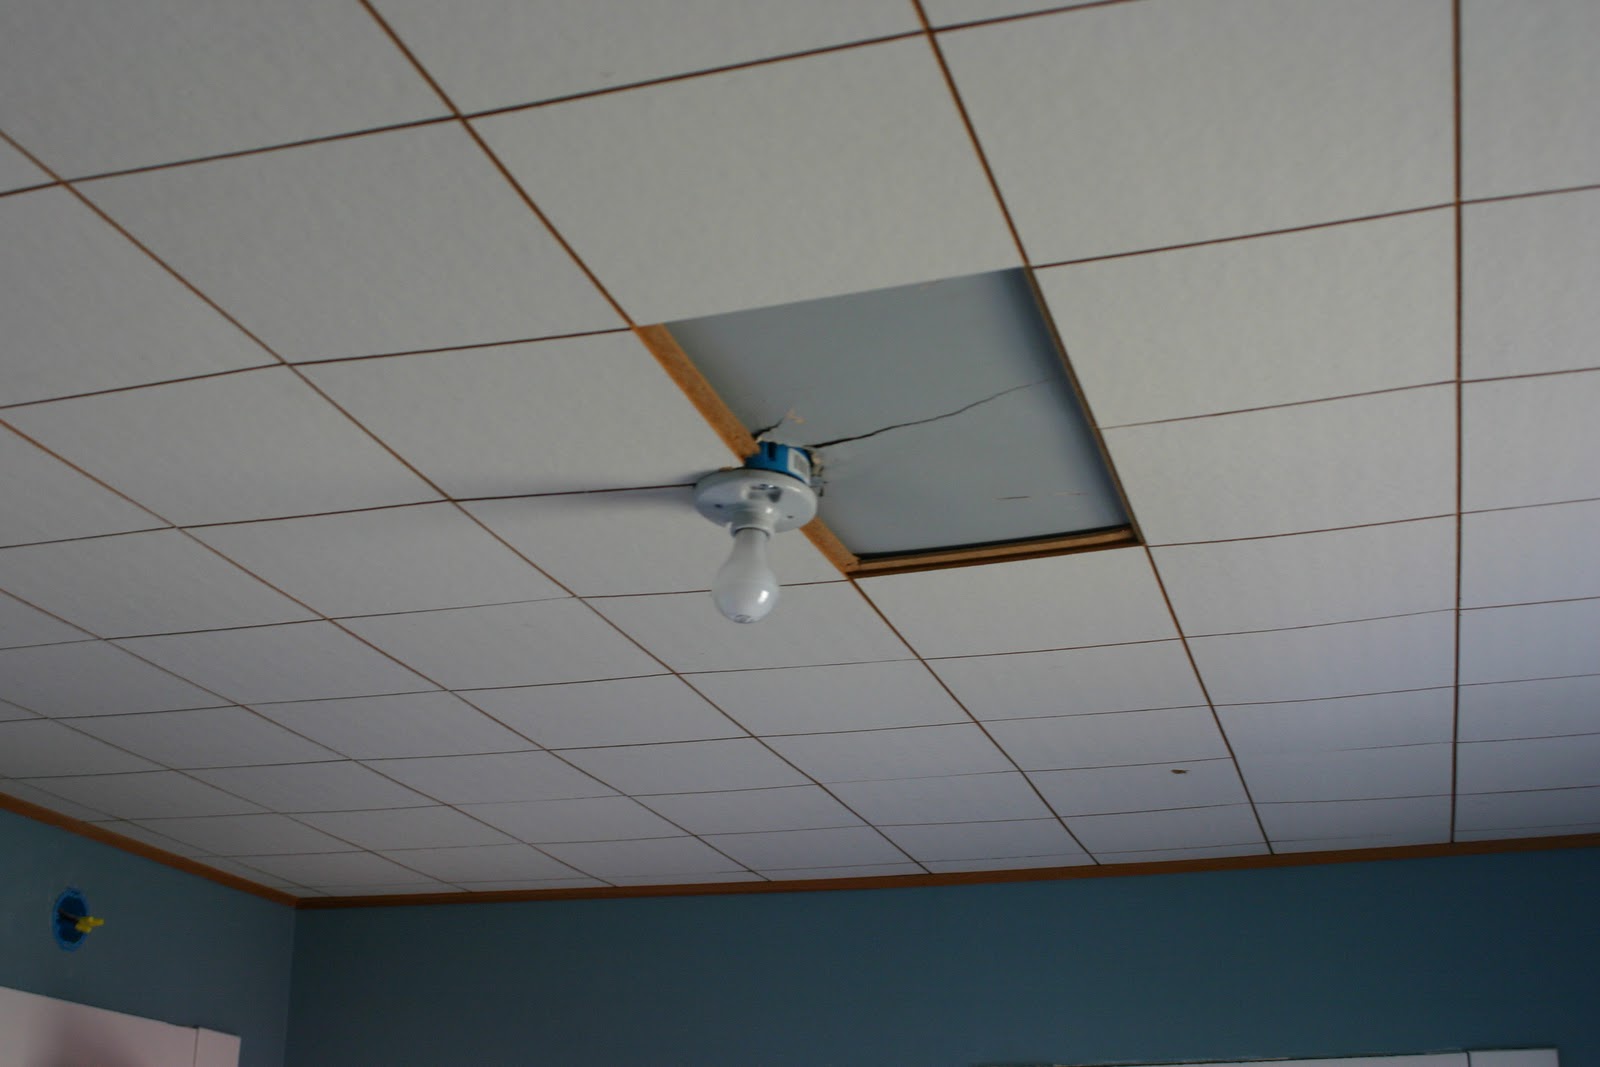
| Ceiling tile needing replaced. |
I did manage to get this tile replaced yesterday. I had found some old ceiling tiles in the attic four years ago and saved them for repairs. Unfortunately, they were not this exact tile. I put it in anyway, it was a newer version that was painted a brighter white and the groove was not quite as deep. It won’t be noticeable after we paint. What a pain in the butt to install a tile like this in the middle of the room! That single tile took me almost an hour to install. I had to pull loose all the surrounding tiles in an effort to get me some fudging room to squeeze the tile in place. Then I had to staple it up. Since I had the stapler out, I went through the whole ceiling and stapled all the loose tiles. The ceiling looked like a kiddie roller coaster before the stapling job. It looks pretty good now.