general farm chores, irrigation specs

I went out and finished the Orchard pasture fence (almost).  I installed a couple more panels over the front creek so the sheep could not just jump across and head out.  The metal fence stays needed to be installed for half the fence, so I did that while I was over there.  The only thing left on that fence (besides repairing all the old fencing) is to install the people gate at the far end.  I have the people gate, I just need to get down there with it and get it installed.  I also want to drop a couple of boards across the front creek so you can cross over down there.

Since I was out and about I went down to check on the irrigation pump and pipe.  I had talked to Annmarie about installing rolled poly from the pump all the way around the outside of the property.  I was told that if we are going to pressurize it then we needed to use rigid pipe.  Well three inch rigid pipe goes for $1.68/ft.  That is crazy and then I still have to dig the channel and bury the stuff, install risers and then blow it out in the winter.  No thanks.  So Annmarie suggested that I just use the aluminum pipe that is on the property.  I always thought it was pretty beat up, but I went down and looked at it.  I can get 30 decent 40 ft sticks of 3 inch piping.  So for those laymen, I can run 1200 feet of pipe or almost a quarter of a mile (100 feet short, 3 more sticks).  This is a lot of pipe.  The only thing we will need to purchase is a few 3 inch T’s and some more end caps.  I could not find any fittings for the pipe.  I will need to get a couple more boards for the irrigation pump to sit on, the ones that are currently holding the pump and motor out of the water have holes and are rotted.  The replacement boards need to be 3 in thick x 12 in wide x 9 ft long and I need two of those.  I have decided to use the blog as a record for different things so I will be putting in some facts that we can return to later for our purposes.  The irrigation pump is a Rainflow model 1.5W-5-2 serial# 6518 5 7/8.  The motor is made by Cornell Manufacturing Co in Portland, OR  it is a GE induction motor.  The starting number on the electical meter is 41007 (we are not sure how much it is going to cost us to run the pump for the entire summer).  I chased four different baby deer and one mother deer out of the lower pasture on the way to the sprinkler pipes.  They all had spots still.

I went to the barn next.  Not sure why I felt the need to get out there and measure everything today.  Annmarie and Sarah are at school most of the day and I was on my own.  After working on the barn this weekend I am stoked to get it back in working order.  I went out with a tape measure and actually measured the rooms in the barn.  We had always been guessing at the size of the barn.  I have clarity now.  The barn is approximately (all measurements are subject to 1 -2 foot differences, there are three walls inside with each one being 6-8 inches wide) 65 feet long and 40 feet wide (2600 square feet), the walls are 18 feet high with the roof peak at 25 feet.  About half the barn was used as hay and grain storage that section is 22 feet wide with 18 feet walls and a 25 foot peak.  The animal section of the barn is a lean-to affair attached to the 18 foot wall and extending out almost 22 feet. The outer wall has the lowest walls and those are around 8 feet tall.

 The grainary is located on the front of the tall section and is composed of three rooms in a 20 ft long by 22 ft wide section.  That space is divided in half with the larger half being near the center of the barn (Annmarie’s future tack room and storage room for sheep tools).  The dimensions for this room are 8.7 ft wide x 13.75ft long.  The other half of the grainary has two silos, the smaller silo is about 25% of the space and is located on the two outside walls.  I have no idea what we are going to do with an L shaped room.  We talked about leaving one of the grainaries intact in case we decided to start feeding grain in the future.  I found a couple of grain augers and one of them is electric.  These rooms have cable running through them in both directions to prevent the walls from moving.  I am going to take out about half of the cables but think I should leave the others.  The barn is still standing because it is over built. It has far more lumber in it than is needed, but I don’t want to be the cause of its downfall.  I want to add a roof to the 50% grain bin around 8 feet off the floor.  I figure I can use the concrete forms (leftover in old grainary) (2ft x 8 ft made out of 2×4 and faced with 3/4 inch plywood) as a ceiling/floor.  I will bolt the forms together and have them sitting on 2 x 8s.  I want to store my extra lumber above the tack room but now that I think of that it does sound risky.  How about I store the lumber in the L shape grainary?  That sounds much better.  I will still put a roof on the tack room and some stairs leading up to it but I will put something else up there.  We could store all the other barn stuff that is scattered throughout the farm.

The next room in the tall section of the barn is a hay storage room.  It is 18 1/2ft wide by 22ft long.  There is a 7.5ft x 5.75ft section missing out of the front corner for an access room to the hay and grain.  I think I will take out this or shrink it down.  This room has no outside access.  It still needs a door put in.  Unfortunately, I have to take out a large beam to add a door.  I have resigned myself to this fact already.  Otherwise, getting hay in here is going to be very very labor intensive. This one room can hold over 900 bales of hay if I take out the little access room.  Rough guess of 24 bales to a ton that is about 38 ton per hay storage room or 76 ton for the barn.  More if I stored hay above the tack room in that space I have not used up yet!  Maybe 90 ton if I stretched it.  I have plans for putting up a walkway above the animals to store hay so that you can just walk along and cut open hay bales and drop it down a chute to have it show up in the sheep feeder.  So morning feedings would be a 15-20 minute affair even for a few hundred sheep (FYI 2% of animal’s weight must be fed daily during winter.  Our sheep weigh about 120# or 2.4 pounds of feed per each sheep.  So 100 sheep would need to be fed 240 pounds of feed or approximately 3 bales of hay).  I figure I can store about 60 bales on the walkway, so I will only need to wrestle the hay monthly.  So I would need to feed for 4-5 months out of the year, for guesswork I will use 140 days for the length of winter.  For every 100 sheep I would need 420 bales of hay to get through the winter.  So the barn could hold enough hay for 400 sheep but with babies and such I would say no more than 300 ewes or 1260 bales (51tons of hay) or about $6000 in feed.  I kinda got off on a tangent there.

The other hay storage room is 18.5 ft wide by 22.5 ft long.  There is a smaller overhang in this room of approximately 4ft x 8 ft long against the inside back wall.  These little overhangs were built because the hay used to be dropped loose from the ceiling through the turbinators and settle onto the floor.  This made it possible to go into the room and just pitchfork from the opening.  Otherwise, you could not open a gate to get into the room.  The two hay storage rooms have a dividing wall that goes all the way to the low rafters (18 ft).

The animal section is 21.5 ft wide x 65 ft long.  It has a small corner missing near the granaries of 6.5 ft wide x 20 feet long.  I think I will shrink that space up and add the stairwell here to get up to the overhead feeding system.  I still need to add some windows for lighting purposes.  Once I get all the openings closed back up again it is going to be dark in the barn.  I have been collecting old windows for just this purpose.

I did manage to get the new chicken butler installed today.  I was sent a replacement for the first one not working.  The guy has already made several new improvements to the door in the last three months.  I have it set so the door opens in the morning when the light sensor senses light, but the door only closes at night by the timer I have set.  This solves lots of problems, now we will see if it works.
Barn catching up done also

The bridge went up so fast that we had extra time to kill on Sunday.  So we worked on the old barn.

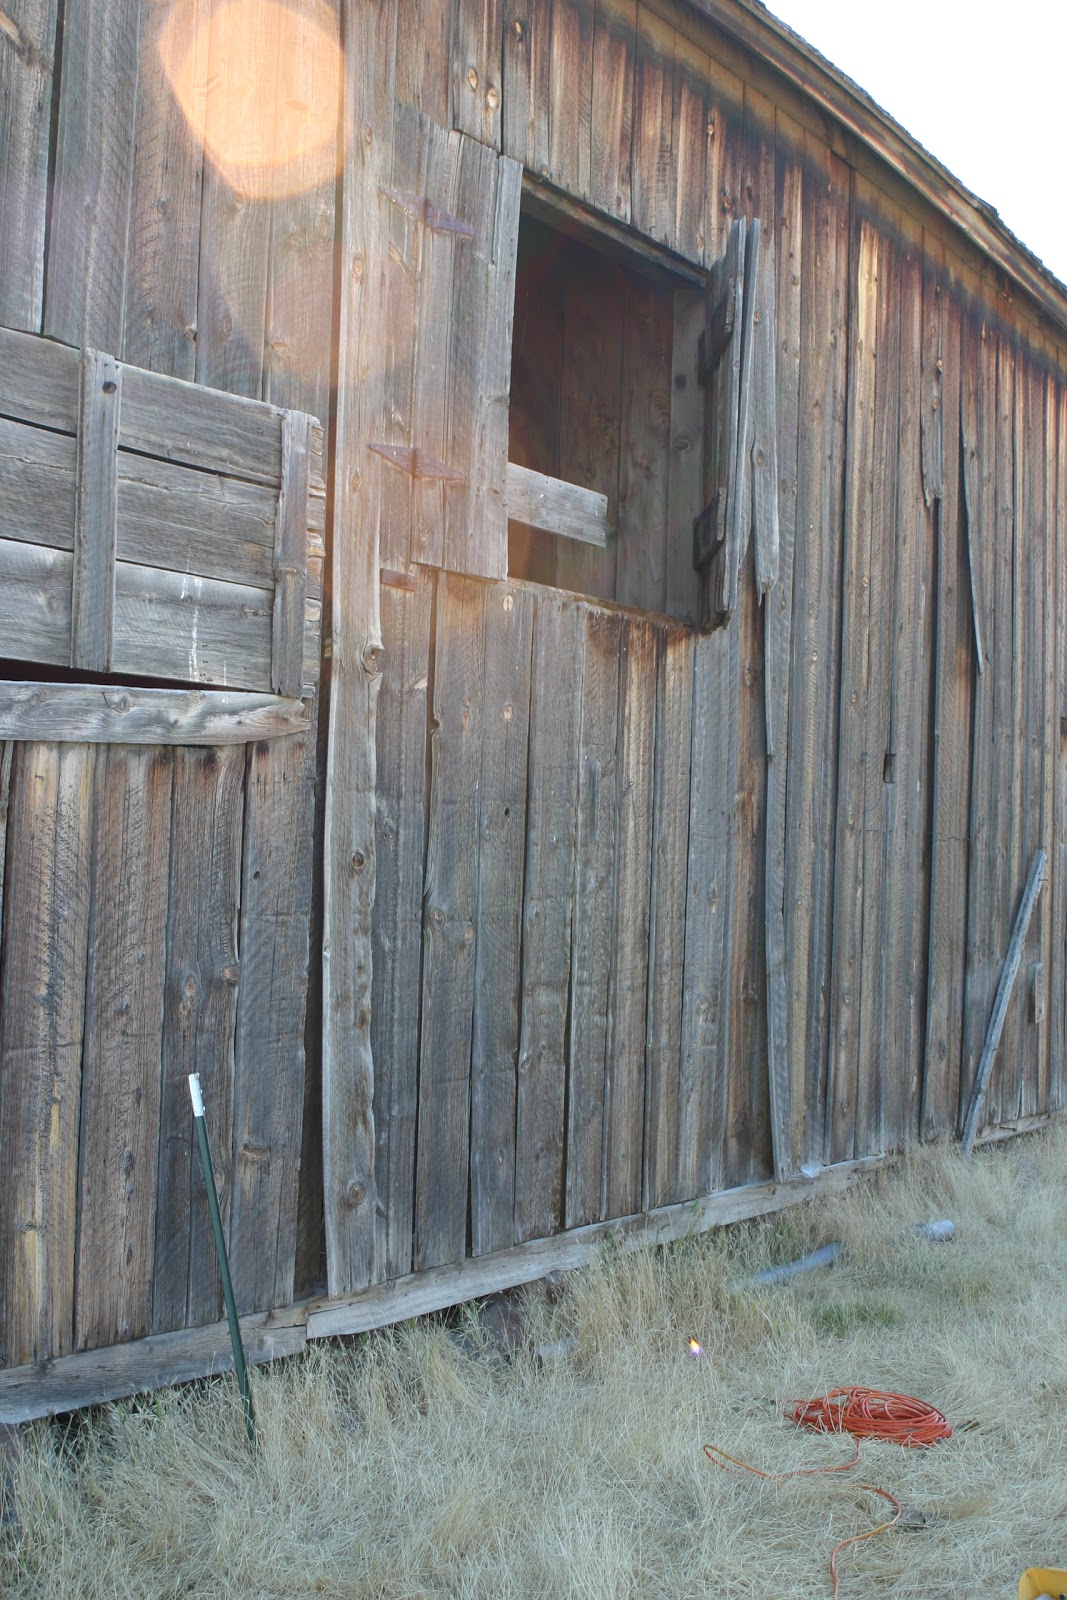
These were the windows that let in the rain and snow onto our
hay during the last two Winters.  They need to be fixed.

I also want a doorway so I can load hay directly
into the barn from the barn lot.

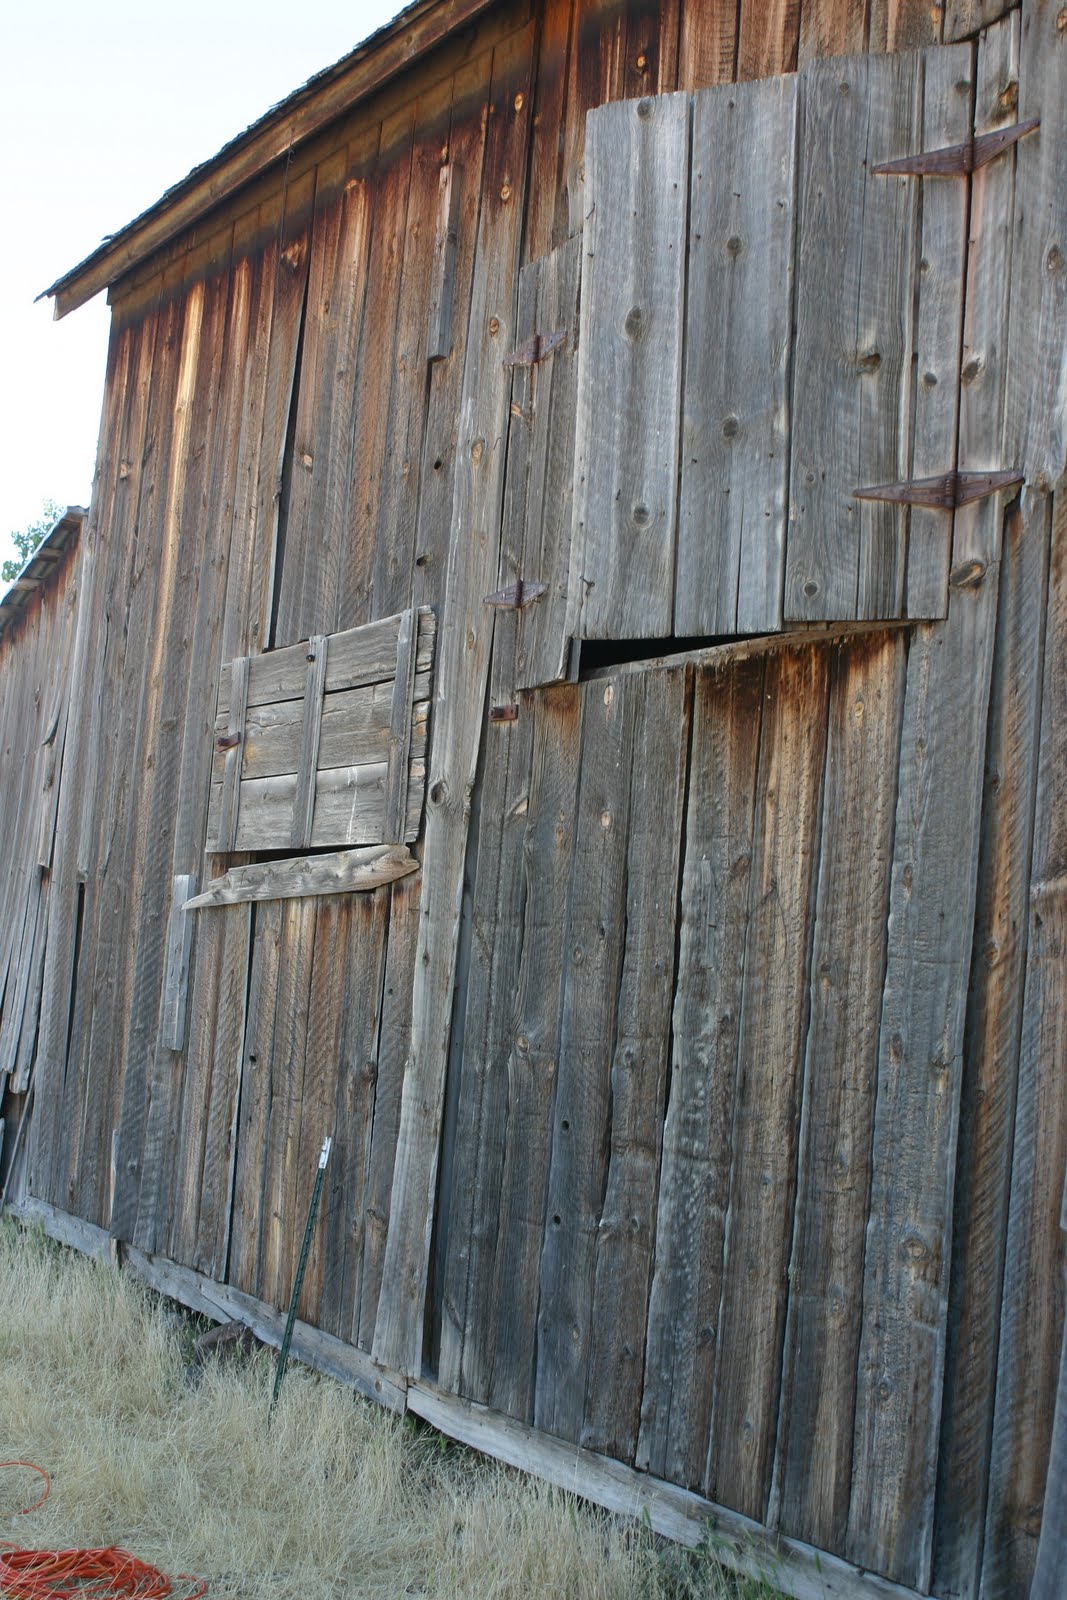
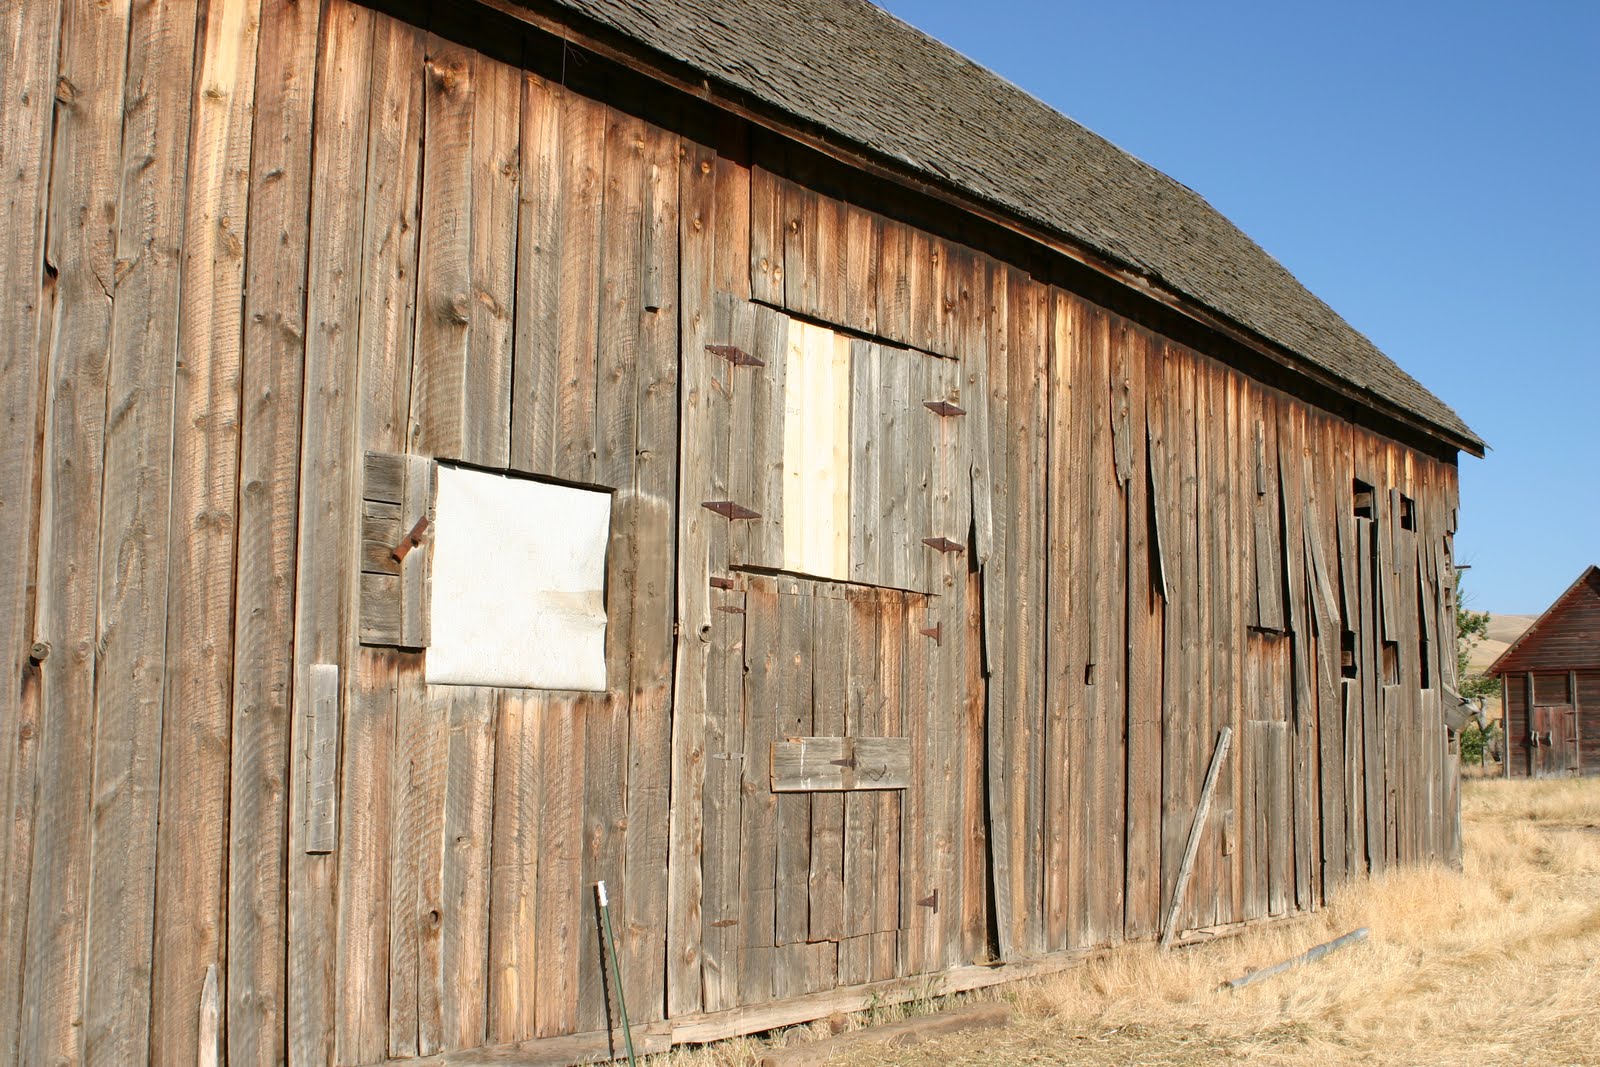
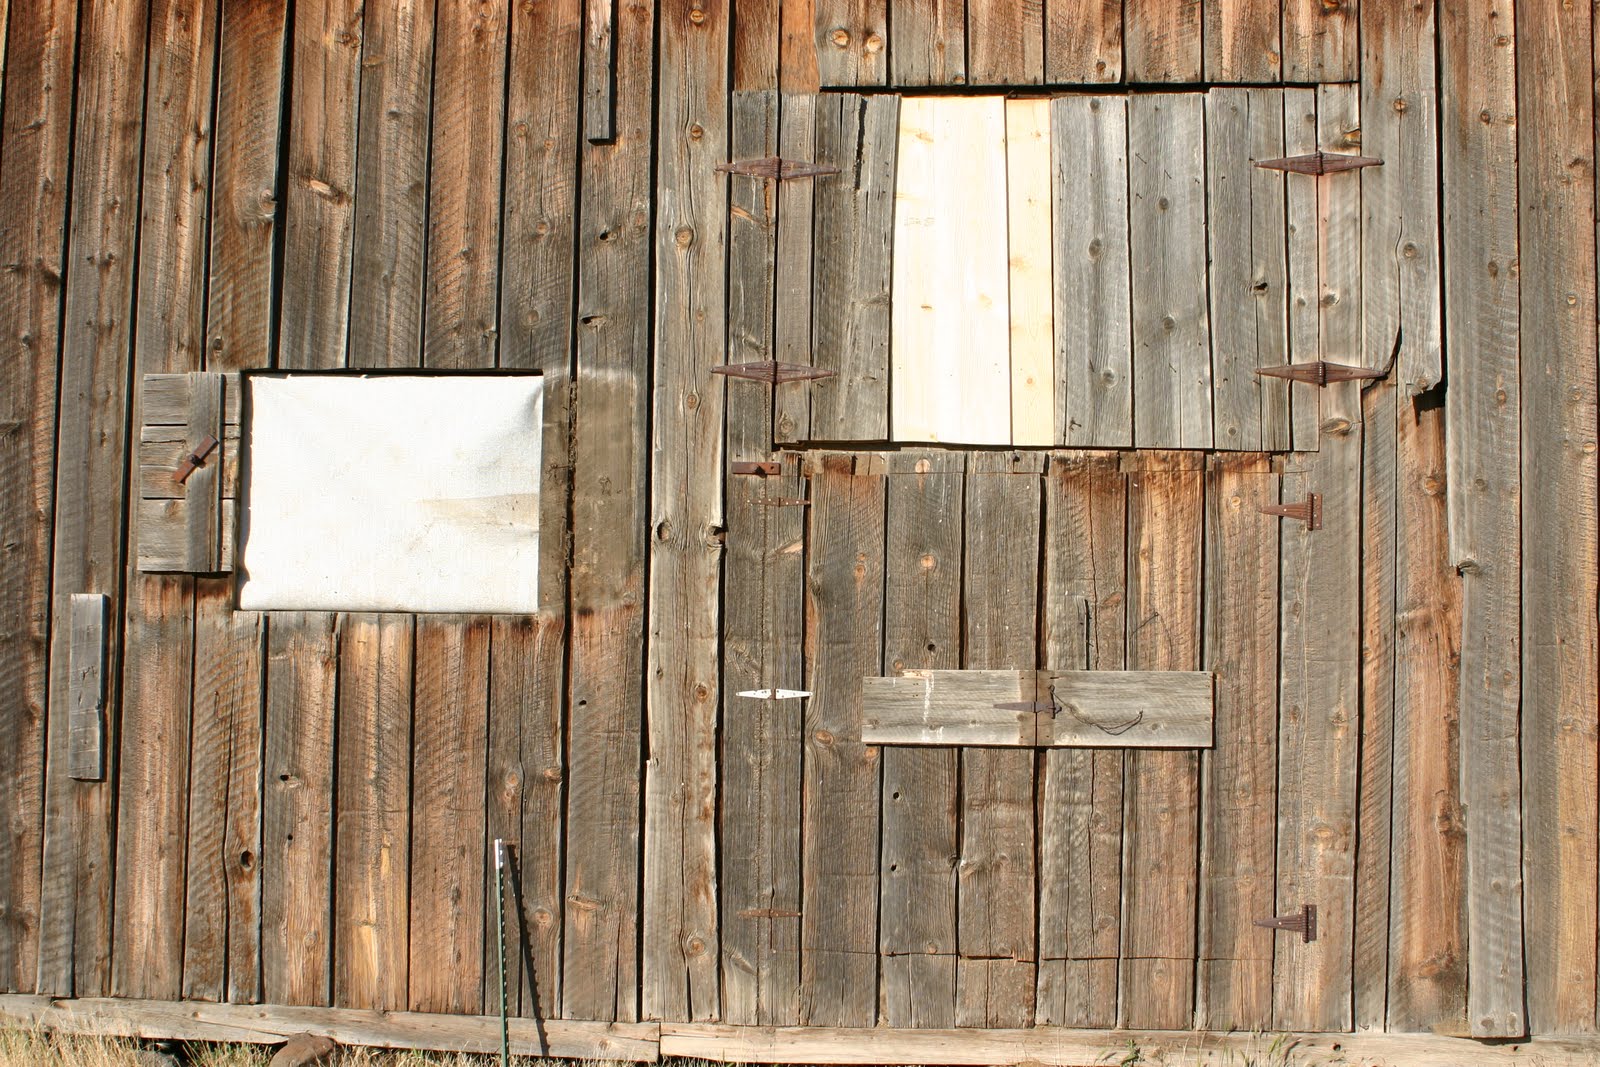
 I needed to fix the upper storm window doors so they can keep out the snow and rain from getting inside and damaging the hay.  I also wanted a way to load hay directly into this room without having to drag it through the barn.  I wanted to install a glass window also, but in the end decided to just hang a rug over the window opening until I have leveled the barn.  Otherwise the window could break when I start jacking up the floor.  The only real problem with this is that I did not have enough hinges for the new barn doors.  So we scavenged some hinges and a latch from one of the old granary doors (Doug just screwed the door in place so it no longer works)(it is a side door that was never used anyway).  I dug around the old house and found three smaller hinges.  So we decided to use the three smaller hinges on one side and the larger two on the other door.

Using the sawsall, Doug cut out the slots for the hinges and I installed them from the outside.  He framed the doors inside and then when they were all framed out he cut around everything with the saws all!!  Wallah, instant doors.  It is the quick way to build doors.  Not very neat, but as I kept telling everyone it is the barn and it just needs to work and keep the weather out.  I don’t have the time or money to make everything perfect.

Completed door, fixed shutters and covered window with weighted rug.

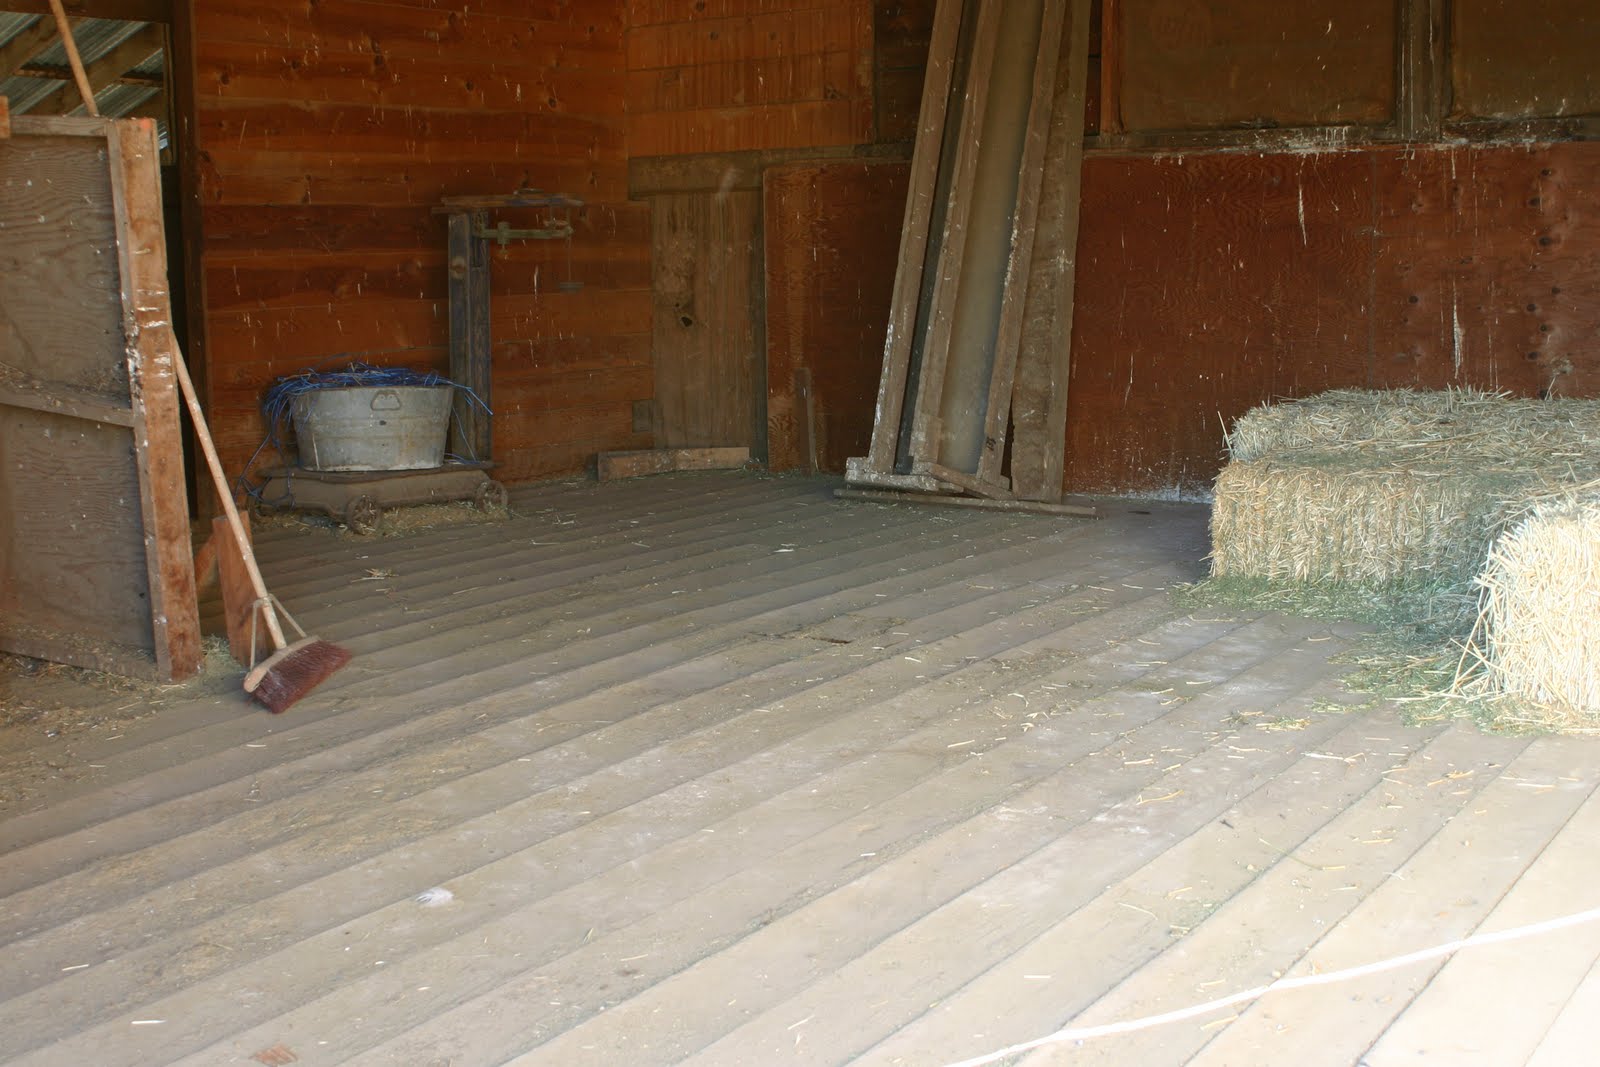
  Doug had to leave so the teenager and I finished repairing the upper window shutters, cleaned out the dirt, straw and owl crap that was piled up in the corners.  In places it was 10 inches deep.  It was nasty and dusty.

Clean barn room ready for hay!

  We then covered up the window with an old rug.  This is a cheap way to cover windows and trap in heat.  Now I just need some hay…

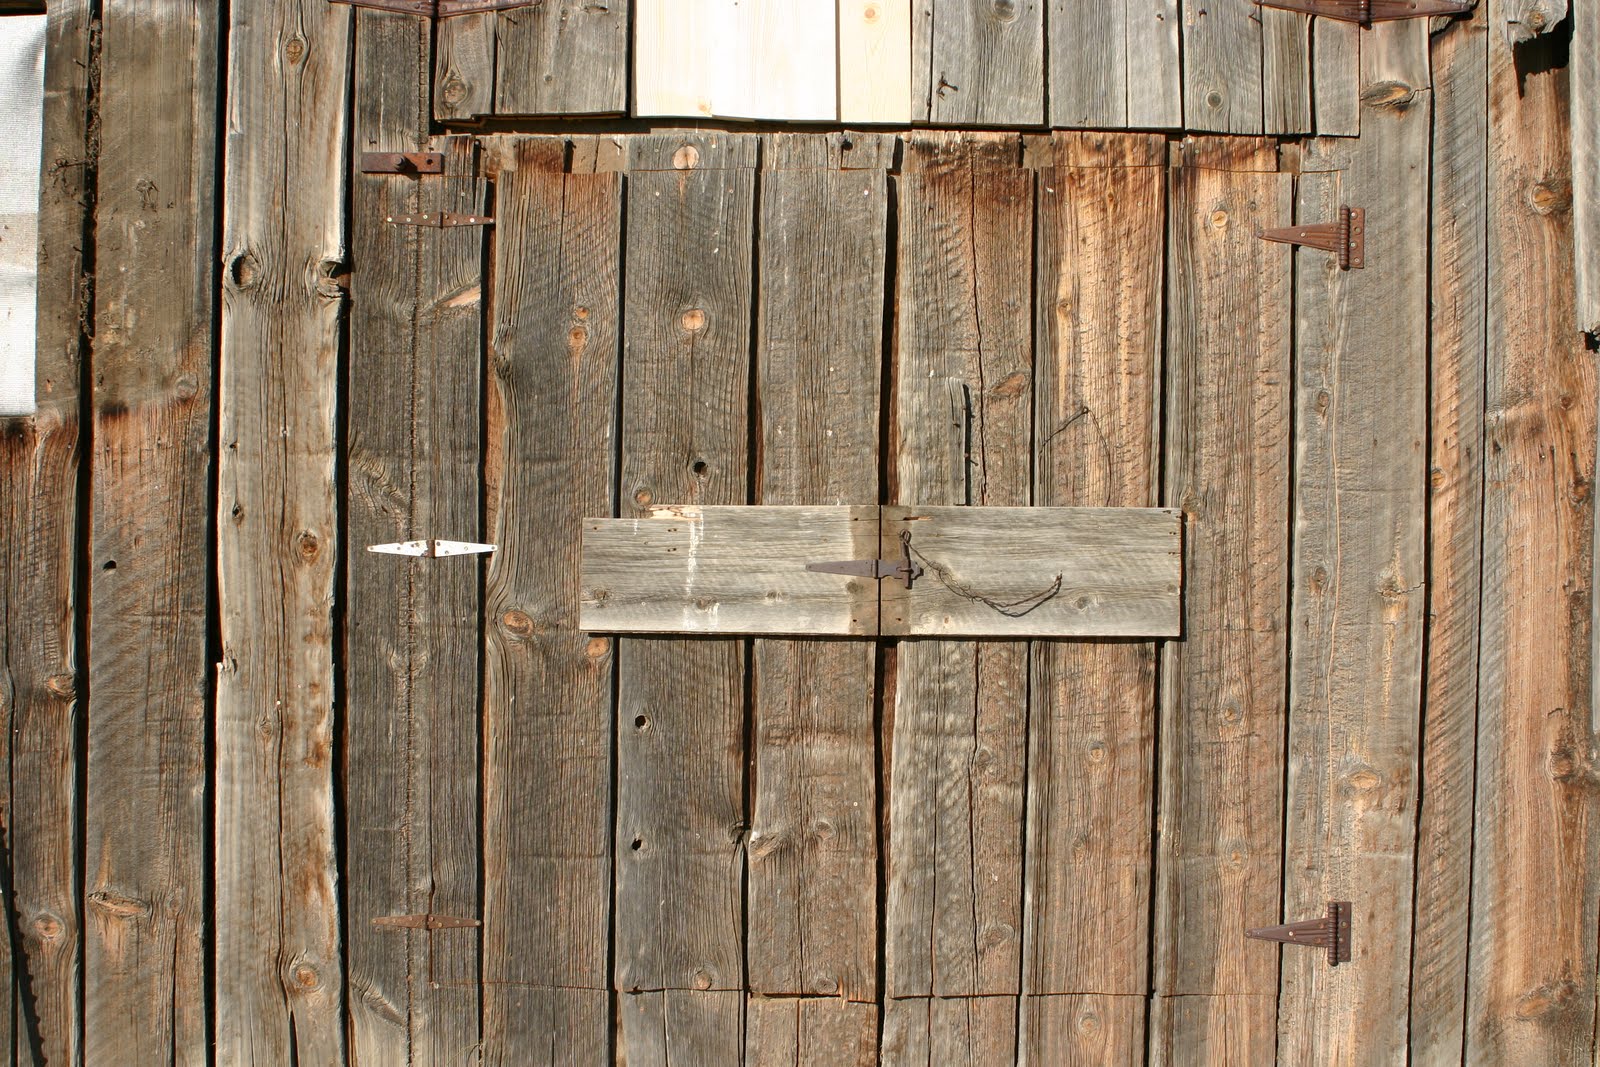
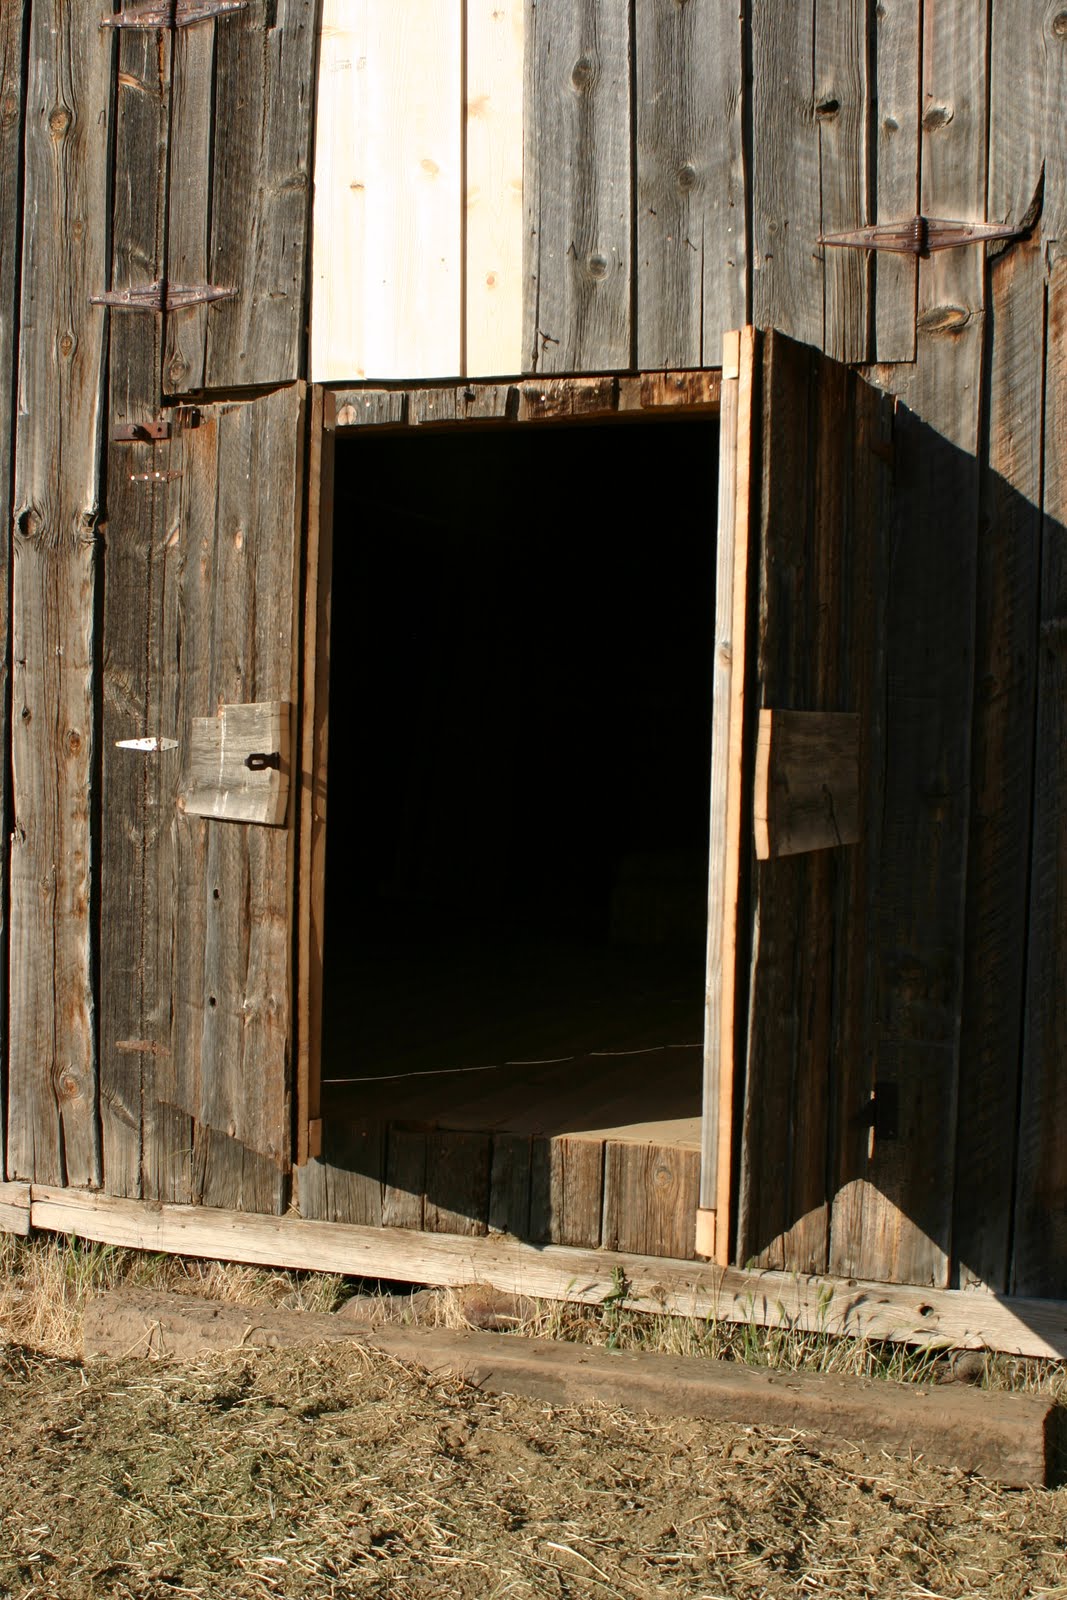
New doors in side of barn.  I wanted to add the latch inside but it would not hold the doors closed
they gaped open so I had to install the horizontal boards to account for the warp factor
in the vertical boards.  It turned out good. 

Completed work

The doors really do work. 

bridge Building day 5 or 10 depends on your viewpoint

Reminder, this is the old bridge.  It definitely needed to be replaced.

Yep, I have been very busy and am now dramatically behind in my posts.  I will endeavor to catch up and bring everyone up to speed.  The weekend is over and it was incredibly productive.

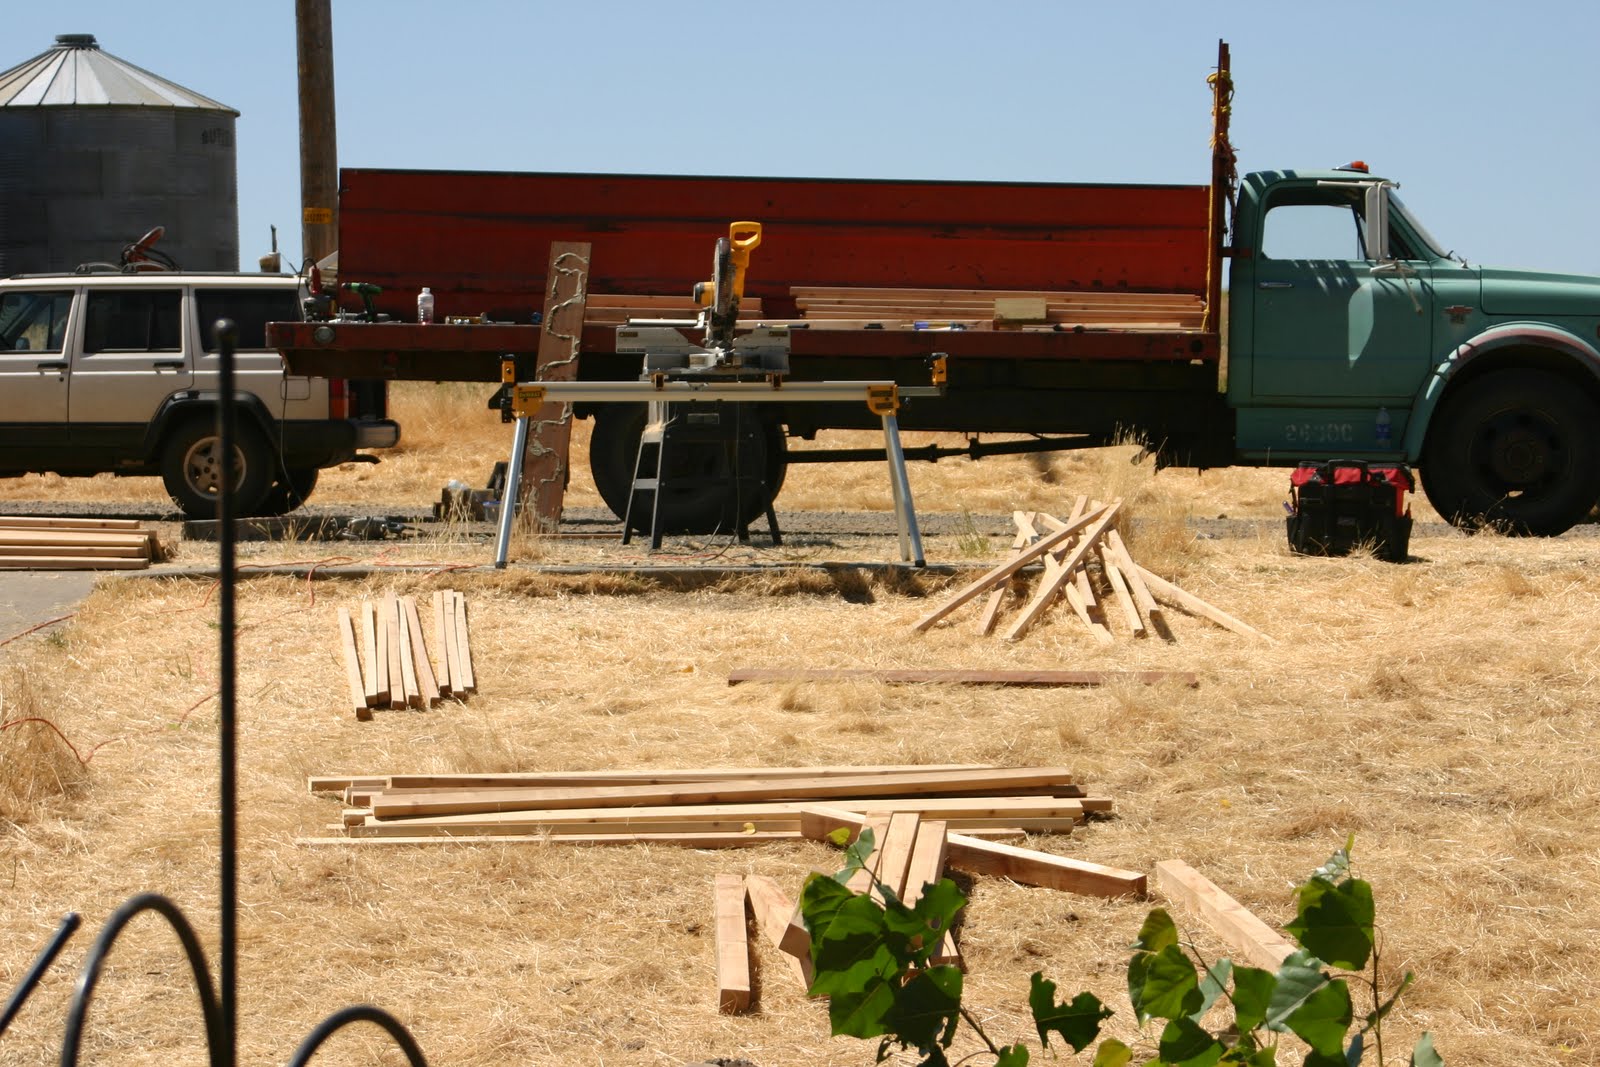
On Friday, I had my teenage paid help (non-daughter) come out to help me set up, cut and sort wood.  We spent eight hours sorting wood off the truck, making lots of piles for different parts of the bridge, cutting boards to length and ripping other boards to measured widths.  We even managed to put one whole beam together before it got dark.  A very productive day.  This set the tone for the next day on Saturday.

Piles of pieces ready for installation on the bridge.

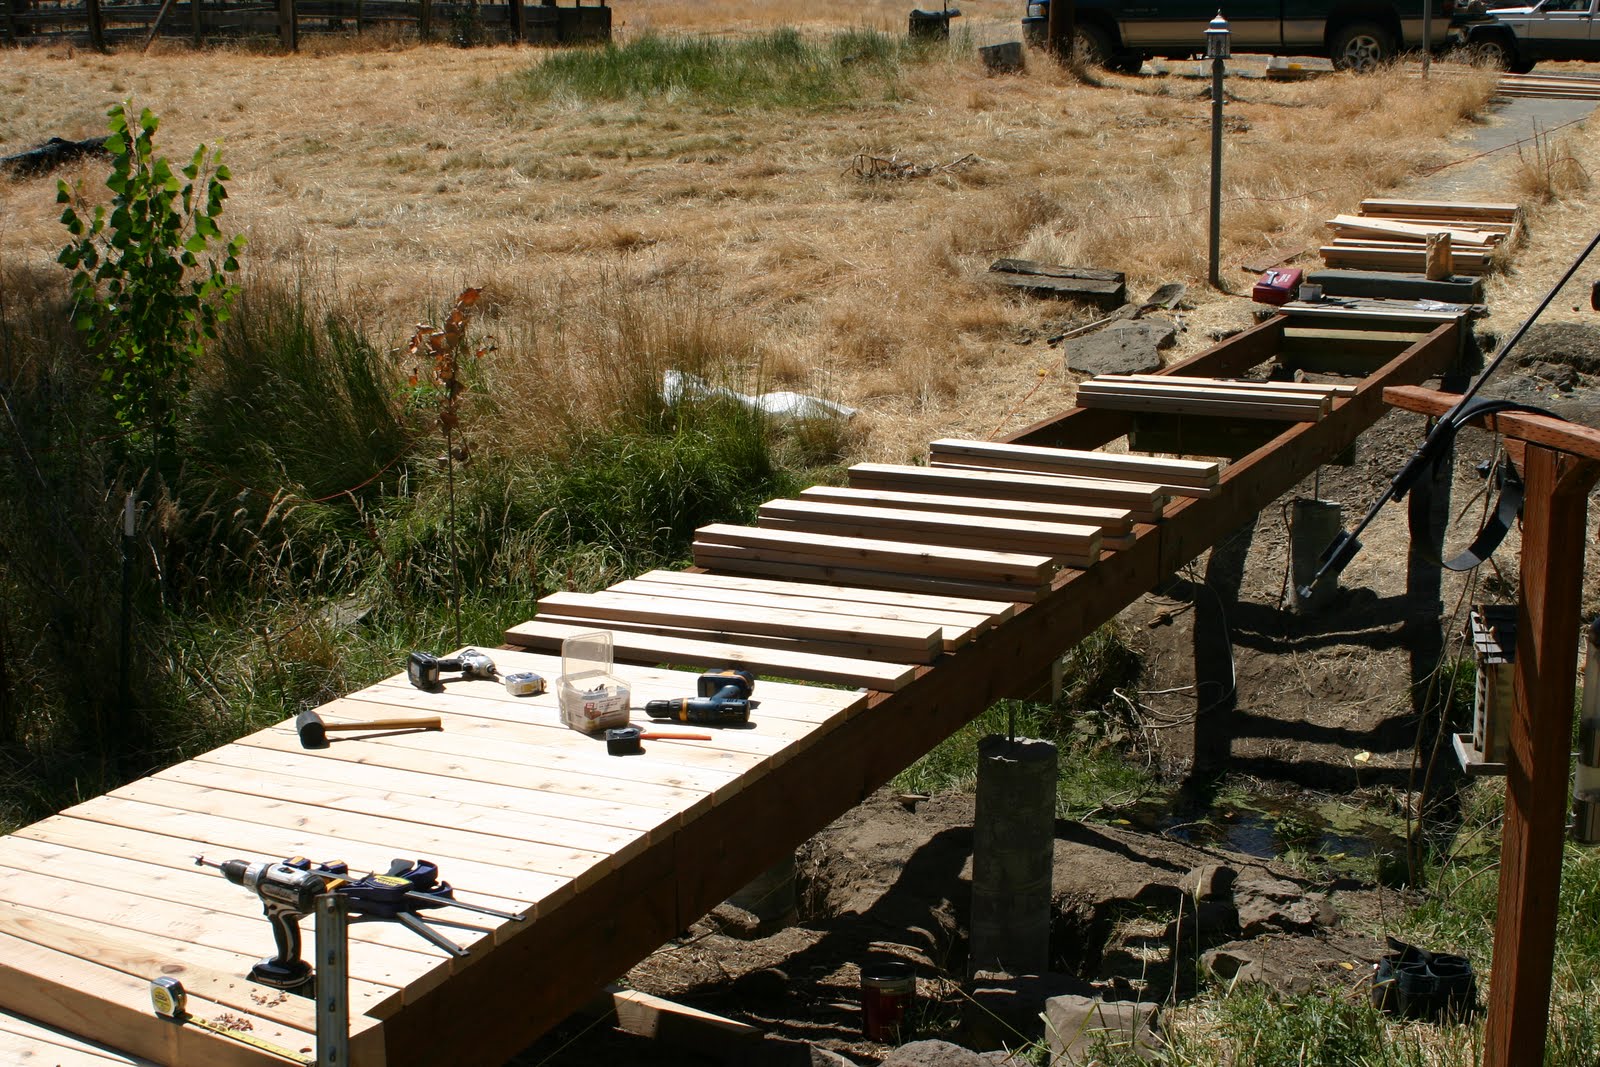
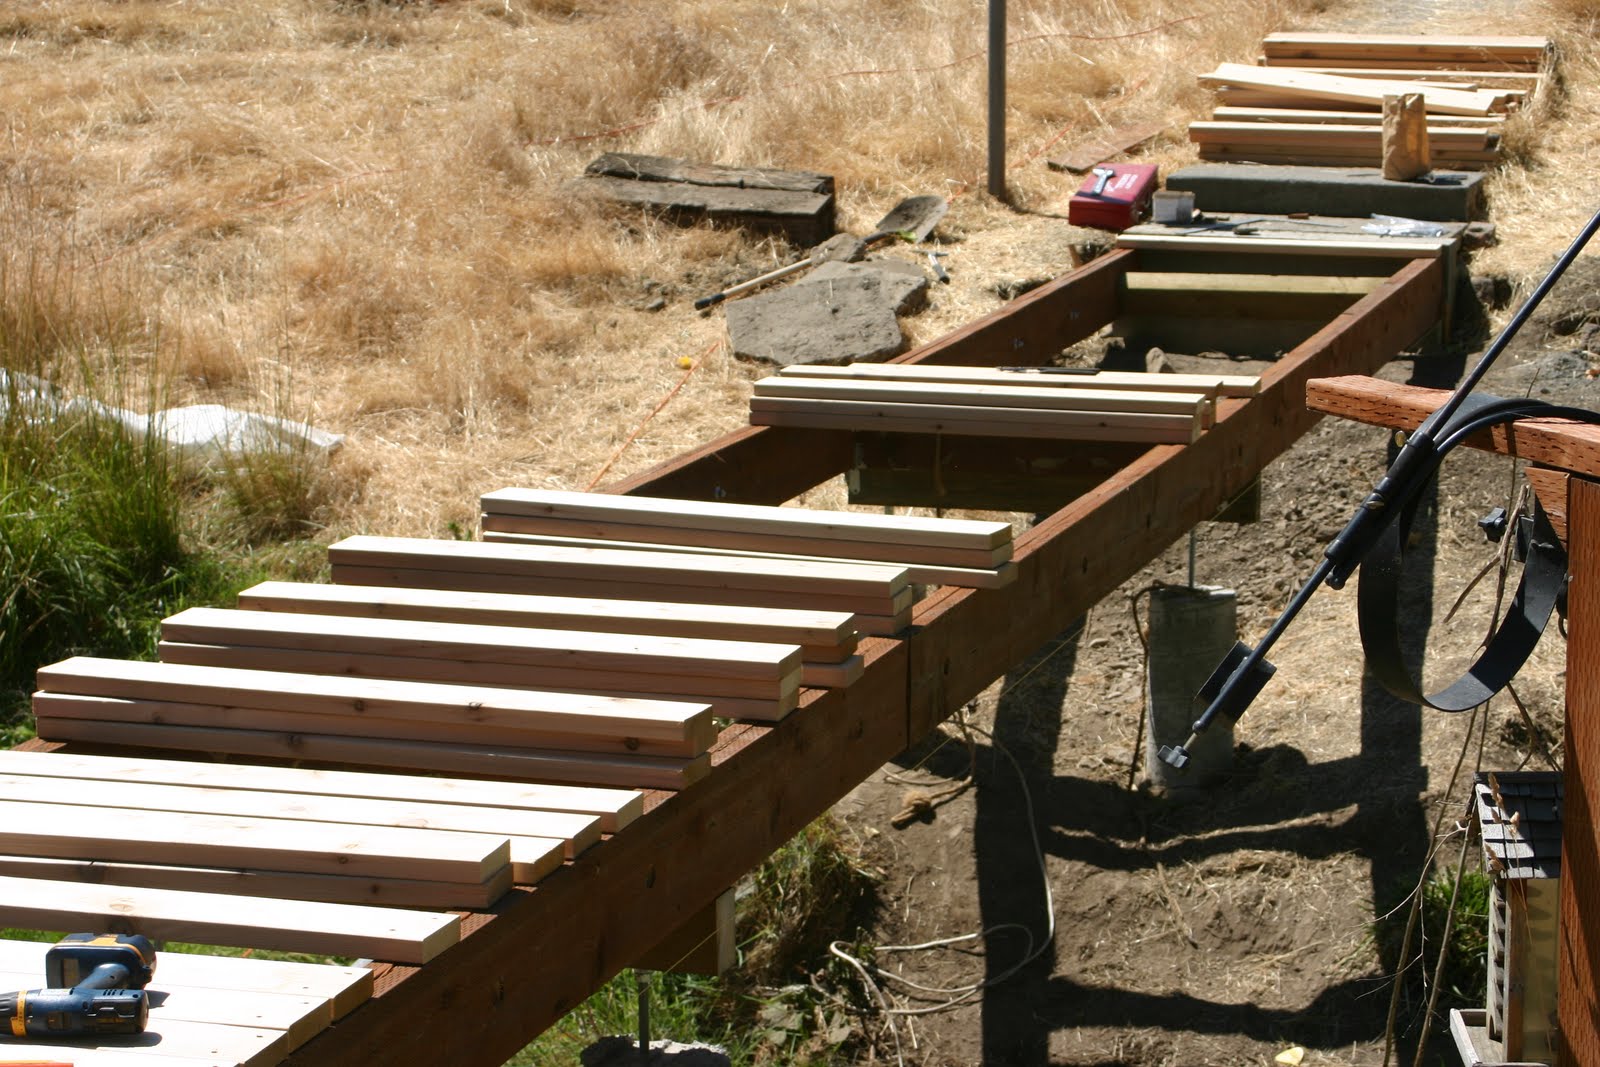
 I had three people helping me out this day.  It took two people almost 1.5 hours just to assemble the second beam.  Moving a 42 foot beam made out of 2×10”s is not easy.  Once it starts to bend back and forth it is almost impossible to hold onto.  Having to cross the creek with the beam did not make things easier.  Of course we ended up having to trim both beams in place as they were too long to fit.  By noon we had just managed to place both beams and had been at it for five hours already.  I was not certain we were going to get it done over the weekend let alone that day.

Tread going on, we were breaking for lunch at 1300

You can see the pressure treated beams we made.  Boy was that some
crooked warped wood.  We ended up putting four cross pieces
in to stiffen the side to keep them from bowing.  I had originally
only made plans for two cross pieces. 

We measured the bridge corner to corner after installing the beams.  Now mind you the beams were each 42 feet and 2 inches long, same for each beam.  Not so much when you measured corner to corner.  One corner was three inches longer than the other!!  It never occurred to me to check this dimension when I was building the concrete forms.  A definite newbie mistake.  Luckily, one that is easily corrected by just scootching the board a little wider on one end.  It worked and you cannot tell just by looking that we fudged the distances.  By the time we got to the railing it all seemed to fall in to place.  We had the whole bridge completed, including facing, by 1900 that night, twelve hours from when we started.  I was thrilled!  The bridge looks fantastic and after we rip out the front chain link fence it will look even better.  I am going to wait for our tractor to show up before I do any digging or ripping up anything at this point.  It will be a huge time saver.

I even have enough left over pieces to add about 24 feet of railing up the walkway towards the driveway on one side.  Again, since I have to dig some post holes for this I am going to wait for the tractor to make it easy on myself.  It is going to look very nice by the time we get everything completed.   Now Annmarie thinks I should case in the concrete pillars with cedar and hide those also…

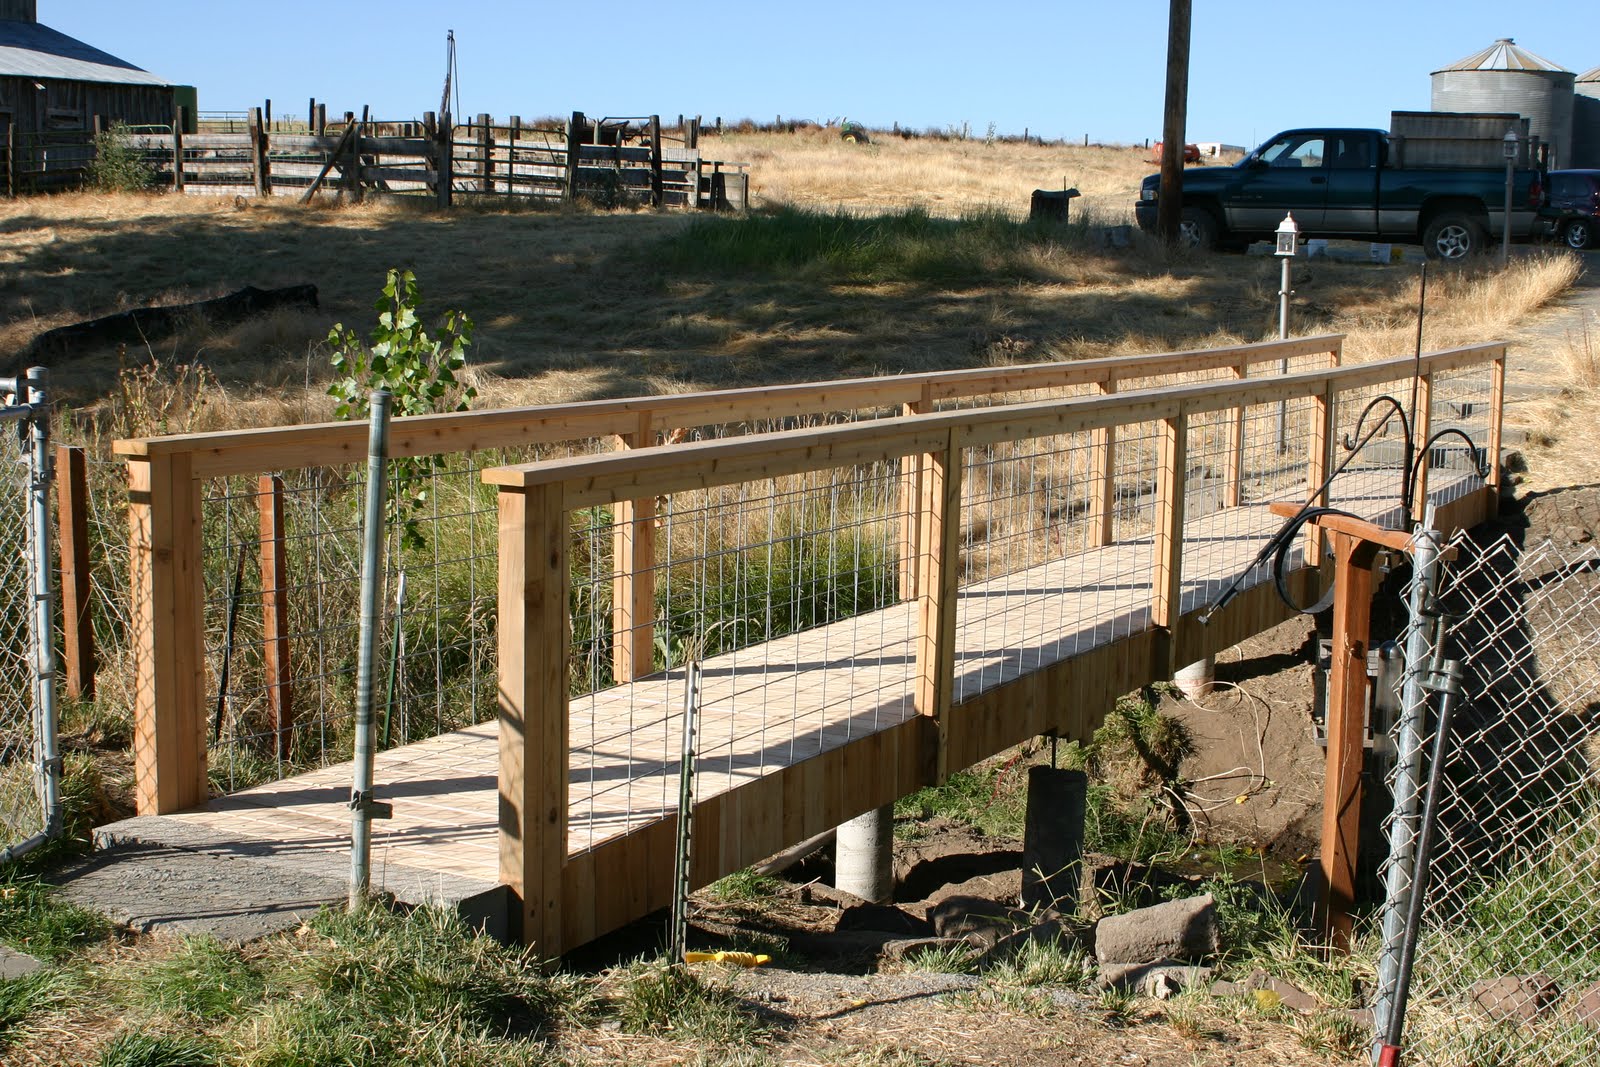
The finished Bridge!!!

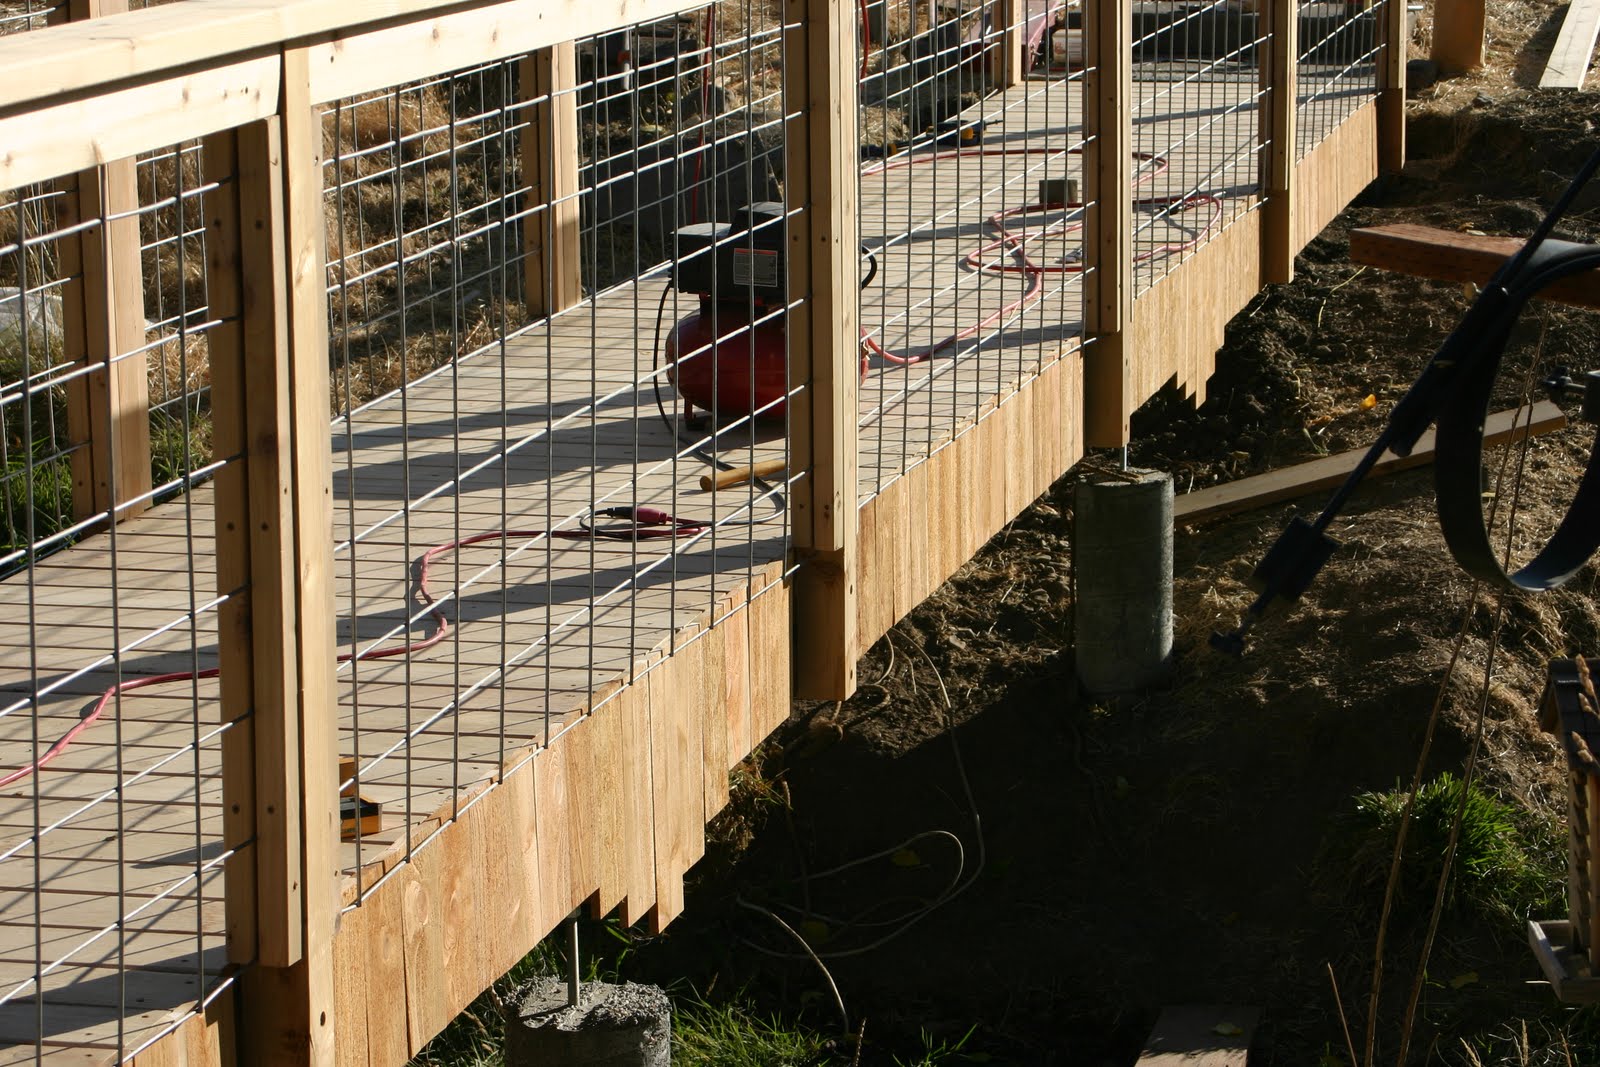
Here is a close up of the facing Annmarie wanted to cover up the
pressure treated wood.  It actually makes a huge difference
in appearance for very little money (comparatively).

Bridge plans

Annmarie tells me that drawing plans for a bridge after you have purchased all the materials is a bad thing.  I kinda sketched it out on a couple of stickies before ordering.  I drew it out and got authorization for the design today from the boss.

  I also measured the bridge opening with a 50 foot steel tape today, the bridge is not 38 feet, it is 42 feet 2.5 inches long.  Not quite the same.  Now the nice part was it was that distance on both edges and the middle!!  All said and done, I need to order another 12 cedar 2x6s and I was informed that I would have to face the pressure treated wood so that it is not visible.  I will use cedar fencing slats and cut them to size.  It will look pretty when all is said and done.

For future reference, very detailed plans need to be done in advance…

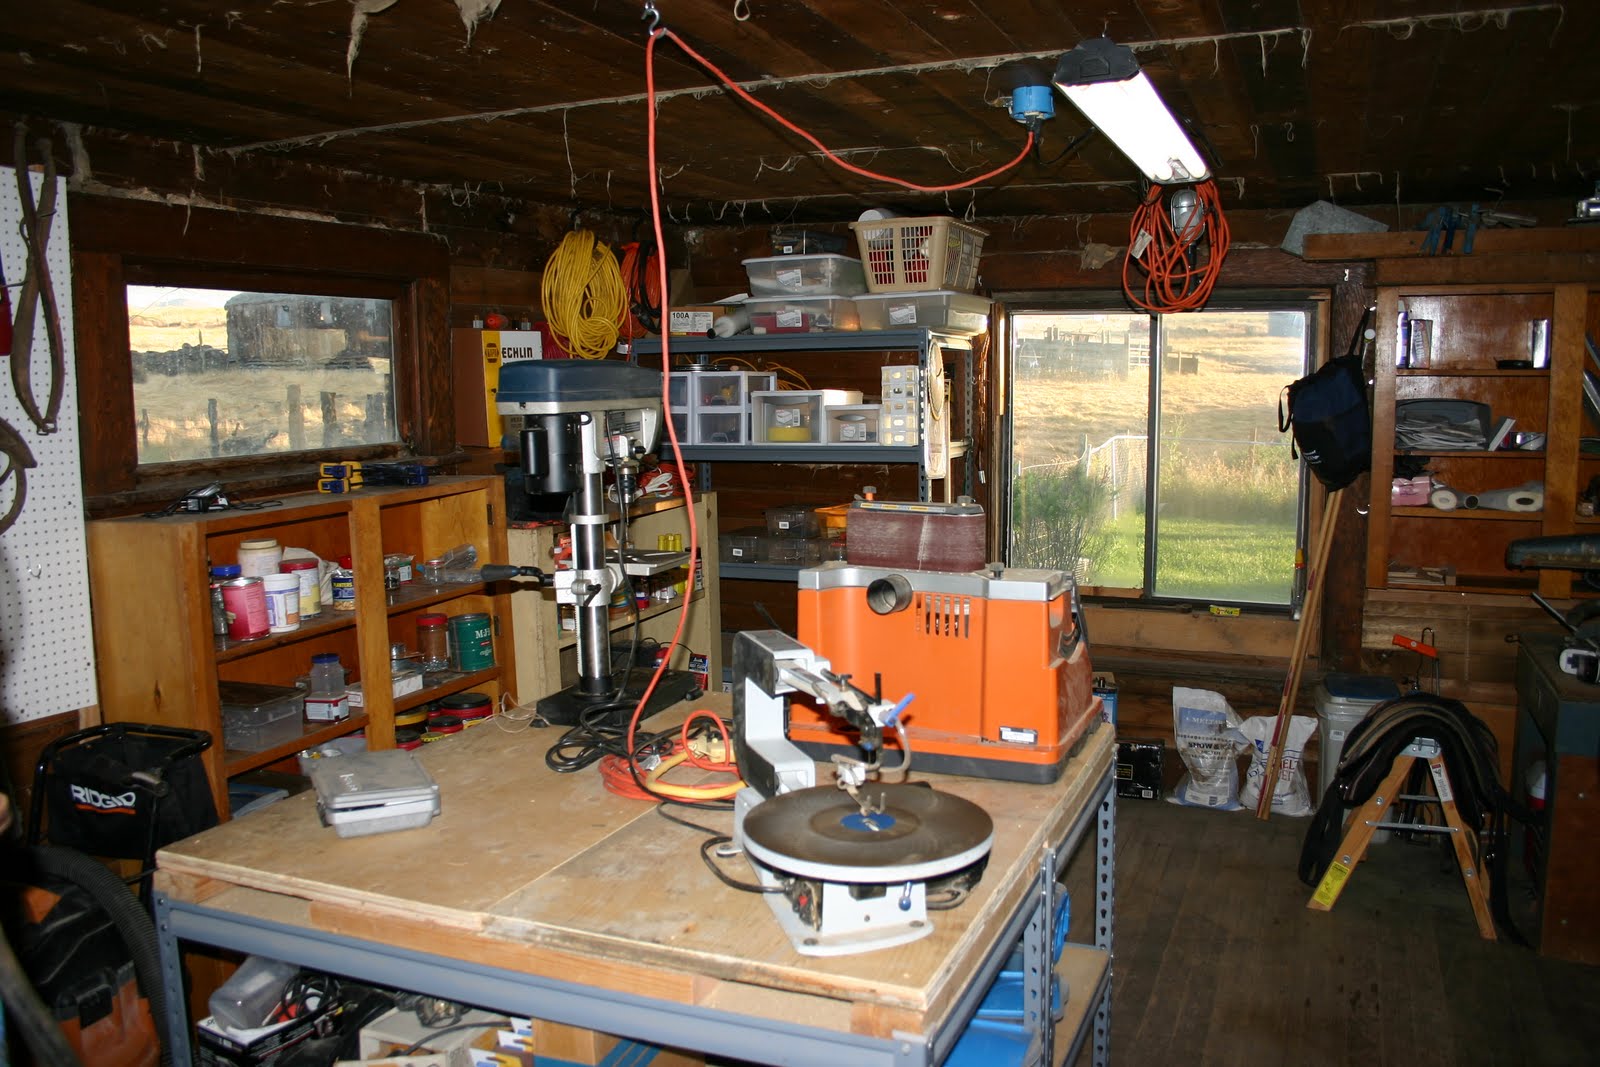
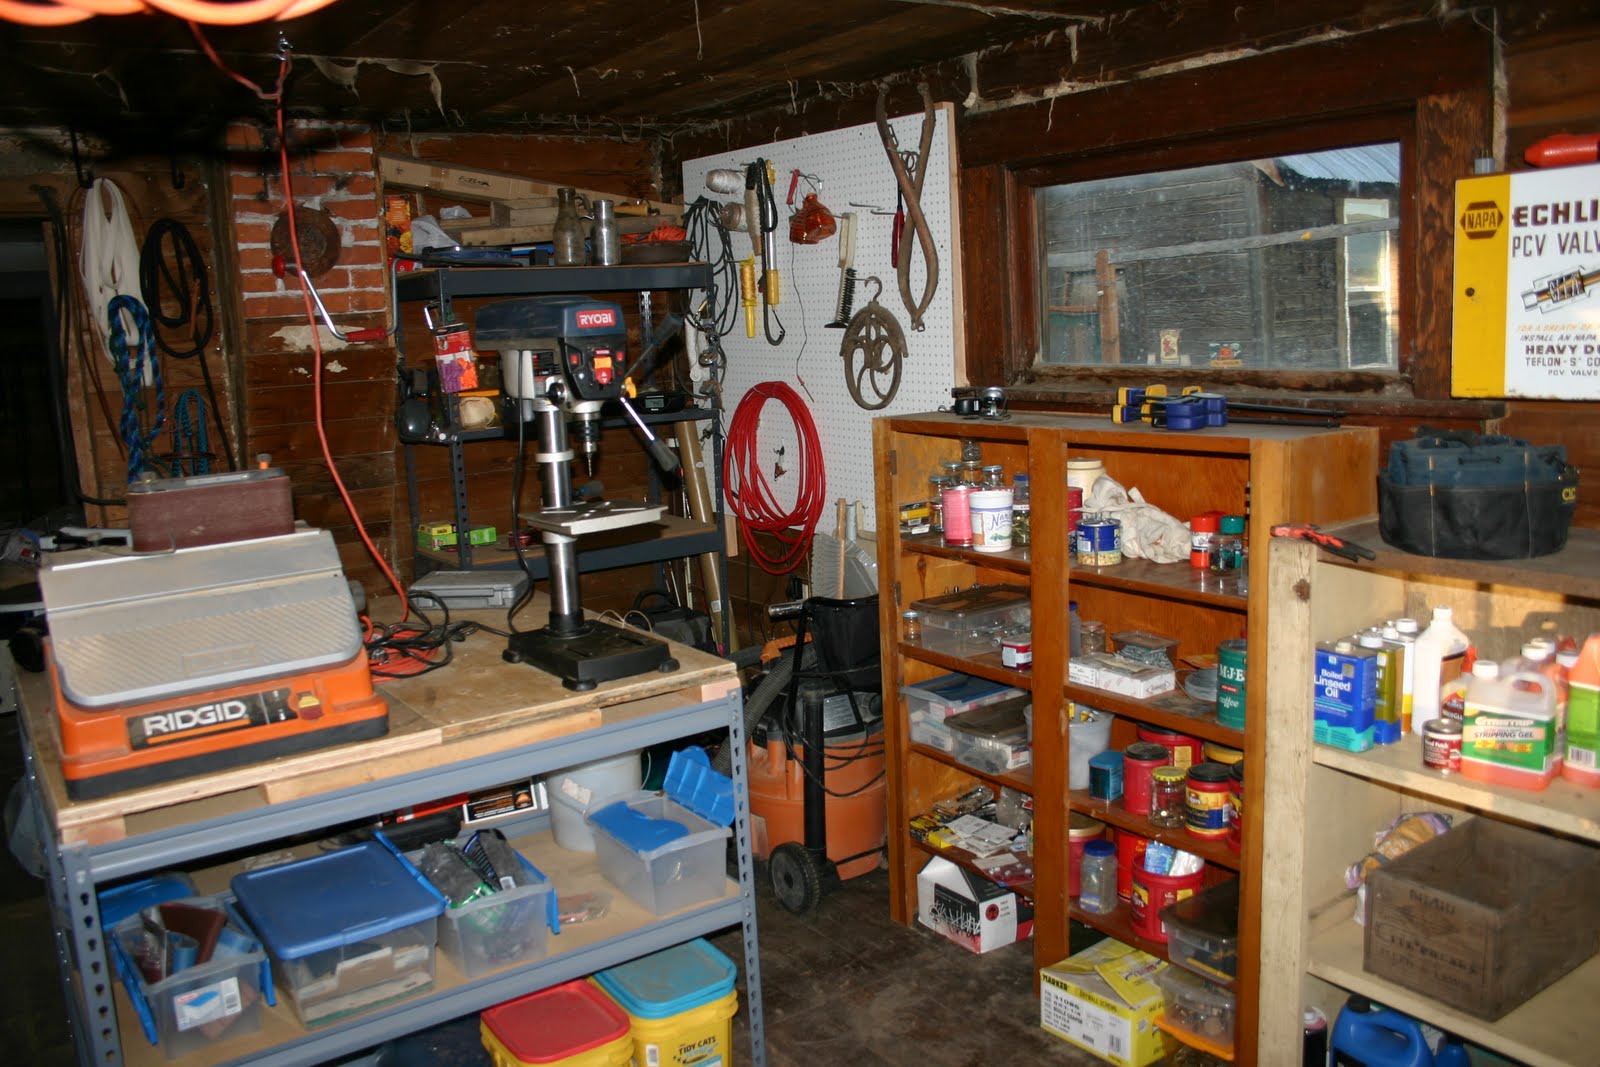
Old house/shop is done and organized! (1 of 3 rooms)

Looking in from the second room doorway.  


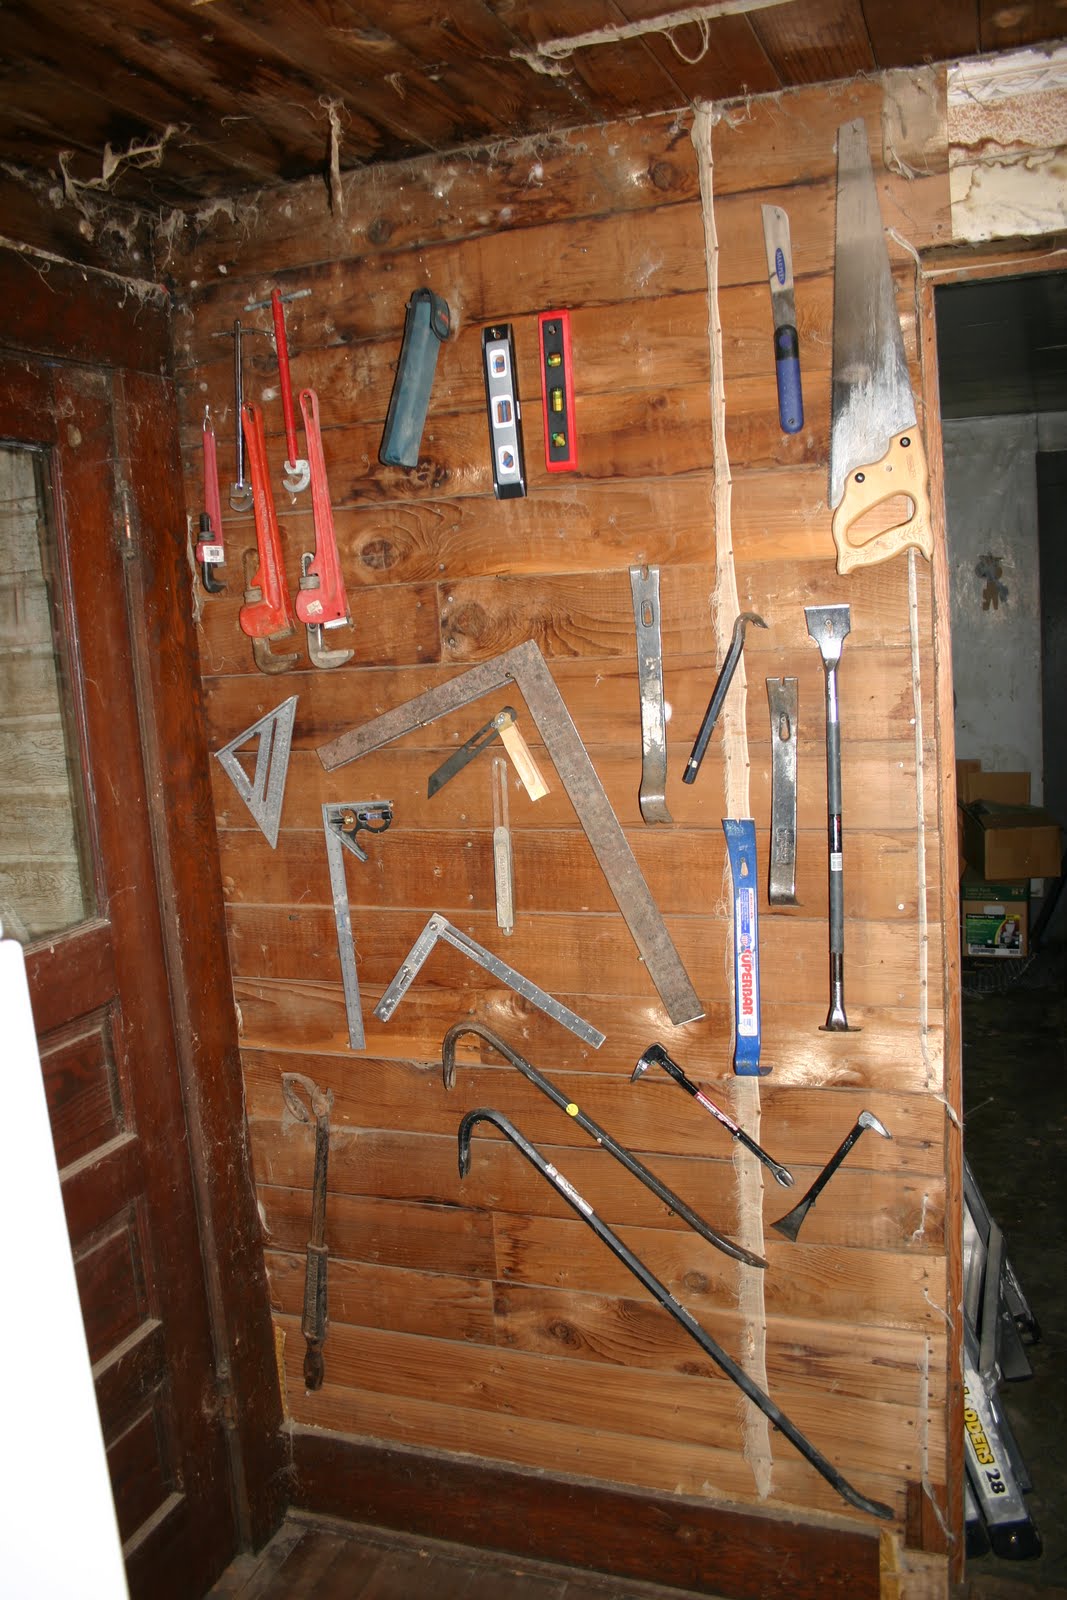
I had a great day today.  I finished cleaning and organizing the old house!  All my tools are in one place and organized.  I ended up with one pencil, two rotozips, three step ladders, four palm sanders, five plumbing wrenches, six bottles of citrus finish remover, seven pair of gloves, eight functioning extension cords, nine crowbars of various sizes, ten rolls of sand paper for the belt sander, eleven tape measures and thirty screwdrivers.  There was no question that this should have been done sooner.  Now that it is done I just need to keep everything going back to its place after getting used it should be easier now that it actually has a home.  I even have some left over empty shelf space and empty storage containers.  I did not pull some of the nuts and bolts from the other rooms into this room.  I will save that for when I clean out those rooms in preparation for setting up the wood shop.  This may even happen this year. 
Looking from the window back in to the room.  A lot more
light after I moved all the boxes out of the side window. 

As an added bonus to cleaning and setting up the old house, I had to remove all my tools from other various locations.  Sarah and I took all the giveaway items out to the local fruit/antique shop.  She has a very large yard sale yearly and we always contribute to it.  The stuff gets used by people that need it.  Plus, she takes everything.  We ended up cleaning out the upstairs bathroom.  It has some wood in it but that is about one hour of work to remove it.  I had an incredible brainstorm today also.  We have a huge bowl shaped light over the landing of the stairs.  It is three feet in diameter and five feet tall.  It is mounted on an eighteen foot ceiling.  I want to get it working but I have been trying to figure out how I would vacuum out the bugs and dust every year, not to mention changing out a light bulb.  I am going to put an access panel in our upstairs bathroom!  You would just open a cupboard upstairs and it would open a panel in the stair upper wall that would allow you to reach over and change the light bulbs and vacuum out the light.  There will be a white frame box showing on the wall, but it is the closest wall and not as noticeable it will also be the same color as the walls.  I love this idea. 
Looking toward our house from the corner of the room.  Eventually,
we are going to add a deep freeze to this space.

Sarah and I also emptied off the breeze porch.  It still has some lumber on it but another hour and it will be emptied.  I obviously need to make a spot out in the old wood shed for some lumber.  The biggest obstacle to cleaning out one side of the old house is all the 2x6s for the attic are stashed there.  So add in completing the attic floor to the needs to be done list.  I need to wire the attic so I can have a light up there this fall.  No power up there now but one outlet I slaved in to Sarah’s bedroom light.  We were trying different antennas and one of them had a booster that needed power so I improvised. 
Wall of tools, destructive and constructive.

I set up some more help for the bridge weekend, 11 days and counting.  That Friday I have a young man coming to help me set up all the equipment, saw, power cords and sort the lumber so we can hit the ground running on Saturday morning.  I think we are going to install the pressure treated beams that attach both concrete pillars.  We will also run the string markers for the edges of the bridge.  Then on B-day we build!!  Looking forward to finishing this project.   

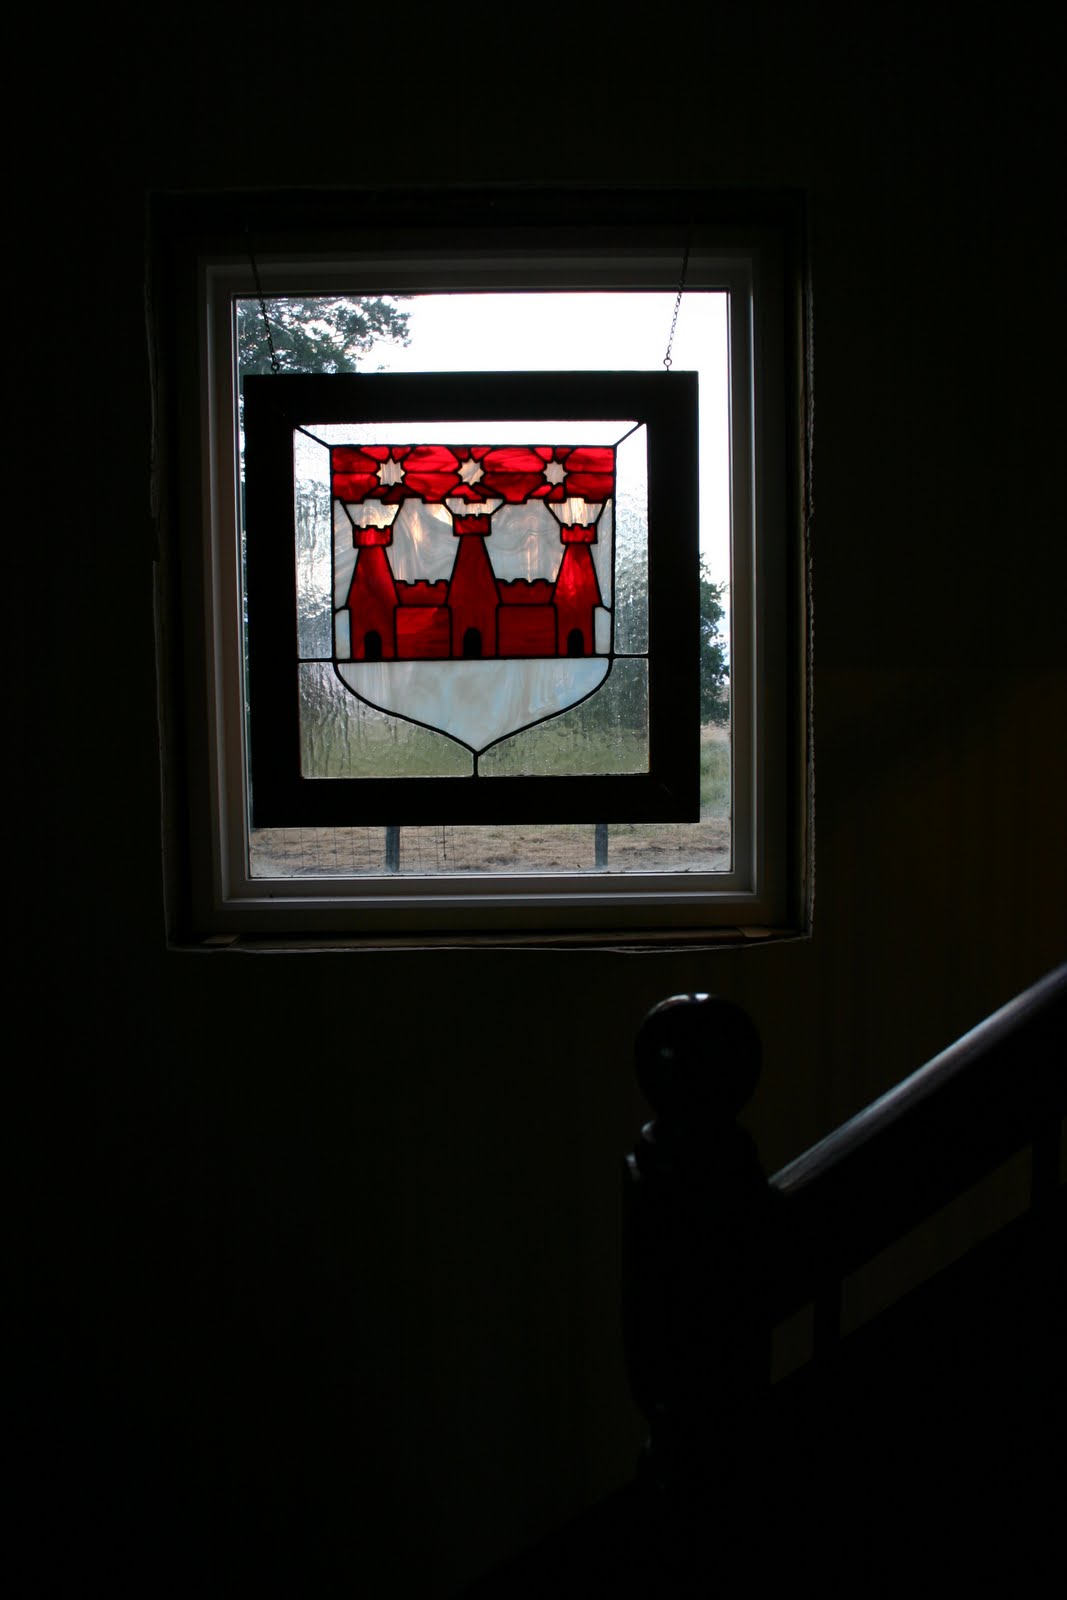
I found it!  I have been searching off and on for over two years for this
stained glass window.  I had it commissioned for Annmarie many years
ago and literally could not find it.  I knew I had put it some where
safe!!  It was in the upstairs bathroom hidden in a back corner.
It took three hours to dig our way into the bathroom.    I hung it
up today for Annmarie.