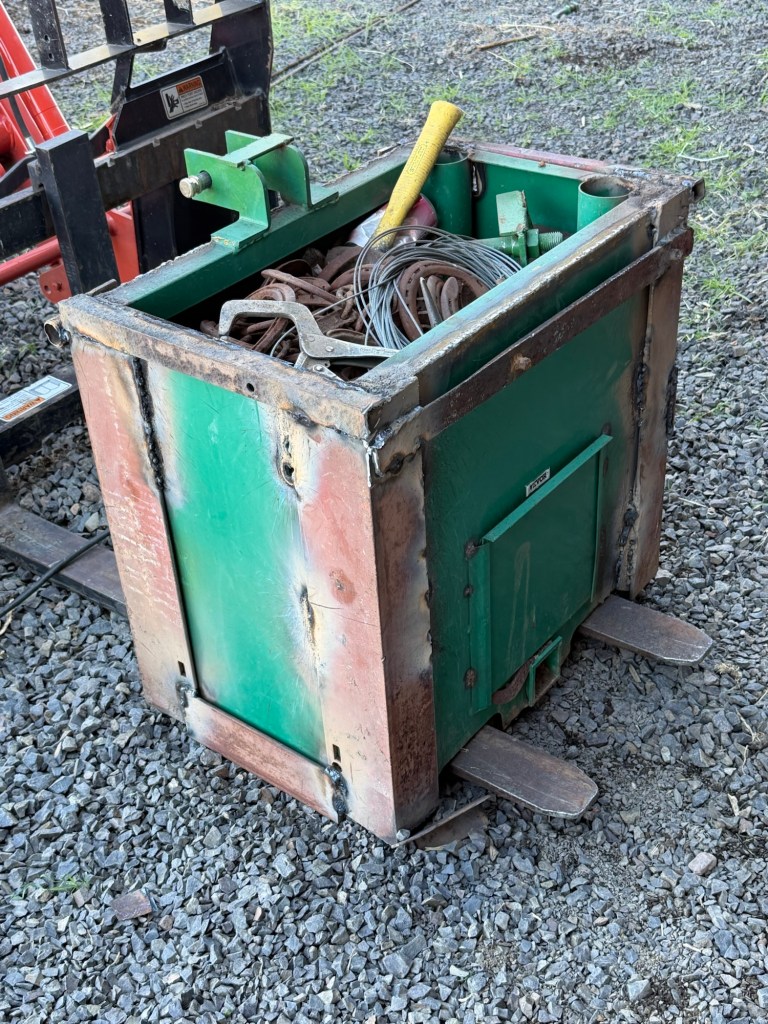
Almost done with tractor counterweight

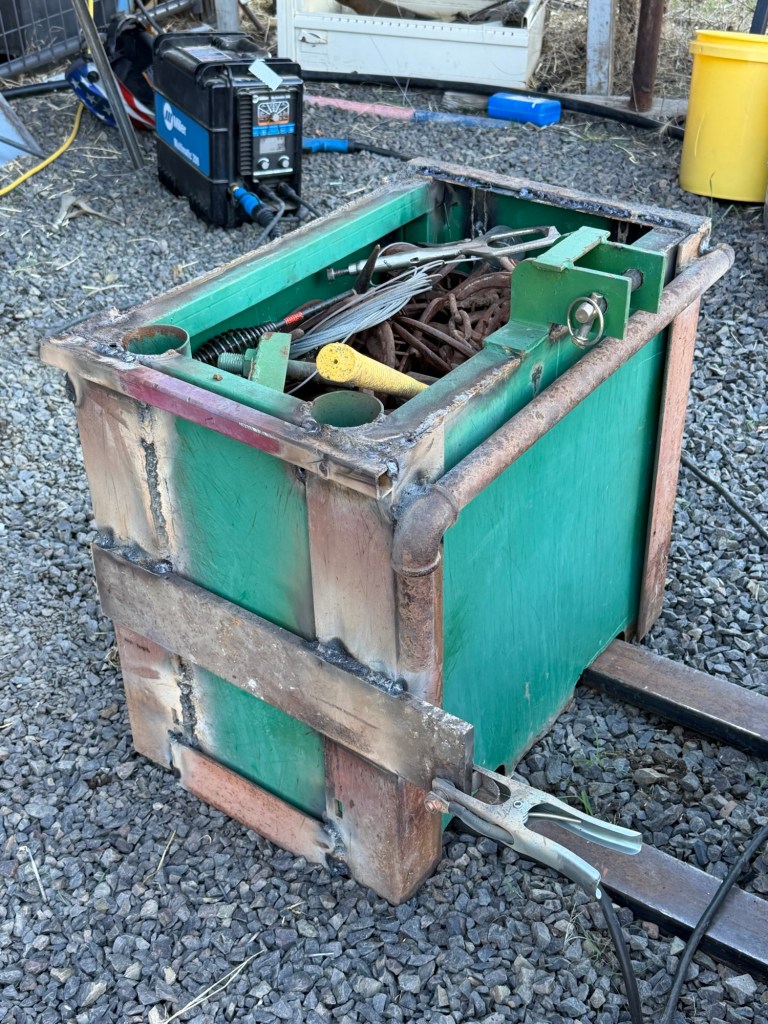
The weight box project continues to be painful. I have flopped between the wire welder and the stick welder. The wire is great for the light duty sheet metal welding and the stick is great when doing heavy pieces of metal. I am just pulling scrap out of the machine shop that I have accumulated over the years at various auctions or yard sales. Plus I keep digging around in the scrap pile for various other pieces. Honestly, it doesn’t matter what the thing looks like when I am done it just needs to not fall apart from getting bounced around on the back of the tractor. The corner pieces are made out of 3/8” thick angle iron and the two cross pieces that need holes drilled in them for the 3 point attachments are 1/2” thick and 4” wide. I do not believe that those will be bending from a little bouncing around. The rest of it is just assorted pieces of scrap that I found laying around on the ground in my work area.
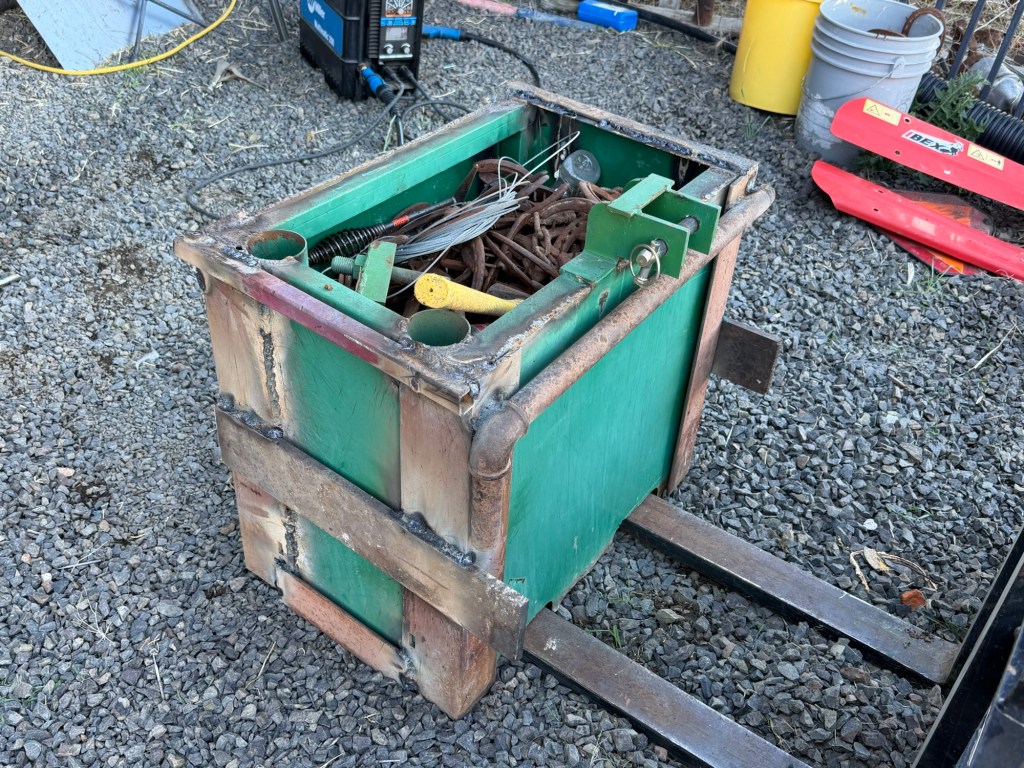
I do plan on hitting it with a wire wheel when I am all done so that I can spray some paint over the entire project. I had to switch out tractors to hold the weight up in the air while I am working on it. At one point the little tractor started to tip over onto its side! I had to grab a hold of the tractor side and hurry to the controls to let the front end down. If I had a counterweight on it there would have been no issues! So I switched over the forks to the bigger tractor and I can now lift this weight up to waist height without worrying that it will tip the tractor over on its side.
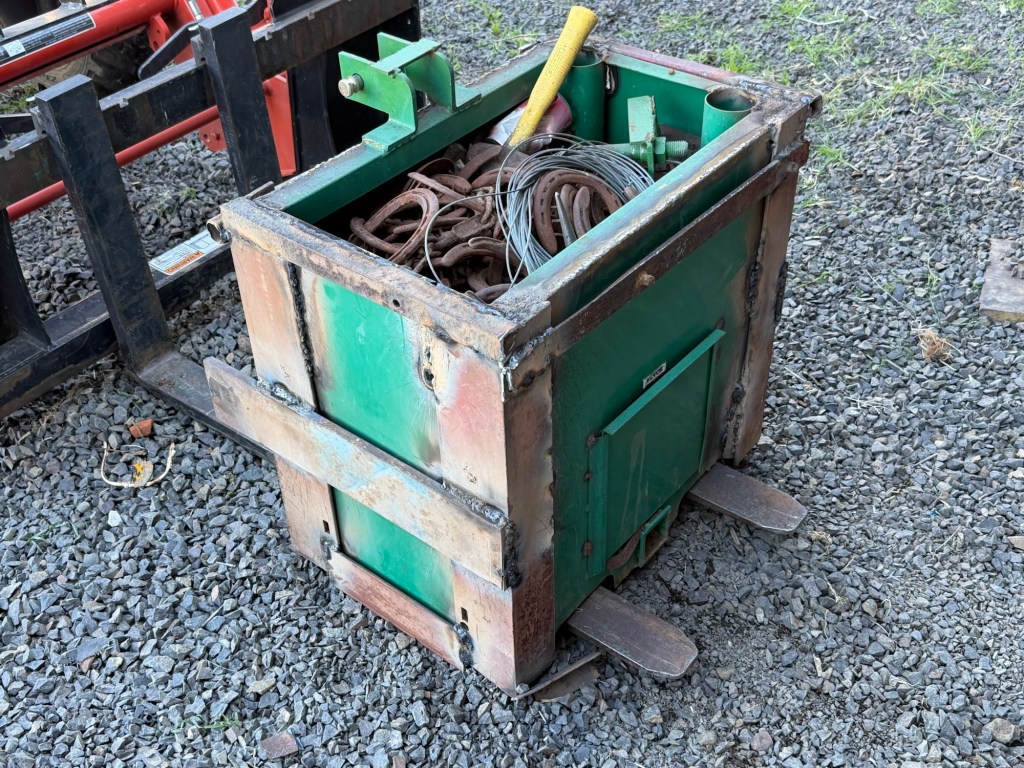
I am not sure that I have a metal drill bit that will go up to size 1”. I am going to have to dig around in the tools and see if there is something like that out there. I honestly don’t know between donated tools and auction tools I may have one.

I dug around today and fount 1/4” bit and was able to drill both sides of the counterweight. Then I went up to 1/2” bit and was only able to drill out one side and got about 2/3 through the other one. I had a 1” bit but it would not go through. I ordered some hardened bits in graduated sizes so I could get to the 7/8” hole I need for the three point lower pins. I had some brand new pins so I don’t have to reuse the abused and bent ones. Now I will just need to wait for them to arrive this next week.

I did work on my rifle holder supports for the tractor. I need something that can take the abuse of constantly getting beat around and vibrating all of the time. Commercial gun holders are just not built that way. I cut and bent some angle iron and then worked on trying to fill weld the parts were I bent the U shape into the angle iron.
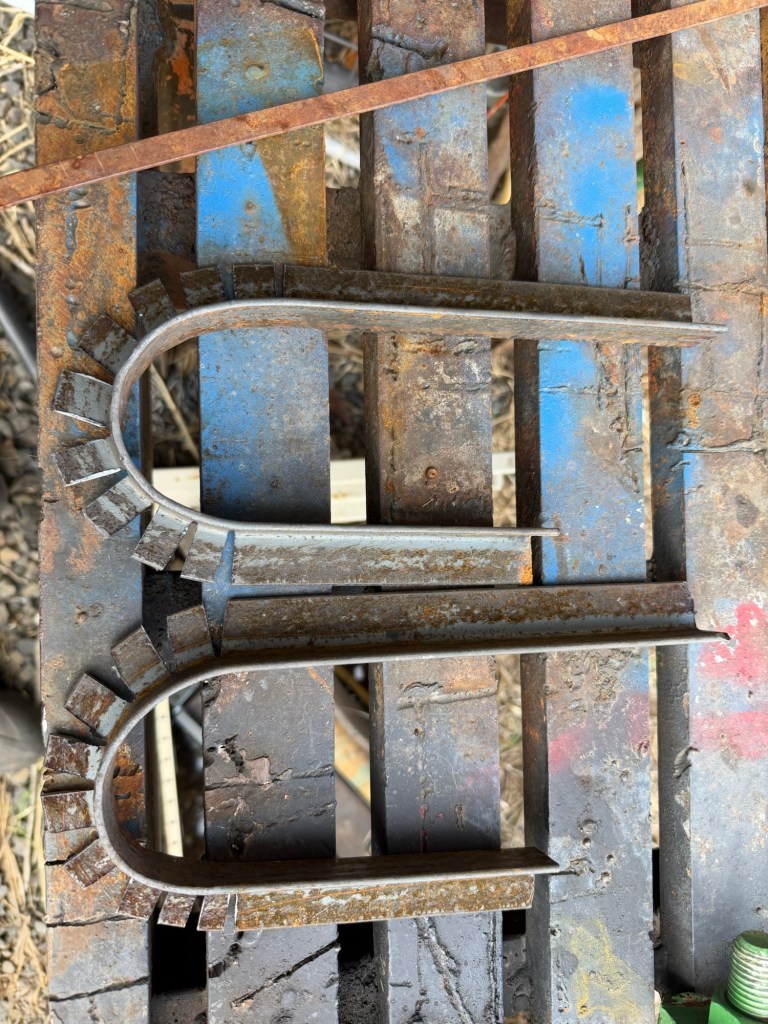
The U shaped pieces would not just fill in with the stick welder. I was only able to get about 50% of the metal back together. But I tried to spread these U-shapes apart after I did get them welded and I was unable to do it. They are solid. I need to get some pipe insulation now to go over these supports and then I just have to mark and drill a hole and I can bolt them back onto the support bar I already have installed on the tractor. I do not believe these will break and I made the high so there is no cross piece necessary. I do not believe the gun will bounce out of the arms now because they are so deep.
Greenhouse project started

Friday was a solid day on the farm. Mr Rainman came out to help this weekend and we were able to work on the base of the greenhouse. This took about three hours to level and set. We filled the middle with gravel and there are four earth anchors screwed into the ground almost three feet. I tried to find bolts anywhere on the farm that were long enough to go through the anchor and into the frame. No go, I had to run to town to get four eight inch 1/2” bolts with washer and nut cost $6/each! We were going to turn the greenhouse more toward the South but due to trying to protect the door from wind we went with this orientation. The greenhouse door will be on the old house side of this foundation. It was time to get the greenhouse up as we have had it in a box for several years.

Once we had that base done, we started to haul dirt to cover the culvert crossing. The dirt has been flushed away several years ago and I had not corrected it yet. So we hauled over a few yards of dirt and flattened it out with the tractors. This should make the crossing much easier now.

Mr Rainman drove out a large bale of hay out to the momma cows. We still have the last calves in the orchard. They still hide as far from us as they can in the orchard. They do walk around even if we are outside but they are still crazy.

I decided to work on the tractor gun mount. Mr Rainman pointed out that the tractor had two bolts on the roll bar and I could just bolt the support up instead of welding it to the bucket arms. It was going to be in the way visually if I mounted it to bucket arms. It was a great idea so I went with it. I cut the channel iron to the correct length, then proceeded to clean up the metal with a grinder.

As I was grinding on the rifle rack my wire wheel kicked back and sucked up my pants! I let off the trigger as soon as I realized it but the damage was done to my pants. I ended up with a couple of small superficial scratches from the wheel. Pretty good.

I painted it, then mounted eyebolts on the ends. I figured I am always trying to hang more stuff off the tractor since I don’t have a tool box that is very big and the eye hooks will let me hang a bag or just clip stuff onto the rack. I mounted the locking arms and then tried to bolt it onto the tractor. I was off by 1/4” on one of my holes and had to scoot the hole over. This is much harder in a piece of steel than it is in wood! I got it all done and now just need to use a piece of closed cell foam cut to the barrel shape to keep the front of the rifle from bouncing around. I ordered non lubricated condoms so I can cover the barrel opening with a condom and a rubber band. I am ready for predators now! I might have to put in some practice since I only get one shot! I wanted minimal parts and movement that could get mucked up from all of the dust, dirt and rain.

We had some friends bring out 16 laying hens. They are getting out of the chicken raising gig. I had to go out after dark, find them and toss them all into the chicken coop. They were all roosting outside the coop on the fence by the old house. Chickens are not that bright. The nice thing is their chickens are used to people and being handled so they are super tame compared to mine. I hope this does not make them easier food for the predators. We now have 24 hens.