Gazebo moving along

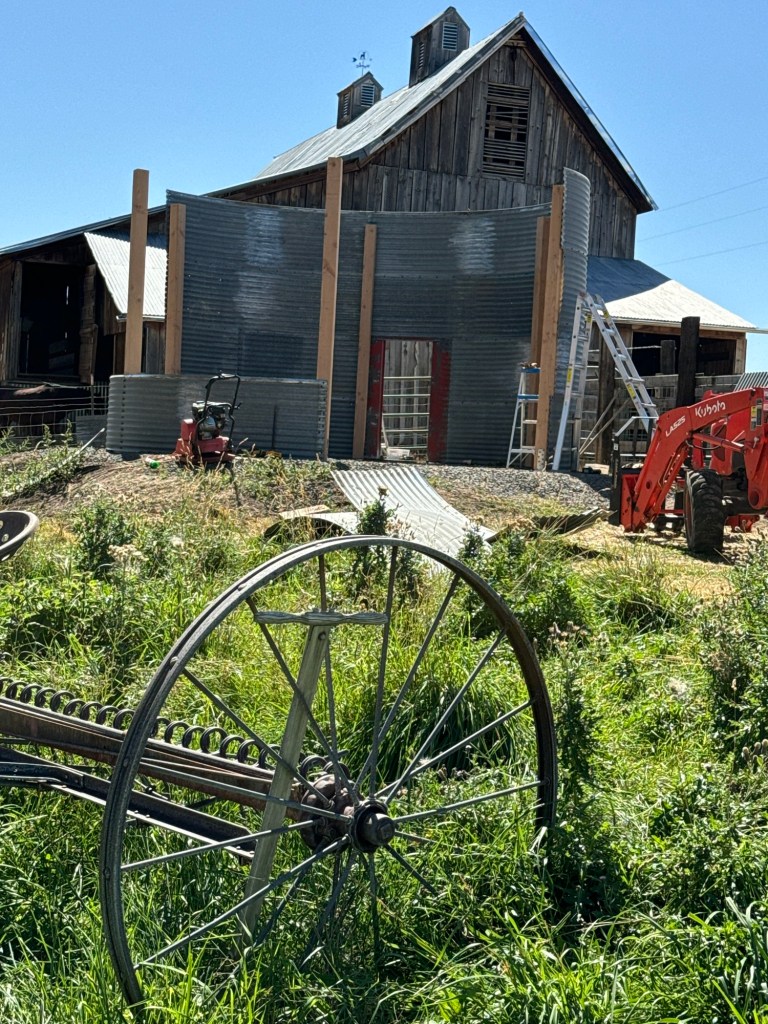
The grain bin gazebo is starting to come together. I as usual did not watch any videos, ask anyone and spent 10 minutes looking at pictures on the internet as a precursor to building said gazebo. The guy I purchased the parts from told me it was the bottom 10 feet of a 20 foot grain bin, he gave me two tubs of bolts and nuts, four floor anchors, a pile of roof anchors, a door, the roof parts and central roof ring. Supposedly the only thing missing was the vent cap for the roof. This was promptly unloaded and ignored for two years.

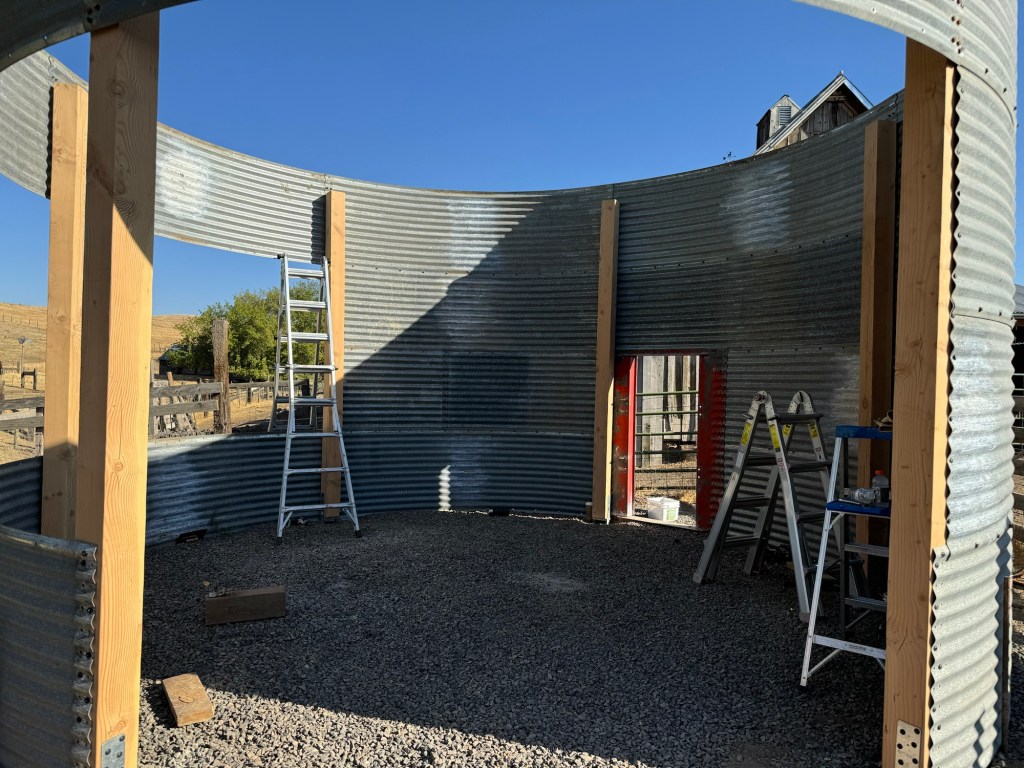
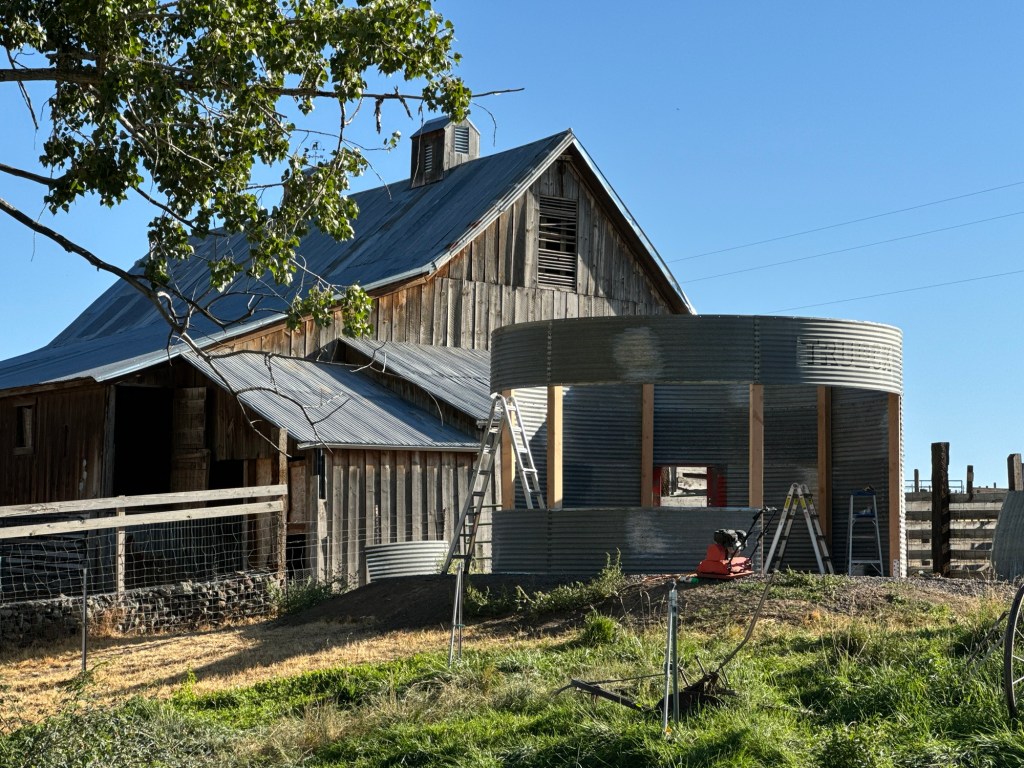
Well, let me say that it is definitely the bottom half due to how heavy the pieces are. We did not get enough pieces to go to ten feet, only eight feet and if we put up a full ring for the roof then you would have hit your head every time you went in and out of the gazebo. We could have cut one of the upper panels but then I was afraid it would weaken the roof. The bottom line was after talking with the boss, wife, we opened up enough of the gazebo to have a full six pieces to go around the entire top and to get the gazebo sides over ten feet into the air. It’s actually about ten feet six inches high now at the walls with the roof I think it will be another 4-5 feet higher.

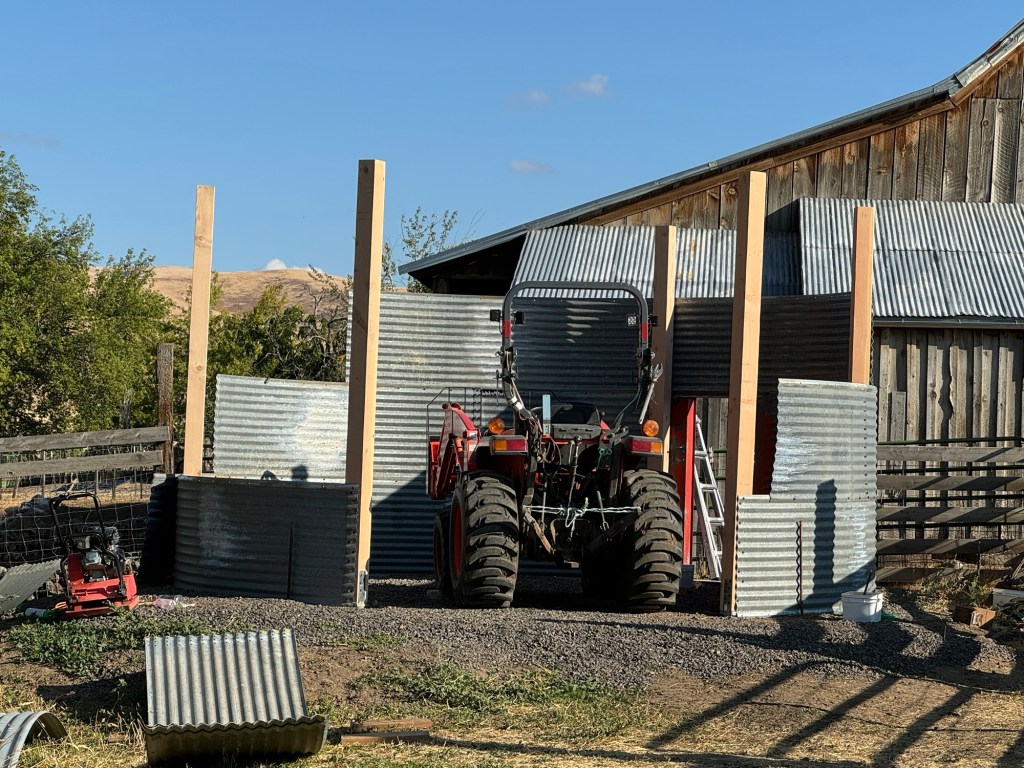
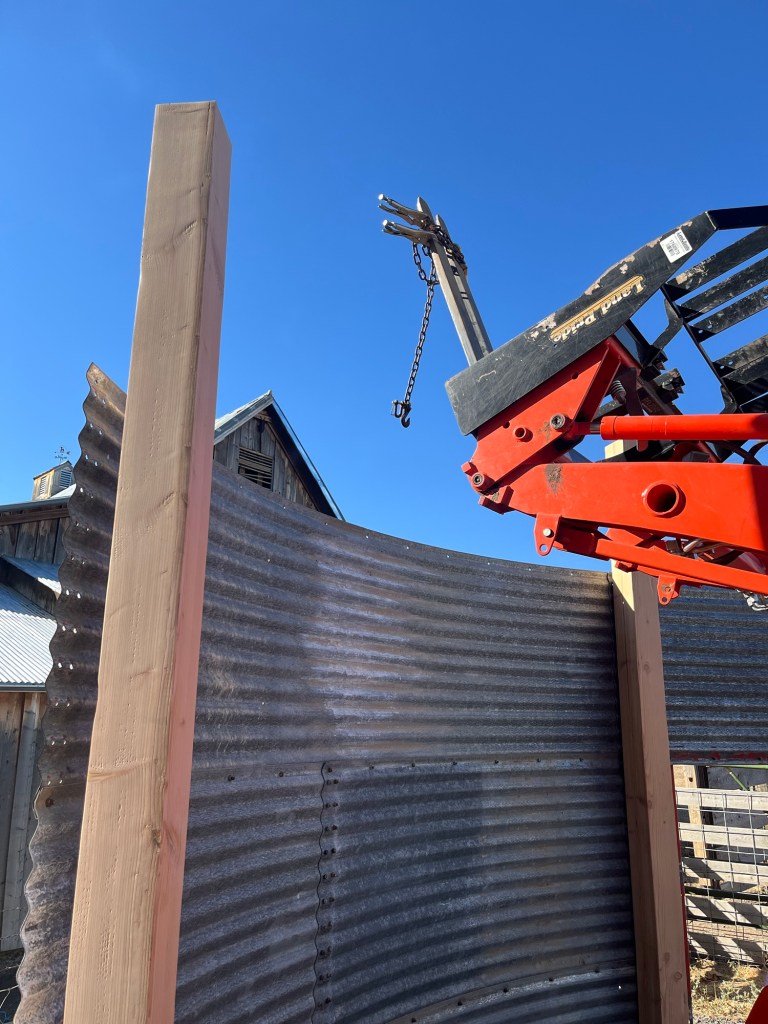
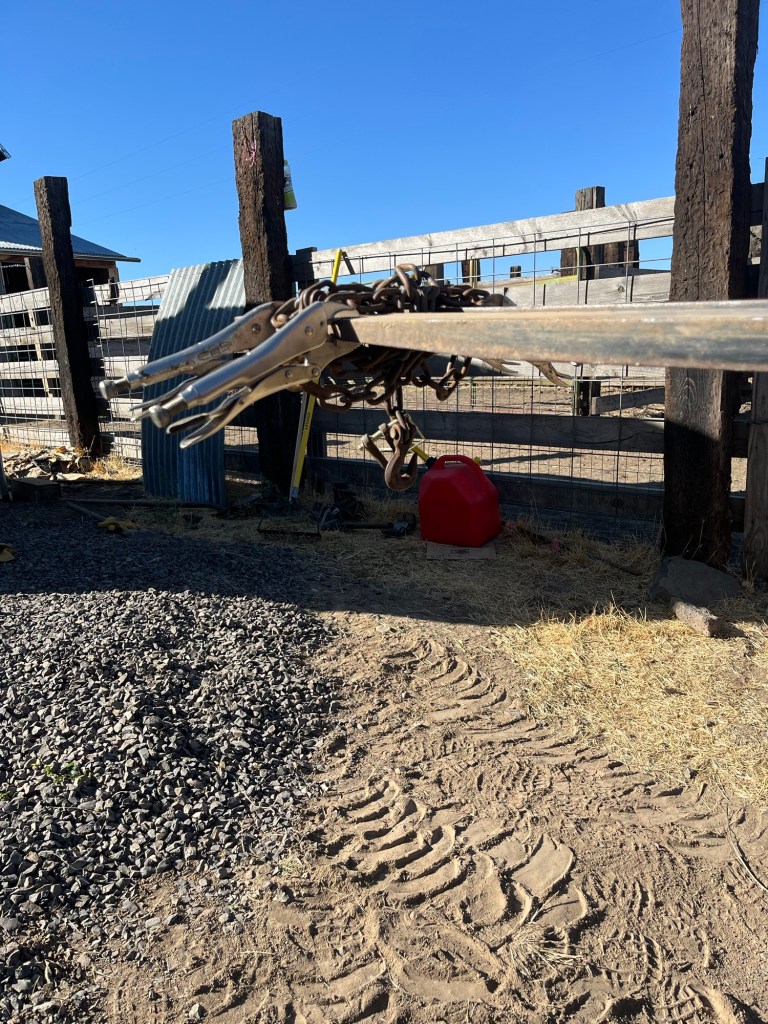
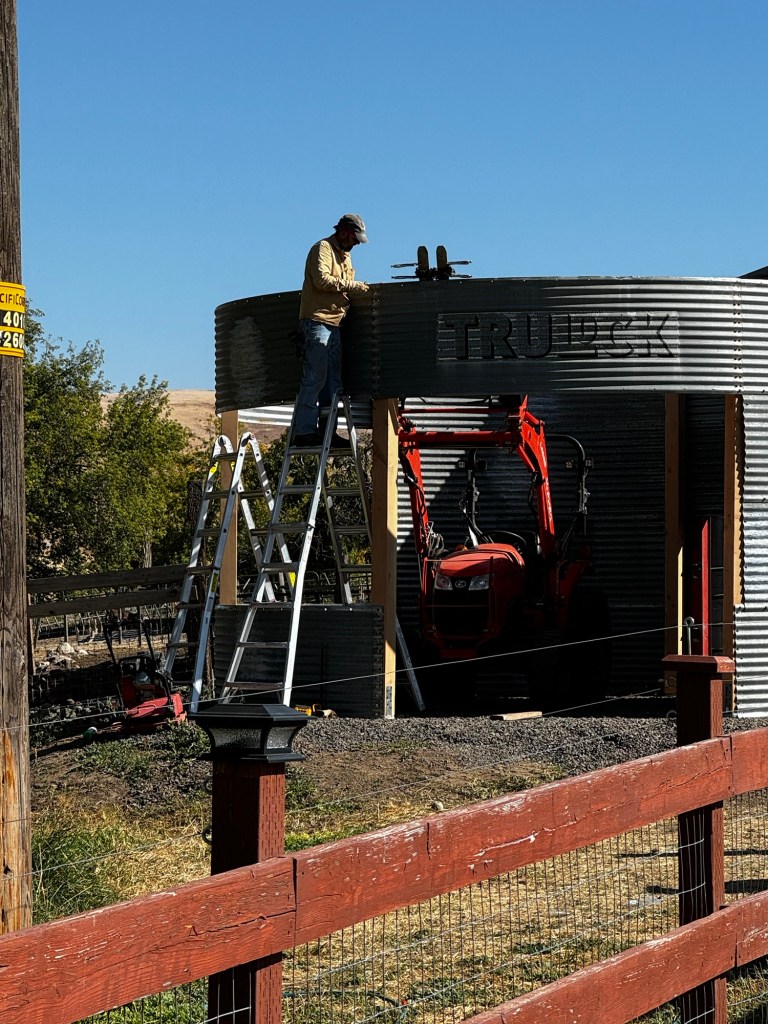
This morning I decided to do a little research on how to put the roof together. Yeah, I was better off not knowing. They used a crane, built the roof and then stood on the ground and proceeded to add a row of panels and lift up the entire grain bin as they built it. No ladders needed! The only drawback for me is that I don’t own a crane. Instead we used the trusty Kubota with the forks on it, a chain and some Vice-grips to hold the chain at the far end of the forks. This worked to get the third and fourth row in place. The fourth row was the worst. We ended up having to drill out three holes that we just could not get lined up, they were off by about 1/8” and the entire rest of the panel was already bolted together.

Mr Rainman came over Friday morning and we got the three panels up on the high back wall. It was a battle to get them bent into shape, another problem with not putting them back on in the exact order they were removed. I put up the last three rings myself with the Kubota being my trusty partner. At no point did I fall. I did tear my finger away from one of my fingernails enough to make it bleed and discovered a metal sliver in my finger this morning. The bolts had to be put on between the panel and the wooden support posts and this was an incredibly tight fit. Putting the posts 1/2” from the metal and then adding bolts meant some of the bolts are touching the posts. This is a good thing when I screwed in the lag bolt anchors.

The trusty Kubota is not going to be able to lift the center ring for the roof. It will only lift something about eight feet into the air. I am going to bolt two ten foot 6×6 posts to the upright frame of the forks resting each one on a fork. But first I am going to get a stout wooden pallet. This will let me put a diagonal support out to the front of the forks. I will then build a small open box with 45 degree supports at the top for the posts. This is where the roof ring will sit. I can then lift it up and get it centered with the tractor and then assemble the roof. I think this will work. No, I am confident this will work!

I just have to figure out how the roof support pieces go onto the sides…

Gazebo is Going to Happen

Mr Rainman came out two days this week and filled the six holes with concrete and a steel 6×6 post anchor. We spent a couple of hours on Friday getting the next three panels up on the gazebo. Annmarie and I have had ten plus discussions on how the gazebo should be assembled. Every time I think I have the design down I am learning that that is incorrect. We “discussed” it again yesterday and I have seen the vision. So this weekend I will be working on getting the posts installed so that the next row can be installed. I am sure I understand now, I will let you know in a couple of weeks. I need to swing by the scrap metal yard next week to have them keep an eye out for a new roof cap. I am missing the vent cap for the gazebo.

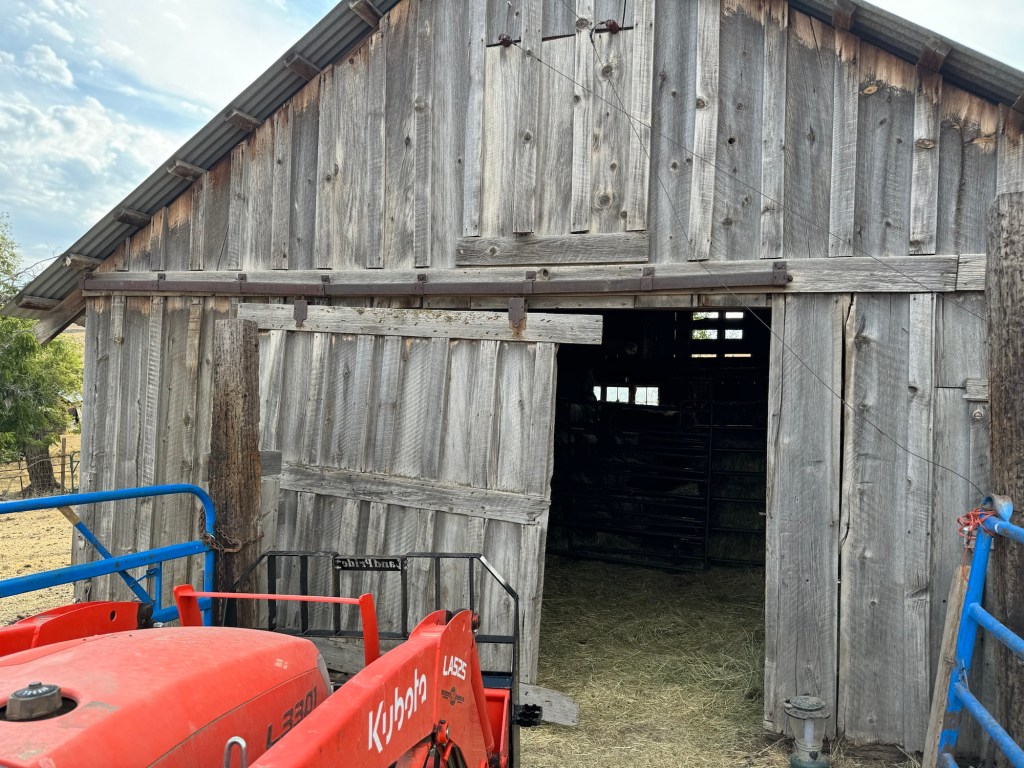
We were supposed to work on the gazebo all morning but I needed to empty out part of the old lamb shed so that panels could be installed so the mommas/babies had a place to get out of the weather/sun. We had to move a bunch of round and square bales out of the way first. The square bales kept trying to fall apart. Once we had the area cleaned out we installed some temporary horse panels. I was able to get one of the old wooden jugs cleaned out and ready in case we need it. There is a metal gate in front of the entrance because I had hit the overhead rail with the tractor roll bar a couple of years ago denting it so that the gate could not be closed. In a moment of brilliance I thought we could just get the gate working in a fifteen minutes. Two hours later we had managed to take down the entire rail system and door in pieces. It did not want to come down easily. Once we had it down it amounts to a lot more work to get it back up and operational. The header board needs replaced outside, and a second board installed inside so that real bolts can be used instead of large wood lag bolts. I need to buy two different sizes of bolts as they used two different hole sized holders. Plus, I need new rollers, these are so shot that they are bouncing around the inside of each wheel and can move around an inch. Which is why it’s so hard to shut the door. This is going to have to be a later project.

We have been watching “Baa Baa” the ewe we took back as her family is moving away. We left her collar on so she is easy to spot in the herd. She is still overweight but is looking better after a few months grazing on sparse feed and running all over the farm. She is still very friendly.

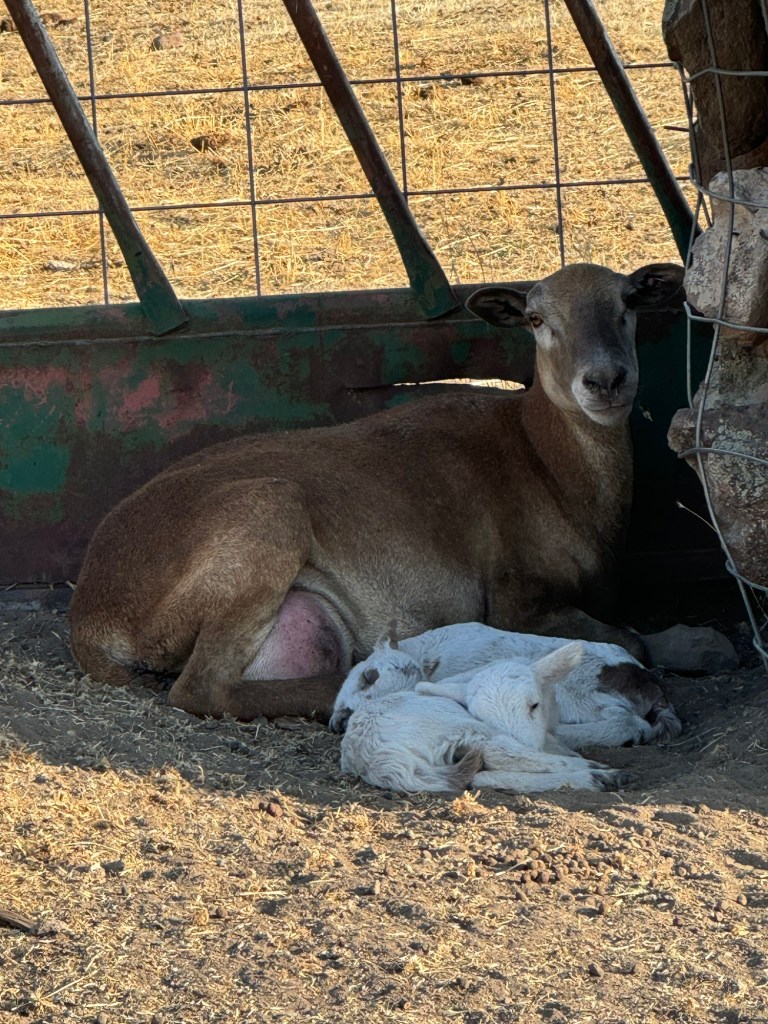
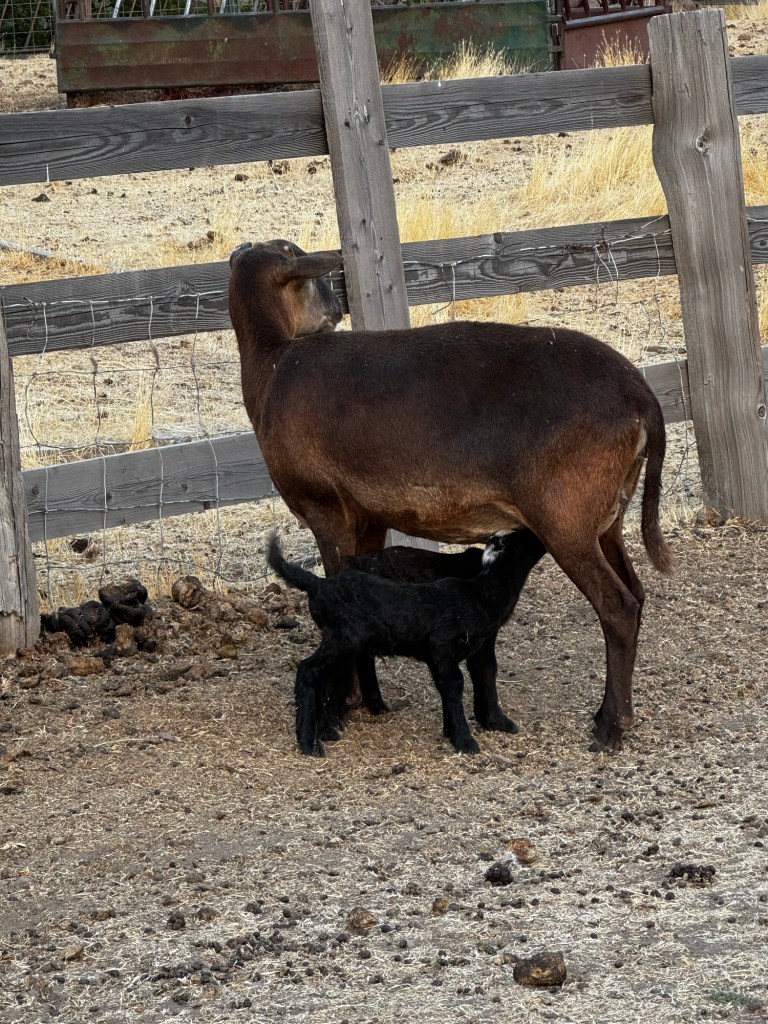
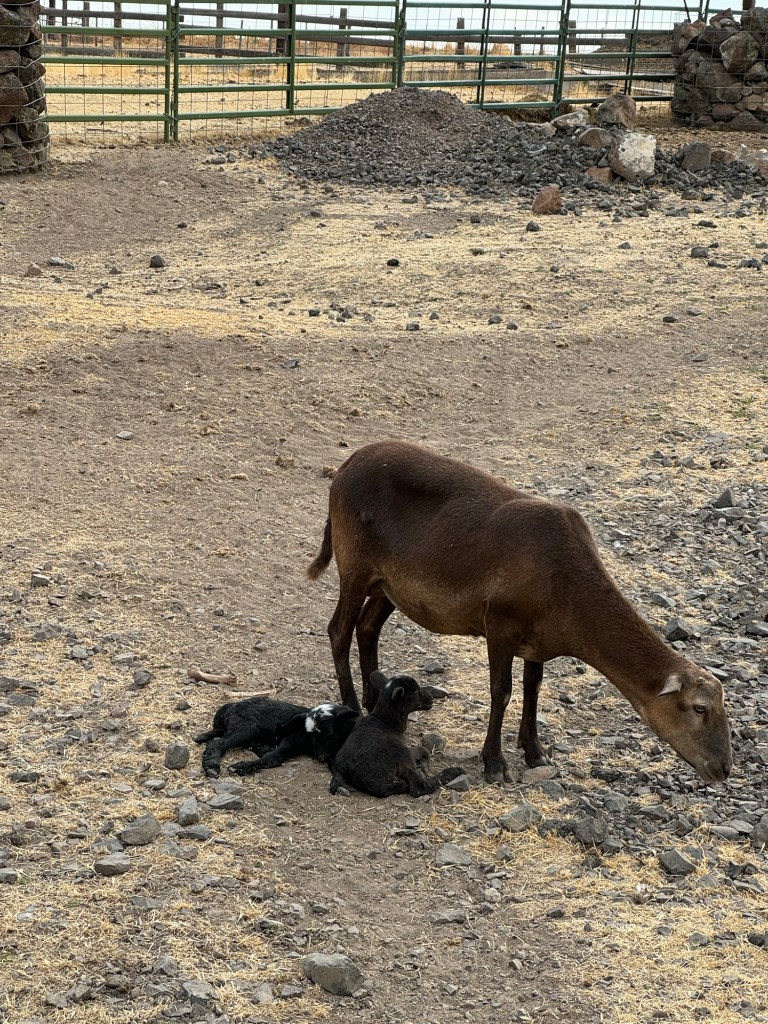
We have had four ewes give birth, two sets of twins and two singles. We had to bummer off one of the white twins two nights ago. It refused to get up and was limp. We brought it inside, warmed it up and fed it and then gave it to Tisha to raise. If it’s going to make it she is the reason. Unfortunately, when we went out to bring the sheep in last night and look for babies that same mother was standing by the spring hollering. The other baby had jumped into the water and got stuck in the mud and drowned. We are not going to ding her for this loss. We have closed off this alleyway so the sheep cannot get to this area. The main barn lot has 2-3” gravel in the base of the ditch so that it can be driven through. This makes the water only about 1-2” deep and the lambs are safe. Those other twins have been over there more than ten days without any complications. Lambs always find a way to die. I have some leftover large gravel and will be hardening the edge of the water line with it. The lambs won’t go out into the deep water. Every year something comes up. The ditch is lined with concrete blocks behind the barn so there is no mud to contend with for the lambs. The mud build up comes and goes in certain areas and not always the same areas of the ditch.

Gazebo progress

After we sorted cows we worked on getting the 1/4 round trim installed on the porch. I made a mistake and only bought ten pieces 10” trim to cover 78’ of trim. This may sound like a lot of extra but it was going to take one piece for each end (2) and four for each long side (8) for a grand total of no extra pieces! I have never installed 1/4 round overhead before but knew there was going to be something special about it. I cut the first end piece and installed it without any difficulty and went to cut the adjoining 90 degree piece and could not get a match despite cutting it six times! I was trying to cut a 45 degree miter with another 45 degree slant. I had it all so screwed up I could not figure it out. I knew I had to quit guessing or I was going to run out of wood. So we watched a YouTube video. You have to use the wall side against the fence and then cut a 45 degree cut. Once I did this I was able to cut all of the pieces and reuse my short piece to get the trim completed. We had to use the router on the trim to get around a metal connector and on a separate piece two nails stuck in the overhead that cannot be removed. The blue color on the porch ceiling really turned out nice and the blue trim really made it snap! The only thing left is to clean off the porch, scrub it down with cleaner and get the furniture back on the deck.

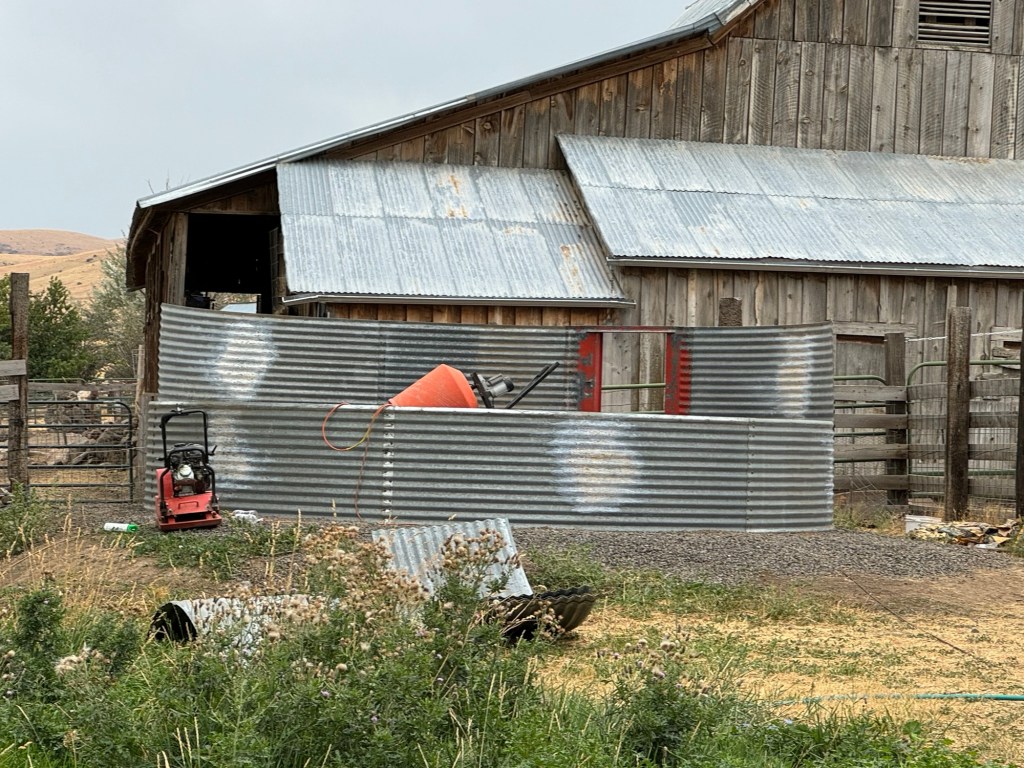
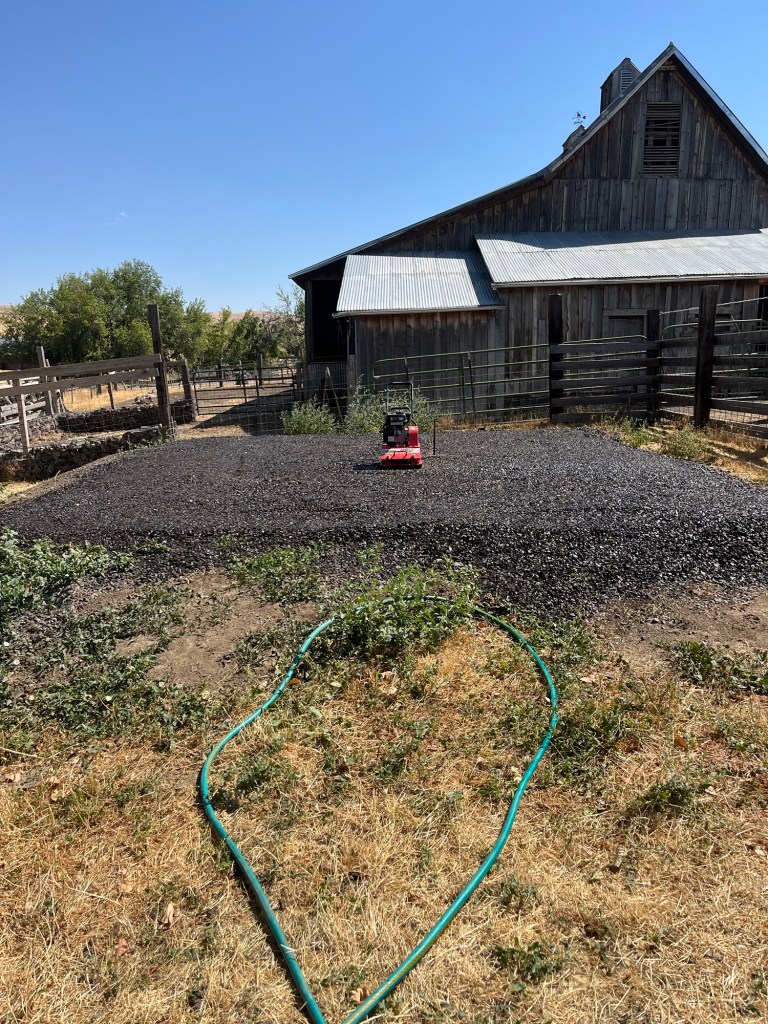
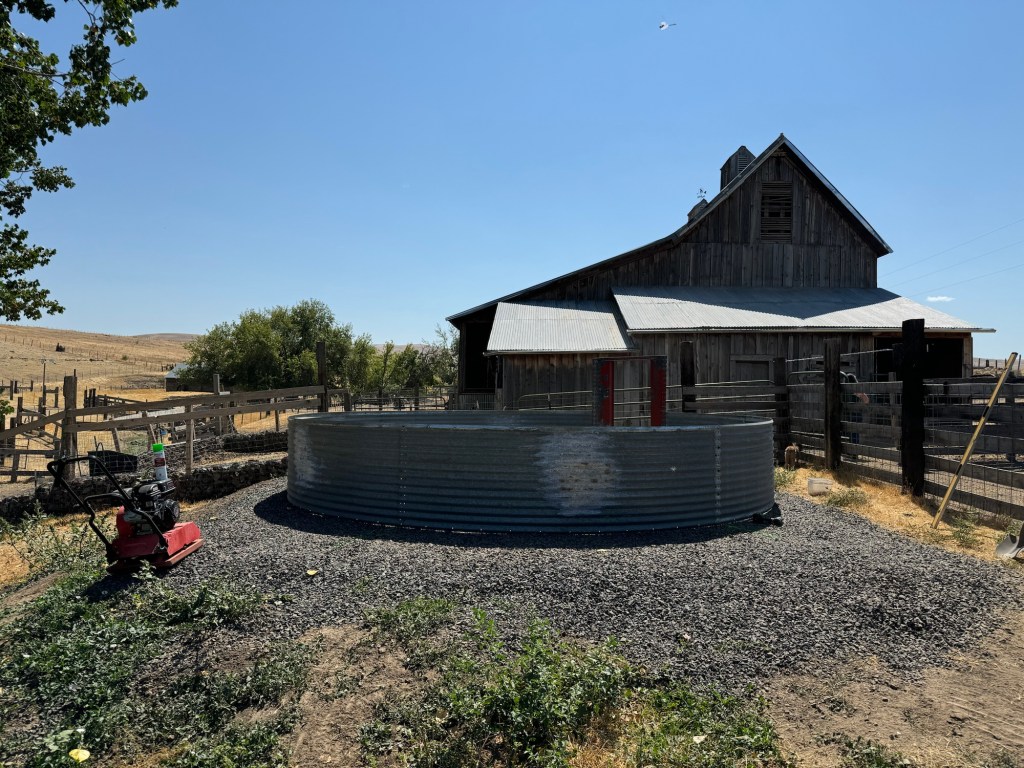
Mr Rainman was able to finally get the dirt/gravel pad all compacted down nicely so we could start figuring out where to place the grain bin/gazebo. I started setting up the first row of walls to get a decent orientation on how it was going to fit. Once I had it bolted together then Annmarie and I went out and we discussed where the support beams would be located and how much of the walls I was going to remove to create an open type building. It turns out that it takes six panels to make a full circle. We are going to take out two panels on one side to create the entrance. They only sent us enough panels to go three high but that is only eight feet high and they told us we had enough panels to go ten feet high. So to compensate we are going to take the four panels from the opening and raise up the other four panels another 32”! This will get us 10’ 8” instead but that will give us enough clearing above the posts to bolt in the ceiling.

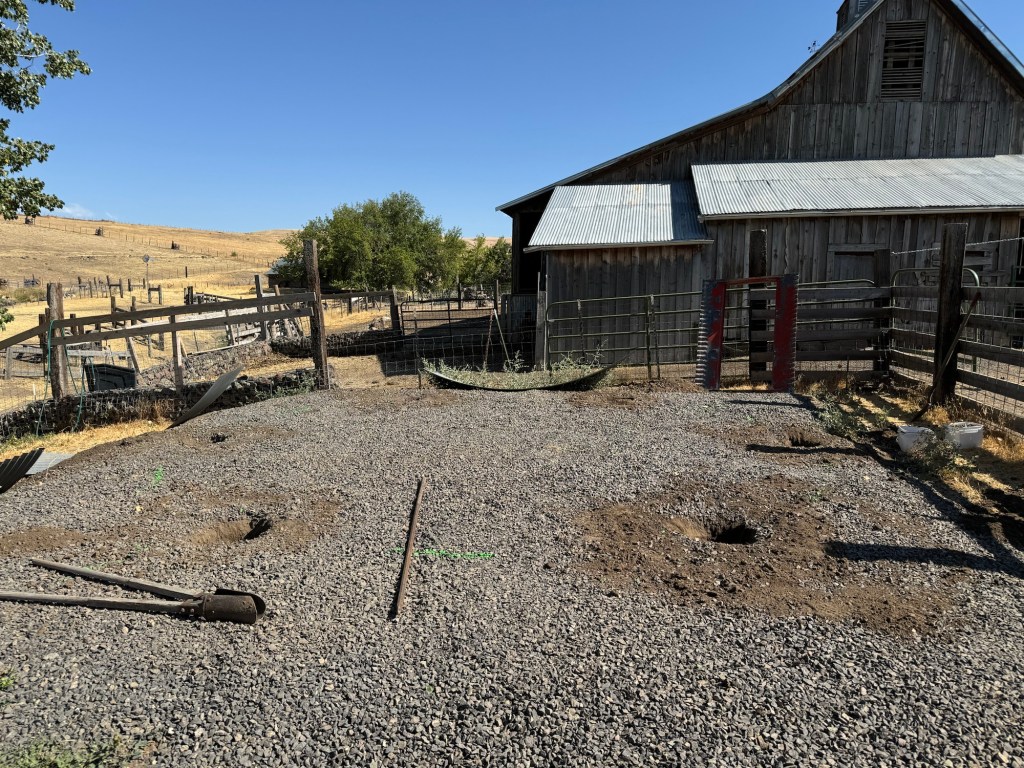
I had to order a case of 4” structural bolts so we could attach the panels to the wooden posts. We are going to install 6×6” posts on steel supports that are embedded in concrete pillars. Each post assembly costs around $100. I thought it was the wood until I looked at the receipt today, the stainless steel supports that go into the concrete are $65/each. Once I had the first ring assembled I marked the post holes and placement with some paint then we took down the walls again. I had converted the little John Deere over to a post hole auger. We drilled a 6” hole first then once all six of those were done we came back over them with the 12” auger. I managed to snap two shear bolts on the 12” auger. We kept hitting buried metal, large rocks and large tree roots.

Tomorrow, Mr Rainman will reassemble the first layer of the gazebo so he can start pouring the concrete piers. Hopefully, he can get all the piers poured but I am unsure if it can be done in a single day.

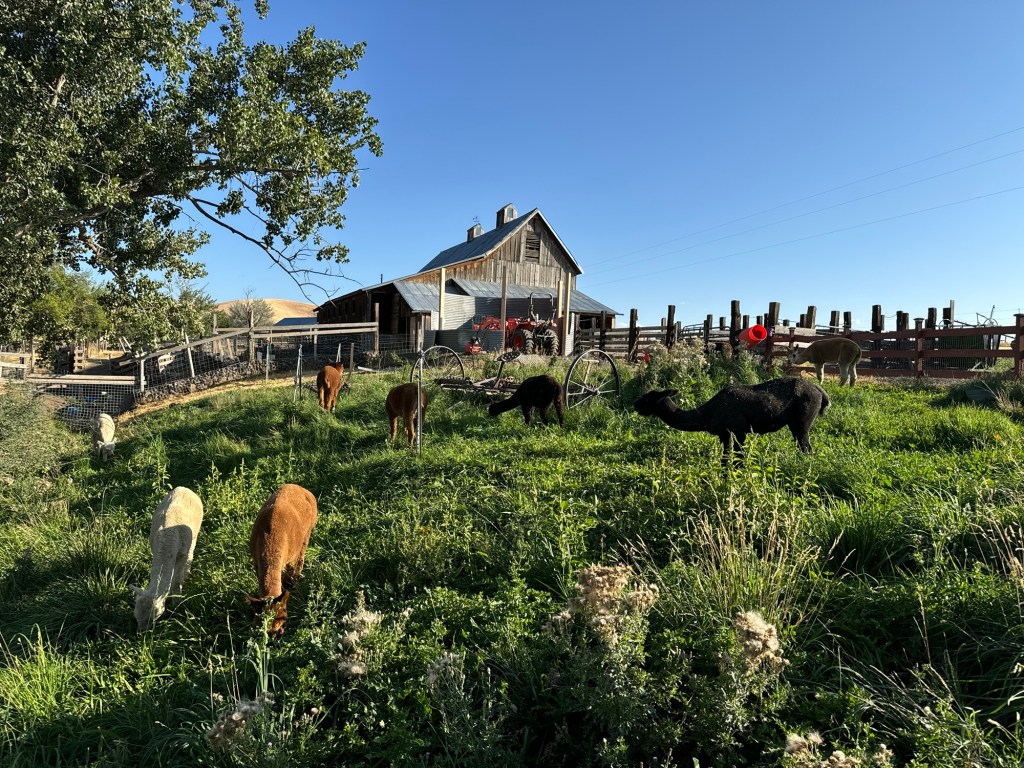
The grass is getting very high on the front hillside. We are going to let the alpaca nibble on it and see if they can make a dent.

Lambing Summer 2024 begins

It has begun the first ewe has had her babies, a set of twins.
This happened four days ago and we have had to go down to the school house every night and push the sheep back up to the barn lot. We need to make sure that no new babies get left down in the lower fields at night. They will be coyote food if they don’t come in. We have isolated the twins and their momma in the back barn lot. She has to be fed every day and the horse has to be fed every day now. This is probably a good thing for the horse as she is not at the old hay pile we just dug out of the barn doing an all you can eat buffet. We had to buy a new water trough for the corral. The horse cannot reach down into the spring directly behind the barn, it’s too steep. The old trough was torn up and leaking. So now we have to water the horse every other day also.

We only kept the rams in with the ewes for two months to limit our lambing length but these twins are pretty small, we think she may have been a couple of weeks early. The bull needs to go in with the momma cows also. That will be this weeks project, to get our other female and one steer in with the bull and the heifers.

Mr Rainman worked on the gazebo pad this last week. Gravel, water and compactor is starting to make a really nice pad. He thinks two more passes and he should have it all leveled out. Then we can put up the lower ring of the grain bin. Once that is in place we will measure and mark out all the spots to drill holes for the concrete pillar footings. I ordered the 6”x6”x10’ posts and concrete anchors on Friday. They will be here this week. Once we have the spots marked we are going to use the tractor to drill the holes. I have enough Sackcrete left over from the back bridge footings to pour these footings. The plan is to get the building up and a roof on it before winter. I still need to get the part that goes over the middle of the roof. They did not sell me that part. I may have to wing it while I look for a replacement.

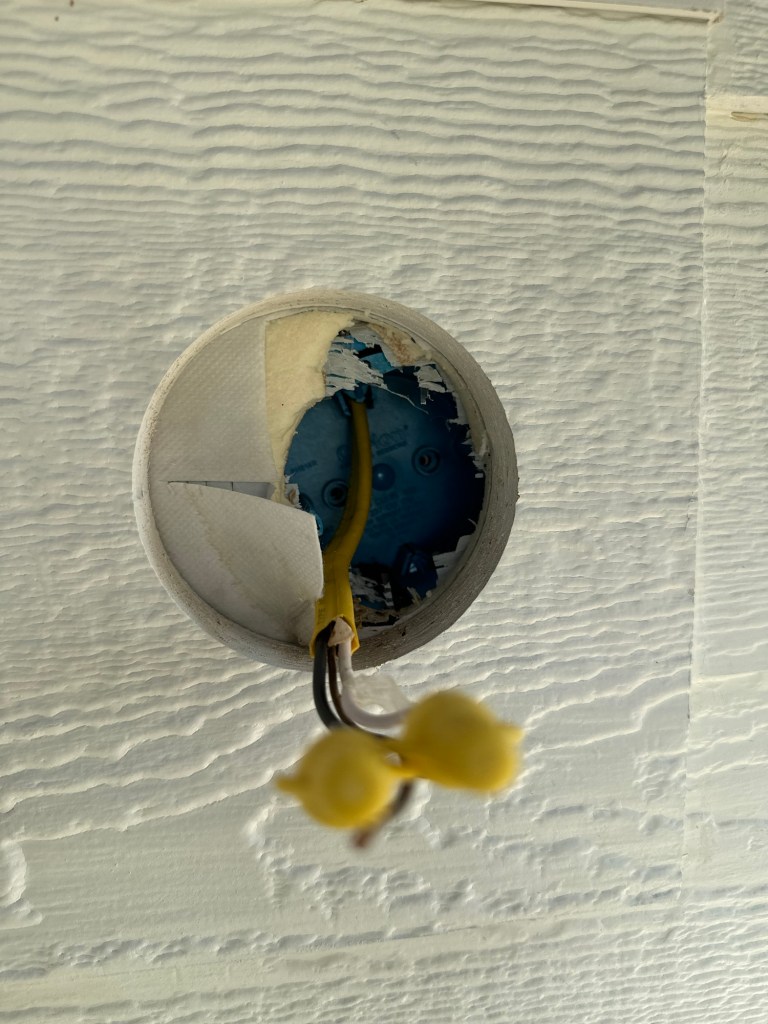
I spent most of the day trying to get the front porch lights installed. I thought it was going to be easy. Nope, I am really unsure why I thought that but I sure did. First, the fancy siding piece was not lined up with the electrical box. Plus the box makes the hole very deep and there needs to be some kind of extender. I went to town twice in an effort to find the correct parts and screws. After five hours on two lousy lights I got them installed. I still managed to break a glass pane. I hid it. The only real problem when I flipped on the power was I had a 50/50 chance of wiring the one light correctly. I did not do it right so now the light is on 100% of the time. I will need to get some wind shock resistant light bulbs and to tear apart the one lamp and wire it to the other black wire.

I did manage to get all of the 1/4 round needed to finish off the porch and the pressure treated boards needed to redo the trumpet vine trellis. The hope is we can get the porch and trellis completed this week and the holes dug and concrete poured for the gazebo.

Farm projects progressing

The siding contractor is done with the siding. We just need our gutter fixed and a screen replaced. Mr Rainman has been working on getting our porch ceiling painted. He used a thick primer to fill in the gaps between the boards. We thought about painting it white but were afraid it would be hard to match our siding. Annmarie remembered the porch ceiling being blue when she was a kid. I had to look up why blue and the reasons vary quite a bit. It was supposed to keep away evil spirits, it represented the sky so it made the porch feel bigger and it repelled bugs. We are going with the first one.

The annual barn clean out has been happening over the last two weekends. Mr Rainman started it by getting a main path dug all the way through the barn (5 hours). I have worked on it two more days a four hour day and a three hour day. We have managed to get most of the barn dug out in 12 hours! This used to take 40-60 hours to do. We started earlier this year and it is really wet still inside the barn, so there are no hard sheets of dried stuff. It is scrap-able with the manure forks. I took the forks off yesterday and used the bucket to scrape the muddy material loose and then just leave it to dry for a while. Mr Rainman had ambitions of finishing it next week. The rest all needs to be hand dug. It should take about six hours.

We will have gotten the whole thing done in under 20 hours which is pretty amazing. I keep getting better and better with the little John Deere tractor. I think the real reason is I don’t want to get off and pitch fork as much crap as I used to, before becoming more aged. I am getting more efficient as I age!

We have been having some trouble with random people coming down the driveway. We had installed a ring camera this year and are now having to monitor it. For some reason we have someone on a motorcycle who keeps coming onto the property. Annmarie is making another sign to do down by the driveway cattle guard. Once we have the gazebo up we are going to install a 16’ gate across the driveway down by the first house. Initially, we are going to keep the gate open and only close it when we work the animals. If we keep getting unknown visitors we may have to install a solar automatic opener with a battery backup. This will force everyone to stop and push a button to open the gate. If we install an auto gate opener we will bury an auto sensor from our side that will open the gate so you can leave. I am hoping that we won’t have to do that but when we install the manual gate I will weld new hinges on the gate and install a double post and offset post for latching. This will make the installation of an auto opener very easy.

We got the side fence temporarily back up so the dogs can no longer steal cat food or harass the cats. This week we will start in on the gazebo! This is our next big project. I am thinking it will take us about six weeks to get it all up in the air. We will still need to finish the floor inside, create countertops and an entrance cover and ramp. For now just getting it up with the roof on it is the goal this year.

I had to order more parts for the micro hay baler. I needed another $500 worth of parts and am probably going to have to pop off the wheel on one side to be able to reach all of the gears. I will definitely be ordering a spare chain and will only allow myself to take out links one time before just replacing it. The chain only costs $150, all of the gears are over $2k.